Light meters are one thing that I’ve never really paid much attention to. Even as far back through the mists of time as when I started taking pictures ‘properly’, I completely ignored the built-in light meter on my digital cameras. This was partly because I didn’t really understand how they worked, but also because I had an obsession with shooting completely manual to learn everything I could. That said, I am a sucker for weirdo manual photo gear, so when I saw this gloriously odd, cylinder shaped, metal light meter on eBay for just over twenty quid (complete with a fetching leather case), I knew I had to give it a bash.

Feature Spec:
- Shoe mounted CdS meter
- Aperture range: f1-f45
- Shutter speed range: 2s-1/2000
- ISO range: 6-3200
- Battery: 625PX 1.35v mercury (or PR44/675 with M9 adaptor)
The battery situation with this meter is similar to lots of built-in camera meters of this era… in that they use 1.35v batteries which are no longer widely produced (apparently due to the mercury). Luckily, ‘M9’ metal adaptors which let you use the more common Air Zinc 675 batteries are cheap and relatively easy to find online (as they are used in hearing aids). The one issue is that they come in at 1.45v rather than 1.35v, so the meter won’t be as accurate as it should be. In the grand scheme of things though, the difference will be small – and almost irrelevant in regular situations given the latitude of film. Hell, I’ve been exposing in my head for years – I am sure I can live with 0.1v of a discrepancy with an actual meter.
Note that there were other Kopil meters produced. Notably, a handheld version, and a TTL model which attached to the lens. These work a bit differently, and shouldn’t be confused with the shoe-mount, for obvious reasons!
Operation
I haven’t been able to source a manual anywhere, so had to figure out how to use the Kopil by rummaging around various fading Internet forum posts in different languages. At first it seems tricky to operate, but once you know how, it becomes gloriously simple.
There are three rings:
- Mode – This ring (to the rear of the meter) has four positions. This allows you to set the meter for High (H) or Low (L) lighting, check the battery (CH), or turn it off completely to save battery power (OFF). To check the battery, you simply turn it to the CH marking, and make sure the needle moves to the green portion of the indicator window.
- ISO – Pretty self explanatory, but you set the ISO of the film you are using with the next ring along, from an impressive range of 6-3200.
- Exposure – On the ring closest to the front of the meter, you have two diamonds – one red, and one white. These correspond (and are colour matched) with the High or Low settings. High mode = use the red diamond. Low mode = use the white diamond.
Workflow
To use the meter, here’s what I do:
- Check the battery – Move the ring to the green CH position, and double check the battery is good to go.
- Set the mode – If it’s bright outside, I’ll use the High mode. If it’s inside or dull, I’ll use the Low mode.
- Set the film ISO.
- Match the corresponding diamond up to the needle’s position – Find the relevant diamond colour for the mode I am in, and then align that diamond with the position of the exposure needle in the window.
- Get the exposure – This is the trickiest bit to explain, but once you have the diamond aligned with the needle, you can then read the settings around the barrel of the meter to see which would work for that lighting condition. For example, in the below picture, with an ISO of 400, 1/30s and f4 would be fine, as would 1/125s at f2, or 1/2s at f16… etc.

It’s as simple as that.
In theory.
Accuracy
I am no physicist, and have no way to reliably test the calibration or accuracy of light meters. To be honest, I don’t even know what the hell a CdS meter actually is. However, I do (begrudingly) accept that there’s not much point using a light meter if it isn’t at least semi-accurate… even if it does look extremely cool. To that end, I carried out some very un-scientific tests, comparing the readings of the Kopil to that of my Ricoh GR II. This was hard to do given the shutter speed intervals of the Ricoh, but for all intents and purposes, they essentially came out with the same reading.
One positive thing to note is that because the Kopil uses a battery, its accuracy doesn’t degrade in the same way that other vintage meters which rely on photo-sensitive cells (e.g. selenium) do. In practice, the exposure seemed to be pretty decent. To be fair, even if the meter isn’t pin-point accurate, a bit of latitude should always be expected with vintage gear – and it’s definitely at least better than my usual cavalier approach.
My Experience
I have come to realise that while there are loads of options when it comes to handheld light meters, there are very few shoe-mounted ones. This is especially true for vintage meters, which means the Kopil is actually quite special. Some of the handheld devices are pretty cool in their own right, but they always seemed like a bit of a faff… having yet another thing to carry around, pull out, and set up when you wanted to check the light on a particular scene. Of course, while a shoe-mounted meter is far more convenient, there are also some additional considerations. For a start, the camera you are using actually has to have an accessory shoe in the first place. We tend to take this for granted, but as it turns out, most of the cameras I have which could do with a meter either don’t have a shoe-mount, or have one in a weird position. For that reason, the Kopil has mostly been paired with my Leica M2… and boy do they look good.

The other issue with a shoe-mounted meter is that the shoe can usually only accommodate one accessory at a time. This means that you can end up stuck if you want to use the meter as well as something like an external viewfinder for a wide angle lens (on a rangefinder), or if you have a corrective lens adapter for a diopter which attaches via the shoe-mount. For one specific example… I wanted to use the Kopil as an upgrade to my Pentax Spotmatic 500’s built-in meter, but the SP500 doesn’t have a shoe-mount, and the accessory to add one clips on to the viewfinder, meaning that you can’t use a diopter and have a shoe-mount at the same time.
One thing I did find to be a bit tricky was the placement of the reading. While having the settings on the top is useful when kicking about taking street shots where you are pre-setting your exposure generally, the needle is so far forward on the barrel that I found myself having to tip it backwards at times to see it properly… which of course, impacted the light reading. This isn’t a huge issue though, and probably just requires a bit more practice.
Forgetting about the practicalities or otherwise of a shoe-mounted meter, the main problem I have with the Kopil is the same issue I have with all light meters… and that is that I end up relying on it too much. Rather than metering quickly in my head and getting on with taking pictures, I tend to spend more time thinking about whether or not a particular scene’s exposure would match the meter. I also find myself towards the judgement of the meter, even in situations where I suspect that it might be misled by a rogue patch of bright sun, or a backlight. In those situations, I should really simply trust my instincts and compensate, rather than second guessing them. However, when you have a device specifically designed to tell you what settings to use, the urge to trust it completely can be pretty strong.
All of that said, I’ve really enjoyed using the Kopil so far, and it’s hardly come off my M2 since it arrived. Yeah, it can be a bit tricky to make sure all the dials are lined up correctly, and to prevent the ISO ring from moving when adjusting the ring for the shutter speed thanks to them getting stiffer with age… but it has been a really handy tool to have. While I need to figure out the best way to integrate a meter into my shooting flow, it is both useful and reassuring to be able to double check my guesstimetering. Perhaps most importantly though, I’ve been able to get settings for situations which would usually be outwith my capabilities – like branching out into the wild regions of 1/500s – or shooting wide open in brighter light.
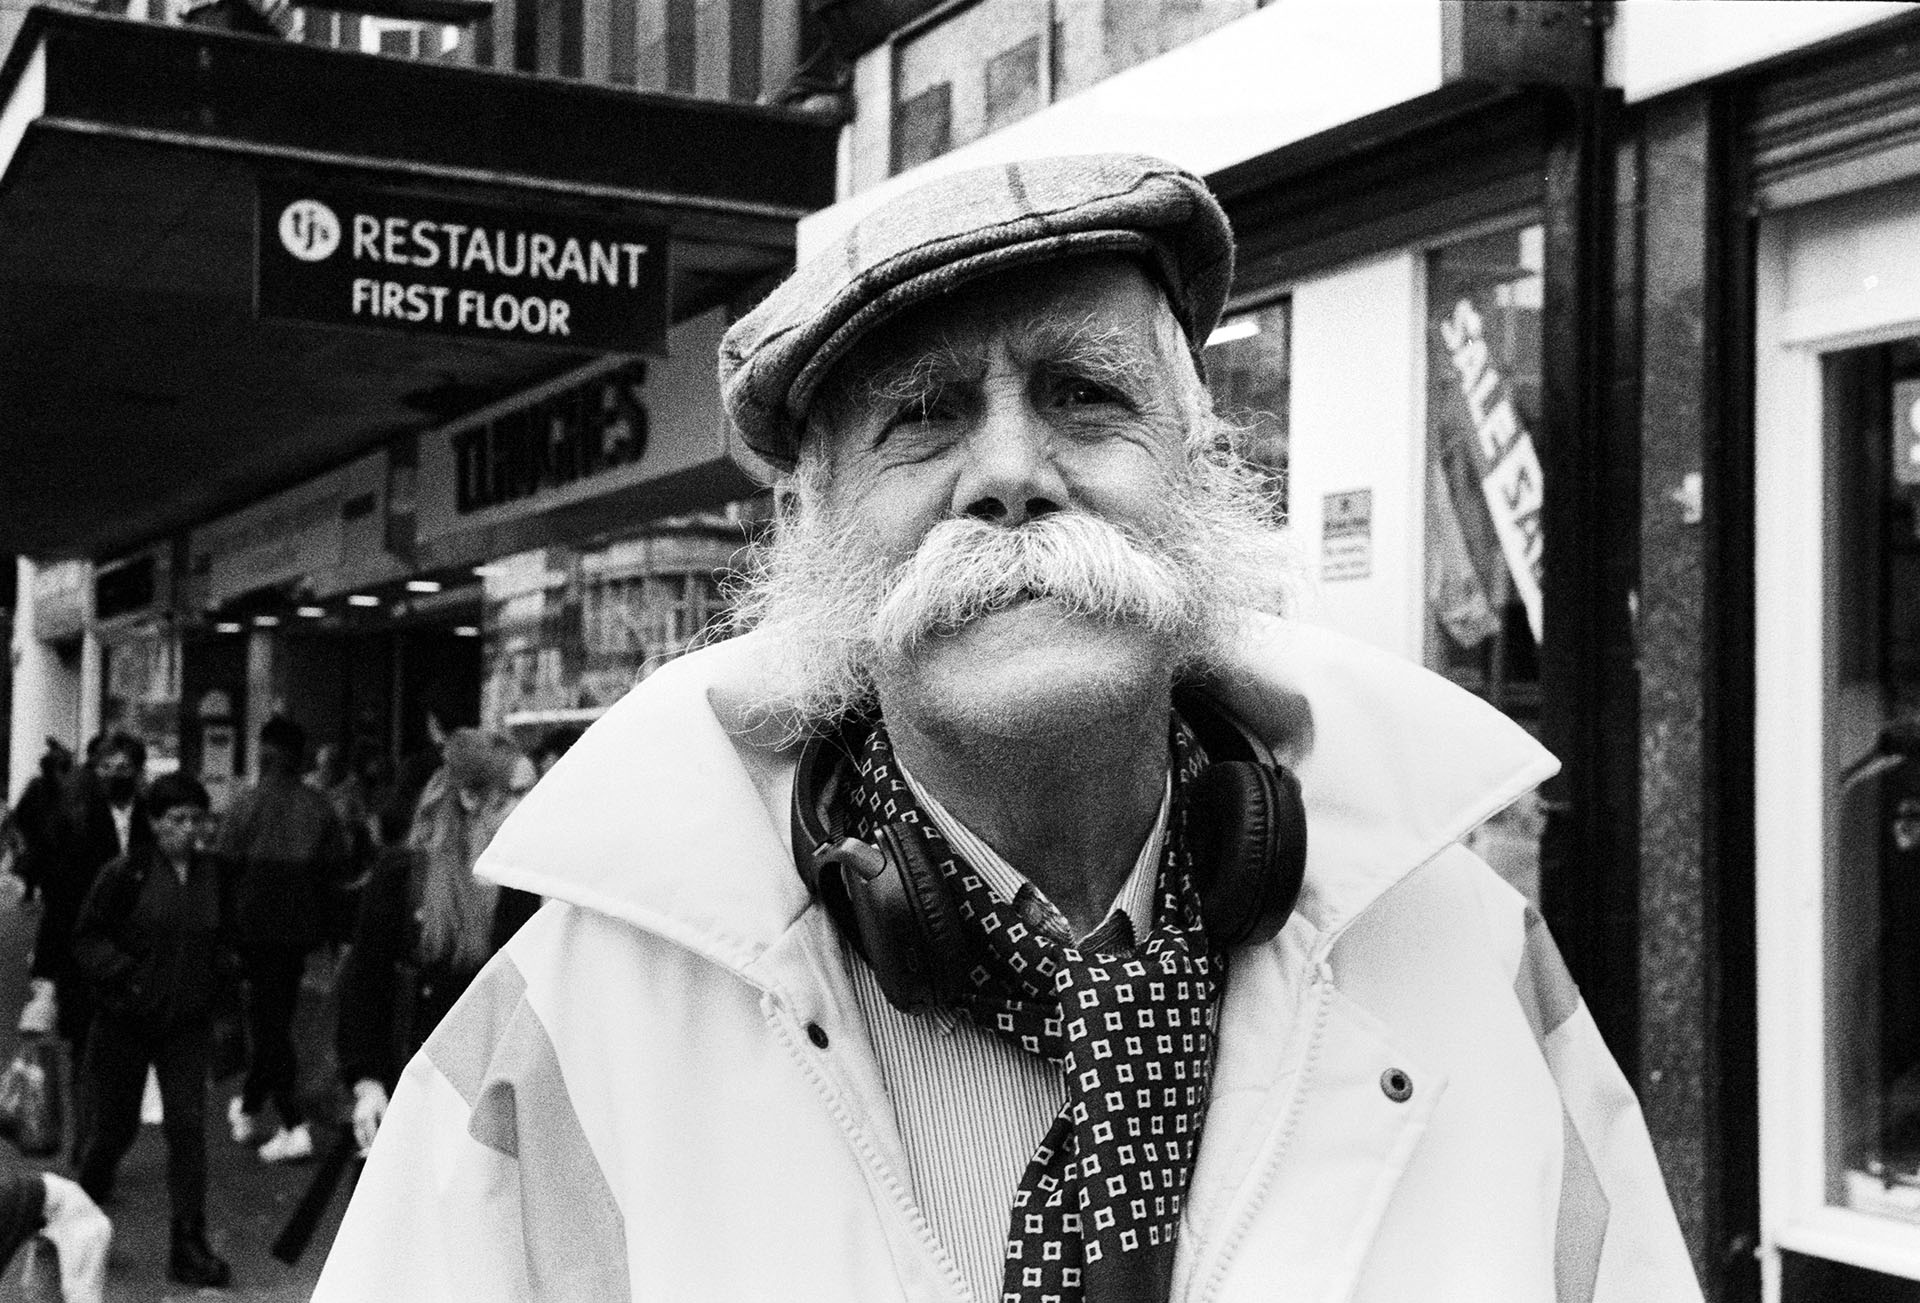
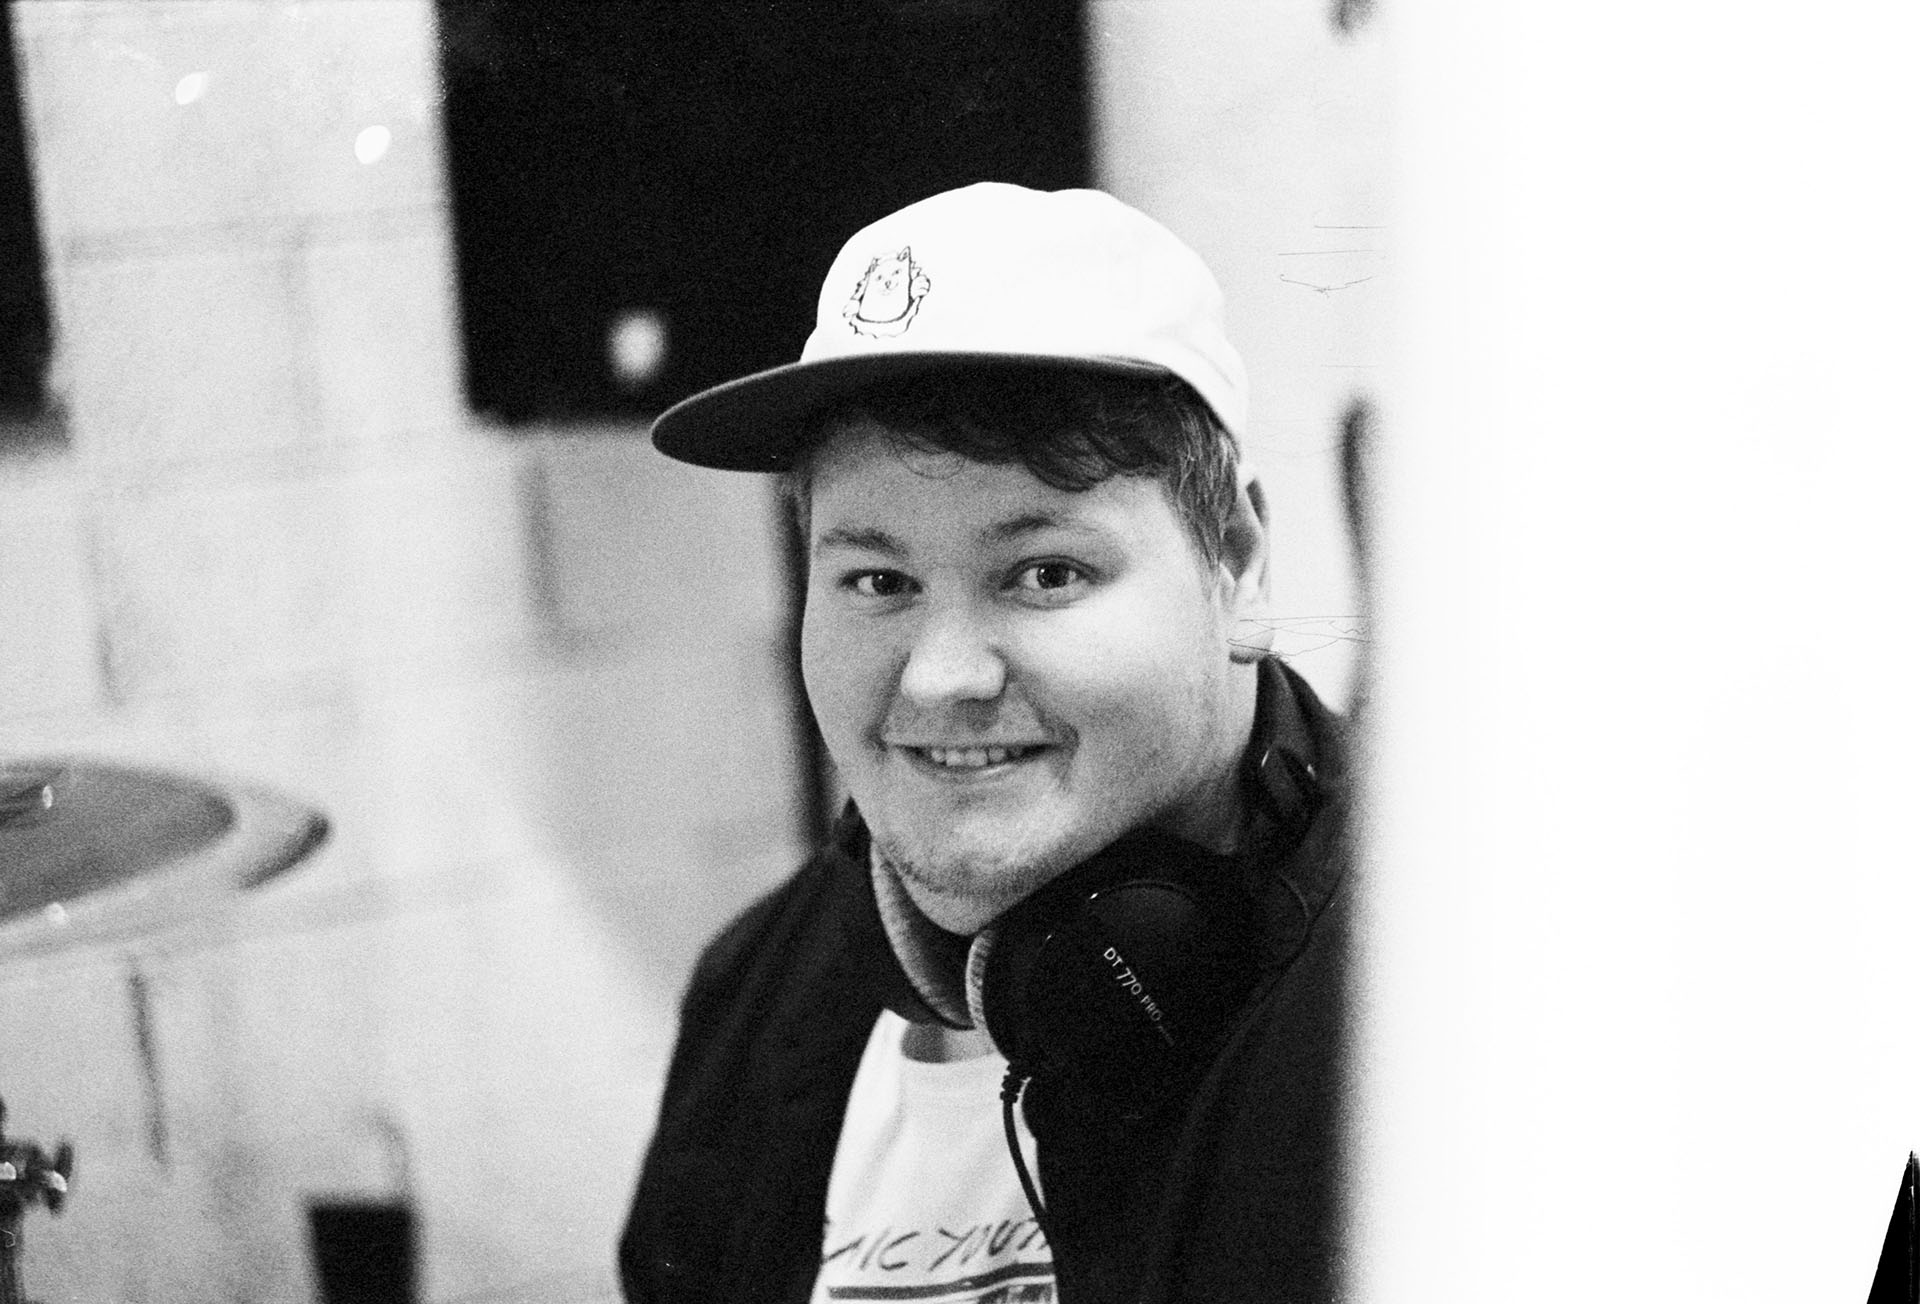
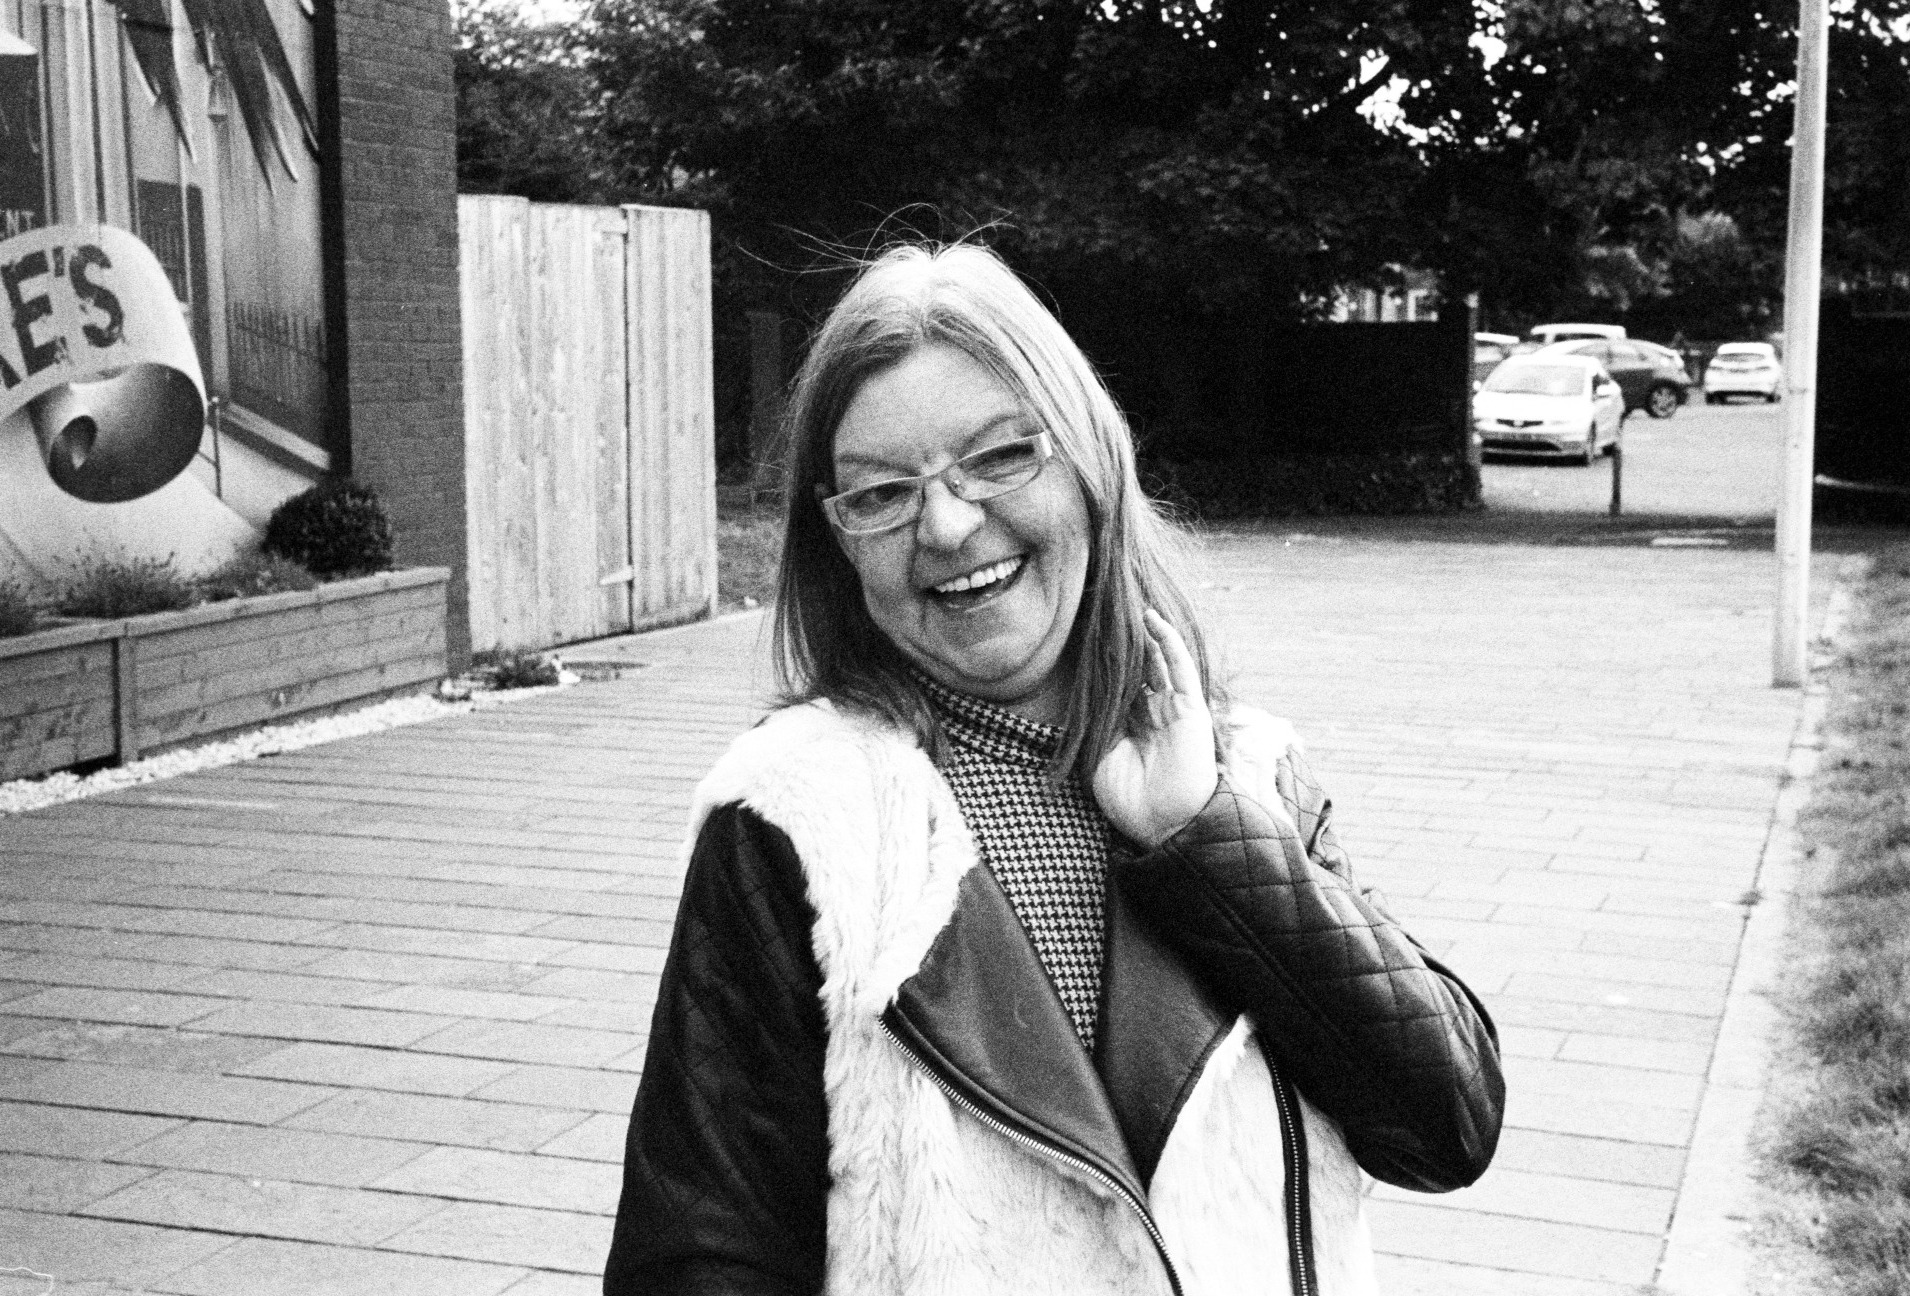
It seems a bit redundant to post a whole pile of pictures for an entry like this, since any errors on exposure are almost certainly more down to me than the meter itself. However, it also seemed pointless not to post any pictures, so here’s a few I shot with varying settings over the past couple of weeks, based on the meter’s readings.

Cost and availability
I haven’t seen too many of these kicking about, but if you do find one it is most likely to appear on either eBay or Etsy. The cost varies, but tends to be under £30. Given the alternatives, this seems like a bit of a bargain.
Beautiful looking piece of kit. I like the idea of it being on the camera and ready to use at a moments notice. Great review.
The higher voltage of modern batteries causes about a one-stop reduction in meter sensitivity. Compensate by dialing in a lower ISO speed on the meter: For ISO 200 film, set the meter to ISO 100. For ISO 800 film, set the meter to ISO 400. And so forth. With current, fresh C41 and b&w emulsions you really don’t need to bother. But if you’re shooting E6 film, or any film in really dim light, the compensation can save your images from that sea of underexposed murkiness … !