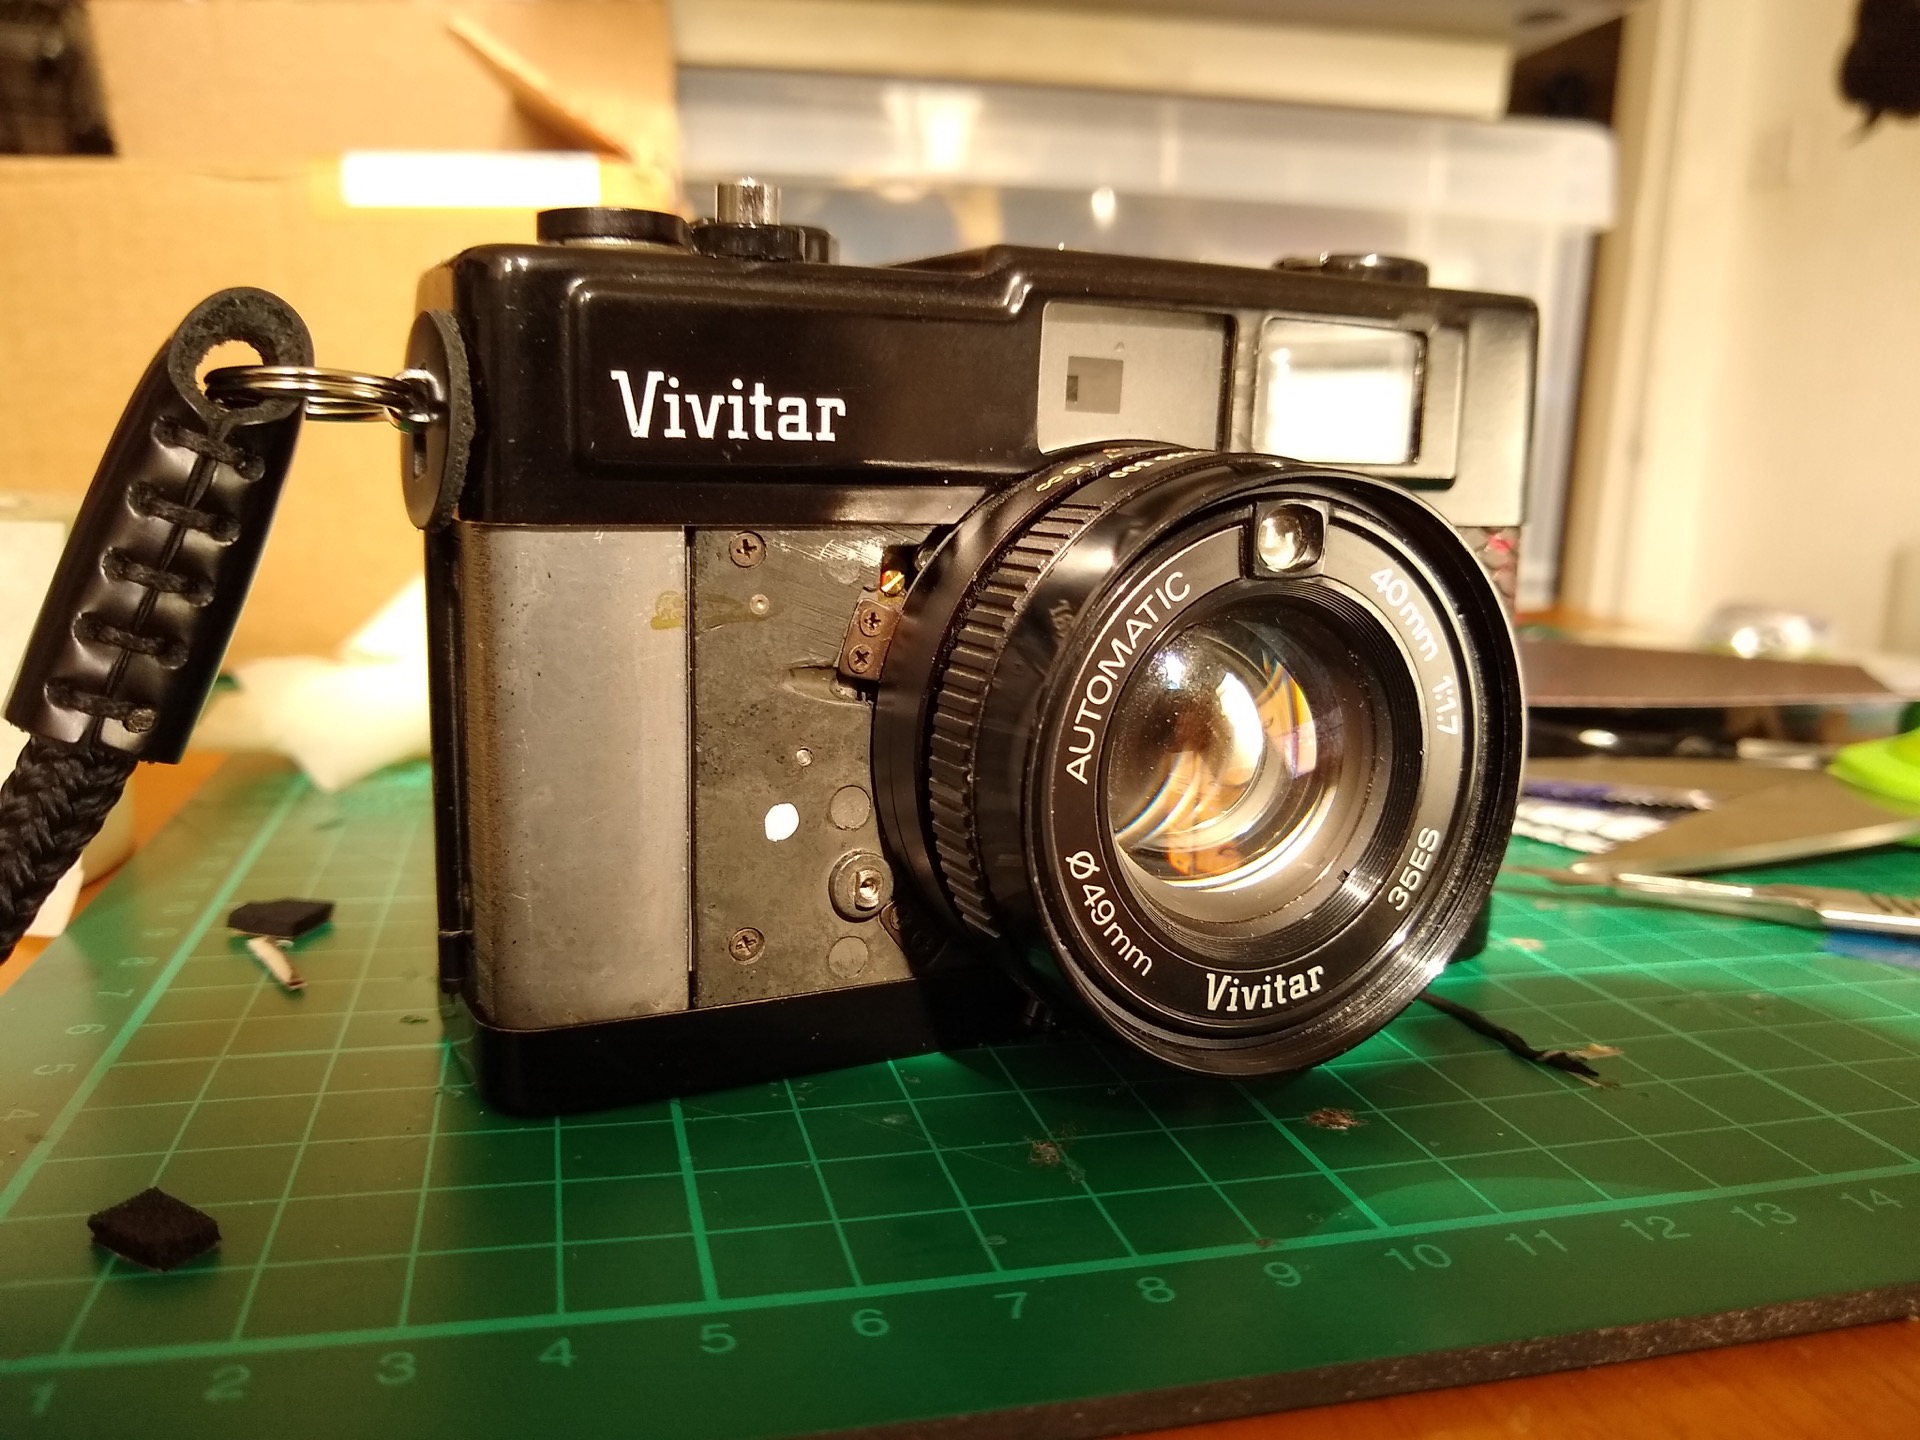
The Vivitar 35ES is a compact 35mm rangefinder from the late 1970s. Along with an automatic exposure system, it has a fixed 40mm f1.7 lens – one which has a reputation for delivering (perhaps surprisingly) sharp images.
Some other features worth knowing are…
- Automatic, shutter priority operation.
- Film speed range: ISO 25-800.
- Shutter speeds: Bulb, and 1/8 – 1/500.
- Focus: From 3″ to Infinity.
- Weight: Just under 500g.
- Shutter type: Leaf.
- Colour: Black.
- 10 second self timer present.

The camera was also reportedly manufactured under the Revue 400SE name – as well as being a close relative of the Minolta Himatic 7Sii, and the Konica C35 FD – with which it shares a lens. Be careful not to confuse the 35ES with the 35EE or 35EM, as while the 35EE looks similar, it has a slower lens (f2.8 as opposed to f1.7), and the 35EM is very different.
Clear? Good.
Yashica Electro 35CC or Vivitar 35ES?
There are a lot of compact rangefinders out there to choose from, but when I was investigating a neat, semi-automatic travel camera, one that cropped up more than most was the Yashica Electro 35CC. In the end, I opted to go with the lesser well-known Vivitar 35ES, as a result of a few notable differences between the two:
- Lenses: Firstly, the lens on the Yashica is 35mm f1.8 – so 5mm wider, and slightly slower than the Vivitar’s 40mm f1.7 lens. I tend to prefer slightly wider lenses, but in practice, the difference here was six-and-half-a-dozen. Who can say no to that extra 0.1?!
- Shutter Priority v. Aperture Priority: The Yashica uses aperture priority automation, which is relatively unusual for compact rangefinders of this kind. In contrast, the Vivitar uses shutter priority. What does that mean? With aperture priority you set the aperture, and the camera determines the appropriate shutter speed, whereas with the latter you set the shutter speed, and the aperture is determined for you.
- Maximum shutter speed: The fastest shutter speed available on the Vivitar is 1/500, which just edges the Yashica’s 1/250.
- ISO Range: The Vivitar has a top ISO of 800, whereas the Yashica only extends to 500.

Shutter v Aperture Priority
When it comes to the question of shutter versus aperture priority, it’s really a matter of preference and shooting style. If your primary aim is to control depth of field, then you will want aperture priority. Personally, I prefer having control over the shutter speed – as it means I can pick a setting that I am confident I can hand-hold without blur. In any event, the usefulness of the Yashica’s aperture priority is muted by the relatively slow maximum shutter speed of 1/250. In other words, you can’t really force f1.8 to achieve shallow depth of field for a shot in daylight without an ND filter.
That said, I have no doubt that the Yashica is a great camera – and I am sorely tempted to pick one up at some point. When I’ve been in Japan there’s been a few that have almost convinced me to part ways with some cash, but the 35CC (despite being the smallest of its range) actually seemed a fair bit bigger than the Vivitar… and in reality I would probably always choose to take the smaller camera that has more features. For that reason, I (as of yet) don’t have an Electro 35. Maybe next time…
My 35ES Journey
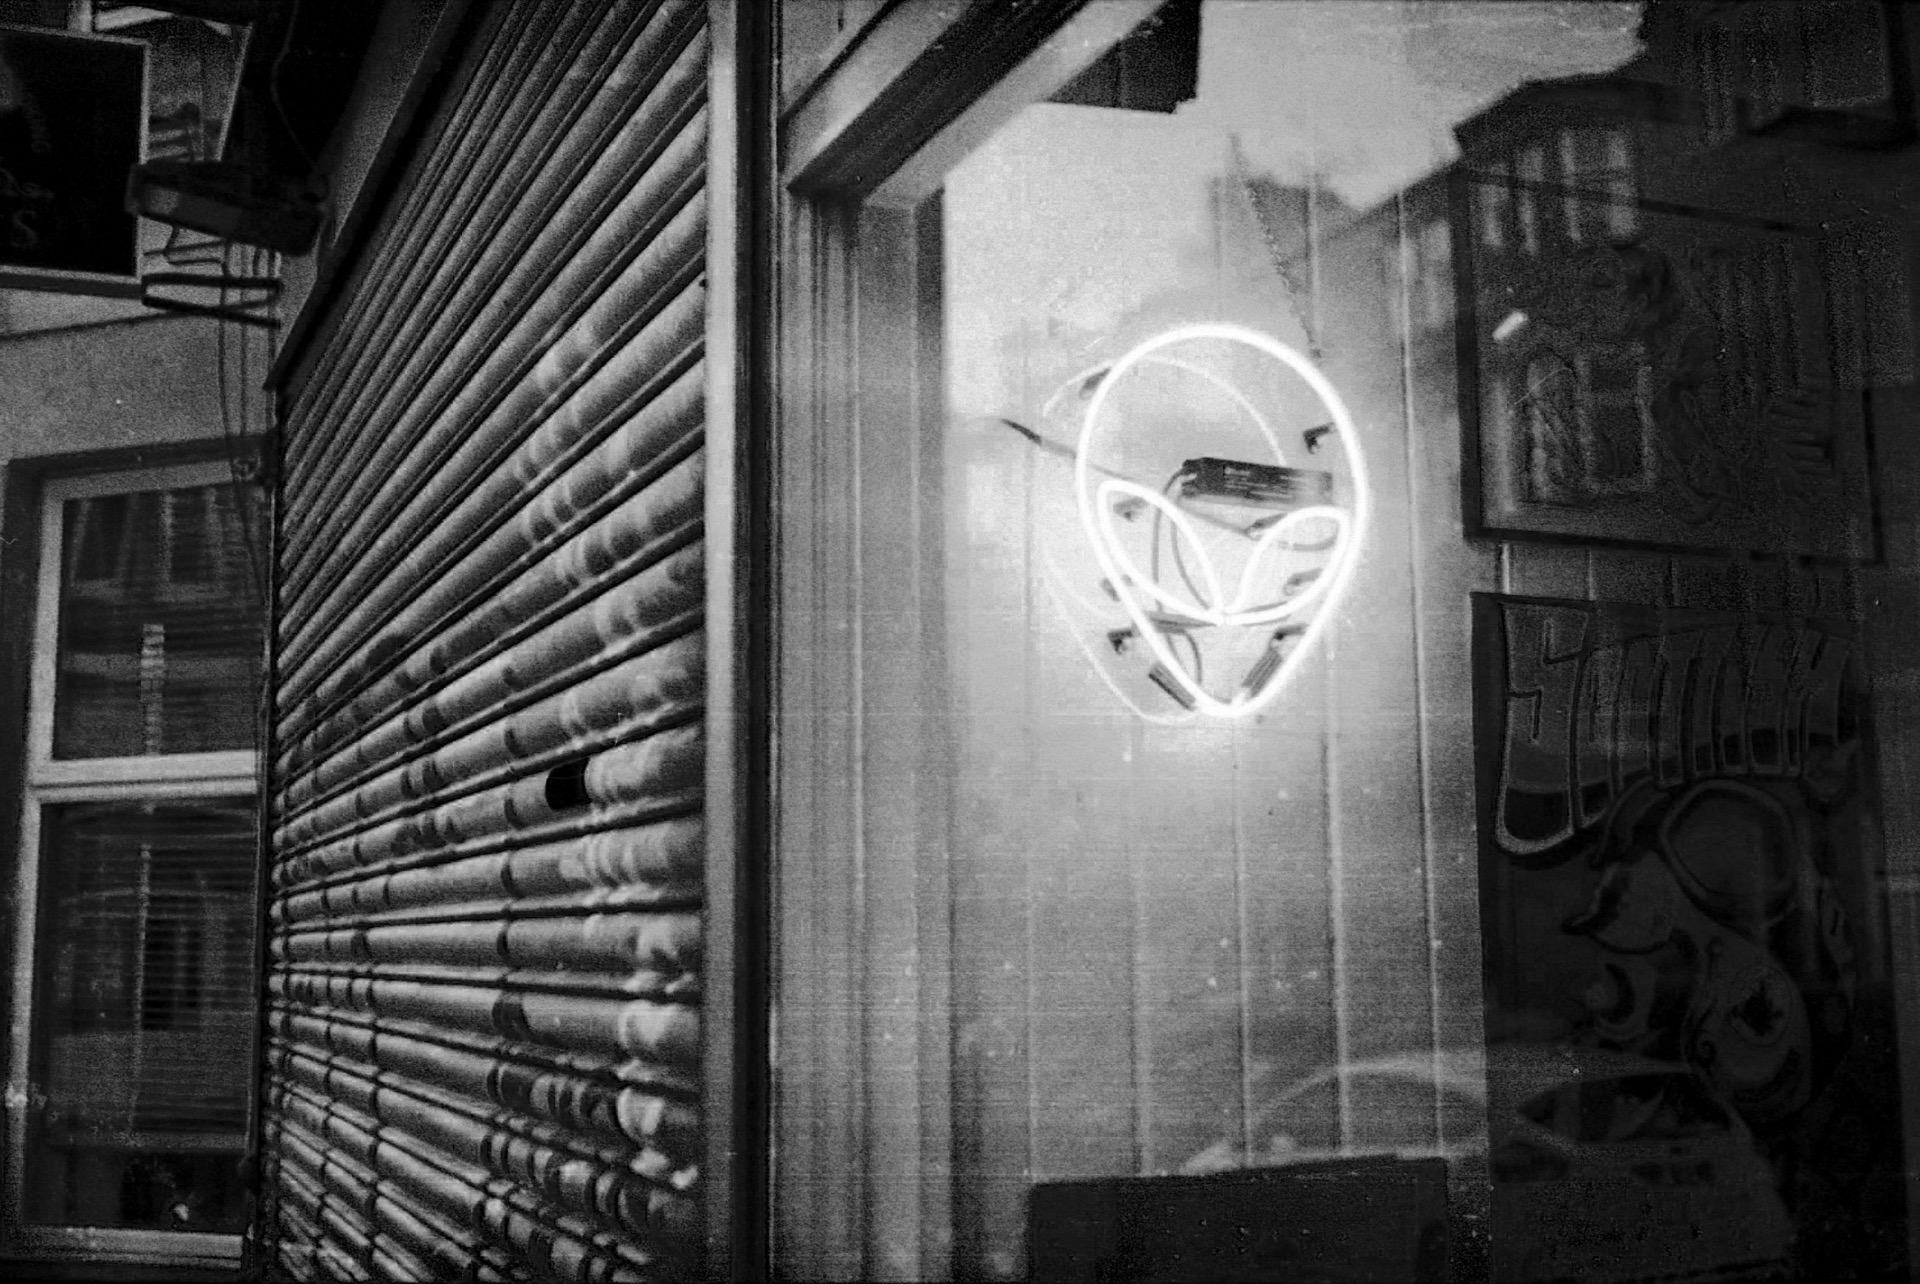
So why did I end up with one of these cameras anyway? Well, I was on the lookout for a small film camera with a fast lens that I could take on my travels (prior to the pandemic, obviously), and as I mentioned, initially planned to get an Electro 35CC. However, the maximum ISO of 500 ended up putting me off, as I wanted to be able to shoot in lower light and try to use up some of the stock of 1600 ISO film I still have. Kicking about the neon lights of Tokyo was at the forefront of my mind! After some research, I discovered the Vivitar 35ES. There wasn’t many of these cameras kicking about eBay, but I spotted one for about £25 that was missing its leatherette covers, the ’35ES’ badge, and the self timer lever. Since replacing the leather didn’t seem like a huge job, and I never use the self timer anyway, I took a chance on it.
Leather Replacement
I toyed with the idea of getting orange leather for something a bit different, but didn’t want to be too conspicuous when shooting. I also wasn’t sure whether a bright colour would look weird on a vintage camera, so ultimately I settled on a more subtle red and black ‘snakeskin’ style replacement.
Cutting the new leather to shape was fairly straightforward. I used masking tape and marker pens to get outlines for the various parts, then cut it out with a Swann Morton No. 3 scalpel with No. 11 blades (that’s what the leather folk recommended!). The self adhesive backing meant that it just slid right into place and stuck down easily. I’m no good with fiddly jobs like this so it’s not perfect, but it came out quite nicely (if I do say so myself).

I am kind of sad that the 35ES badge isn’t on there any more, but it’s not a huge deal. If anybody knows where I can find a cheap replacement though, let me know.
Light Seals
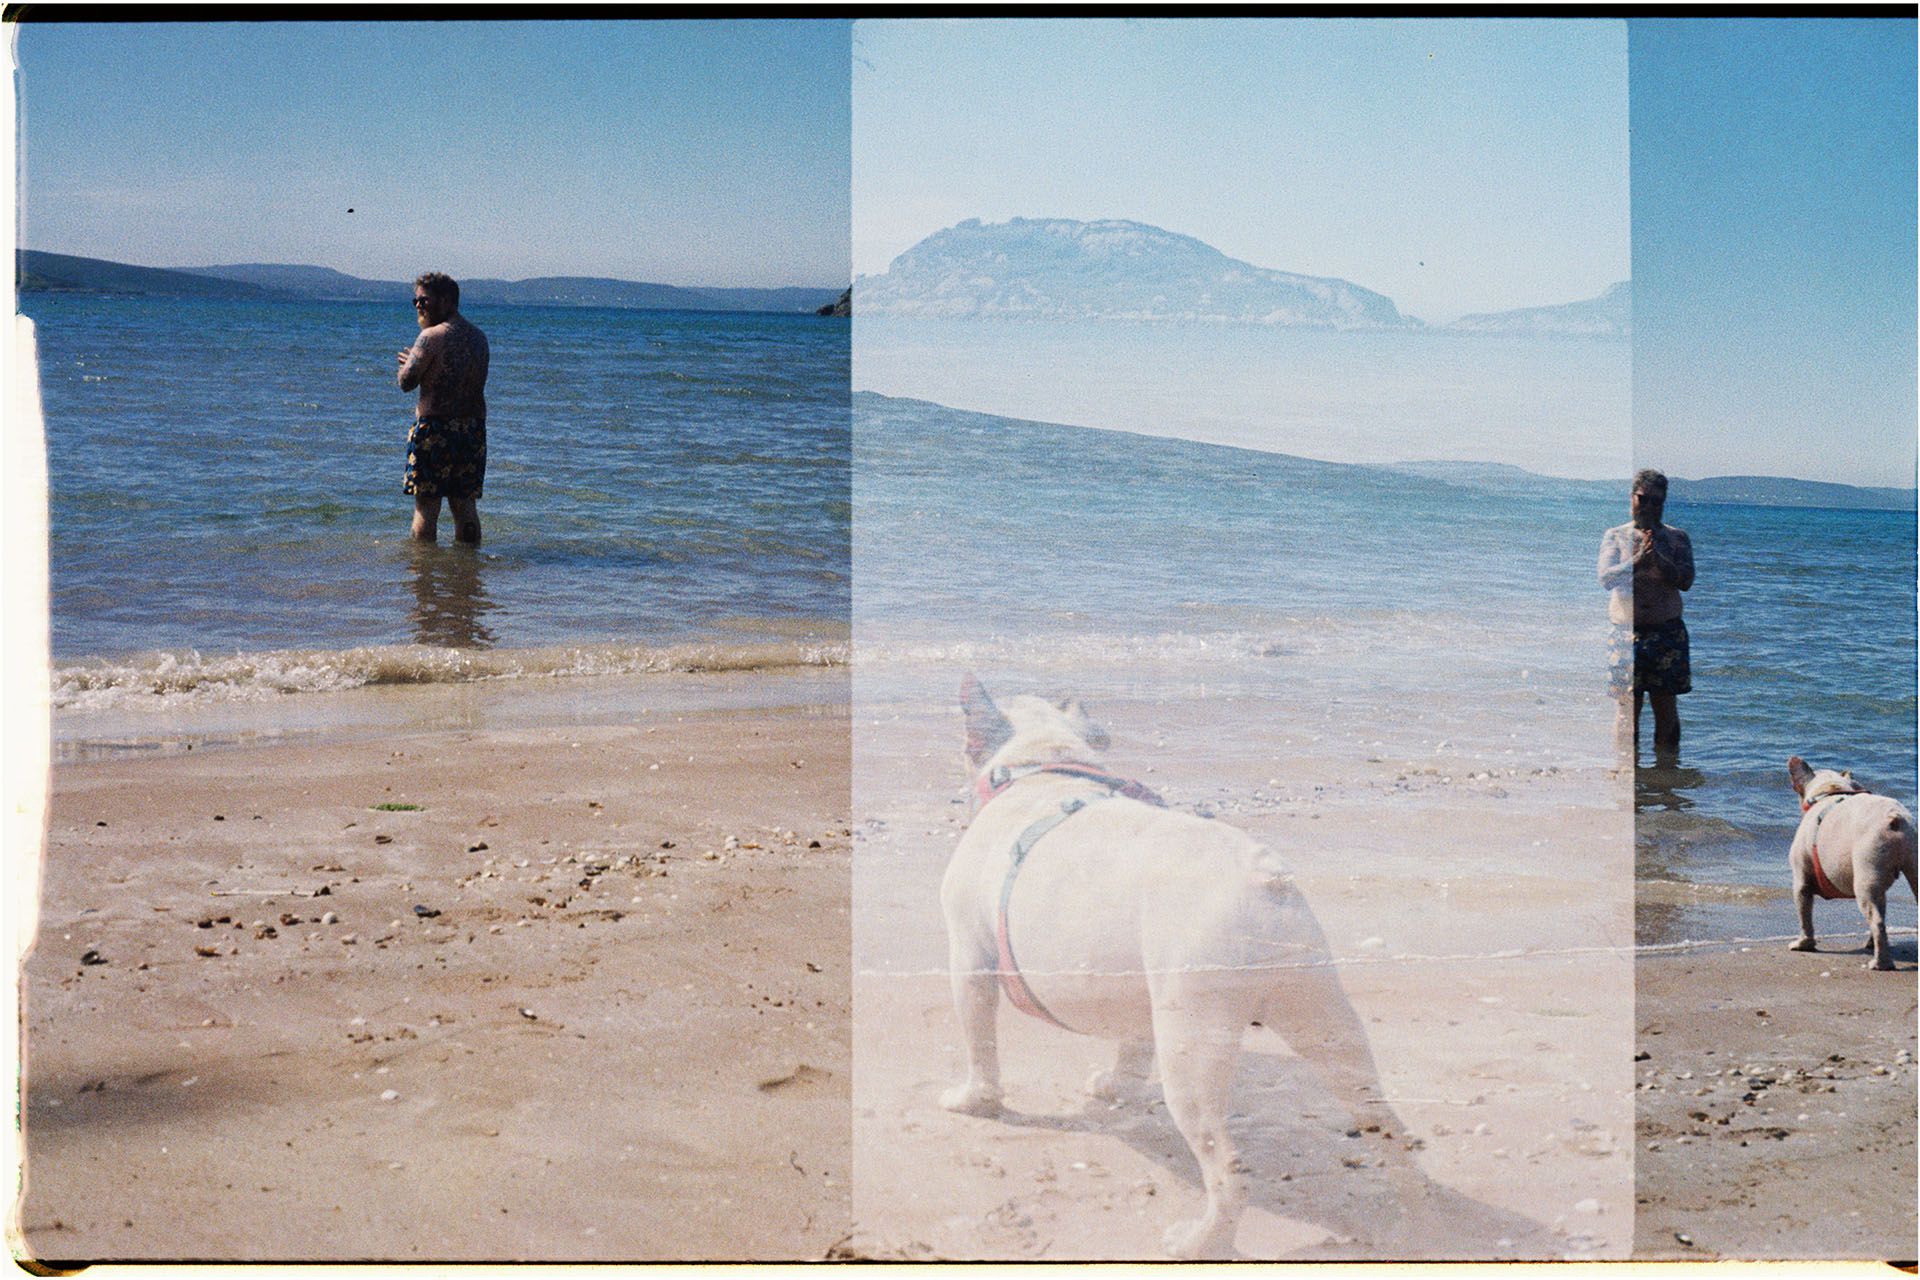
I got the 35ES just before I headed off to Japan for a month, and I really wanted to use it while I was there – but I needed to check it was all working first. Unfortunately, there was a really strong light leak on a number of the frames, like so…


That meant there was clearly a problem with the light seals, and it proved to be a royal pain in the arse to diagnose and fix. Replacing seals is usually pretty straightforward, but I couldn’t find a guide online as to where they should go in this camera, which meant I had to just go with my own judgement. That didn’t work out too well, as the seals ended up wedging the door shut when I closed it over, and I had to pry it open with a screwdriver.
After some adjustment, I thought I had the balance right – and gleefully shot away roll upon roll in Japan. When I developed them though, the same nasty vertical burn was there. Agh! After some more trial and error I found some grooves in the door’s edge, which I thought must be letting light in. I spent ages trying to find a way to block them off, before realising that they were probably actually there by design. After scouting about the Internet and asking for help, I managed to get a picture of where the seals should go, which meant I could fix things up a bit better. Now, the camera opens and closes as it should. Thank goodness.

Film Transport Issues
The seals weren’t the only issue I came across though, as the film seemed to randomly stick when advancing onto the next frame. This was obviously going to cause frame issues like overlapping, and I couldn’t figure out what the problem was at first. I initially thought that the door wasn’t closing over tight enough any longer (because of the new seals) to put enough pressure on either the film or transport mechanism to keep it in place, but after some investigation it turned out that the ‘rewind’ shaft was the culprit. The film progressed along nicely until I engaged the supply spool end, so I knew it must have been giving some resistance.
Since I was abroad at the time, I couldn’t give it a wee squeeze of WD40 like I would at home, so instead I opted for a more DIY solution… giving the shaft a thin coating of dish soap. This initially worked, but as it dried out, the same problem cropped up again as the film counter got to 26ish, requiring a re-coat. A full CLA would probably sort all these issues out permanently of course, but I am loathed to pay £70+ for a service – and if I was to do that for all of the cameras/lenses I have, I wouldn’t be able to afford any film.
In the end, I basically soaked the innards of the transport mechanism in WD40 which seemed to do the trick, and I haven’t had any problems since.
Performance
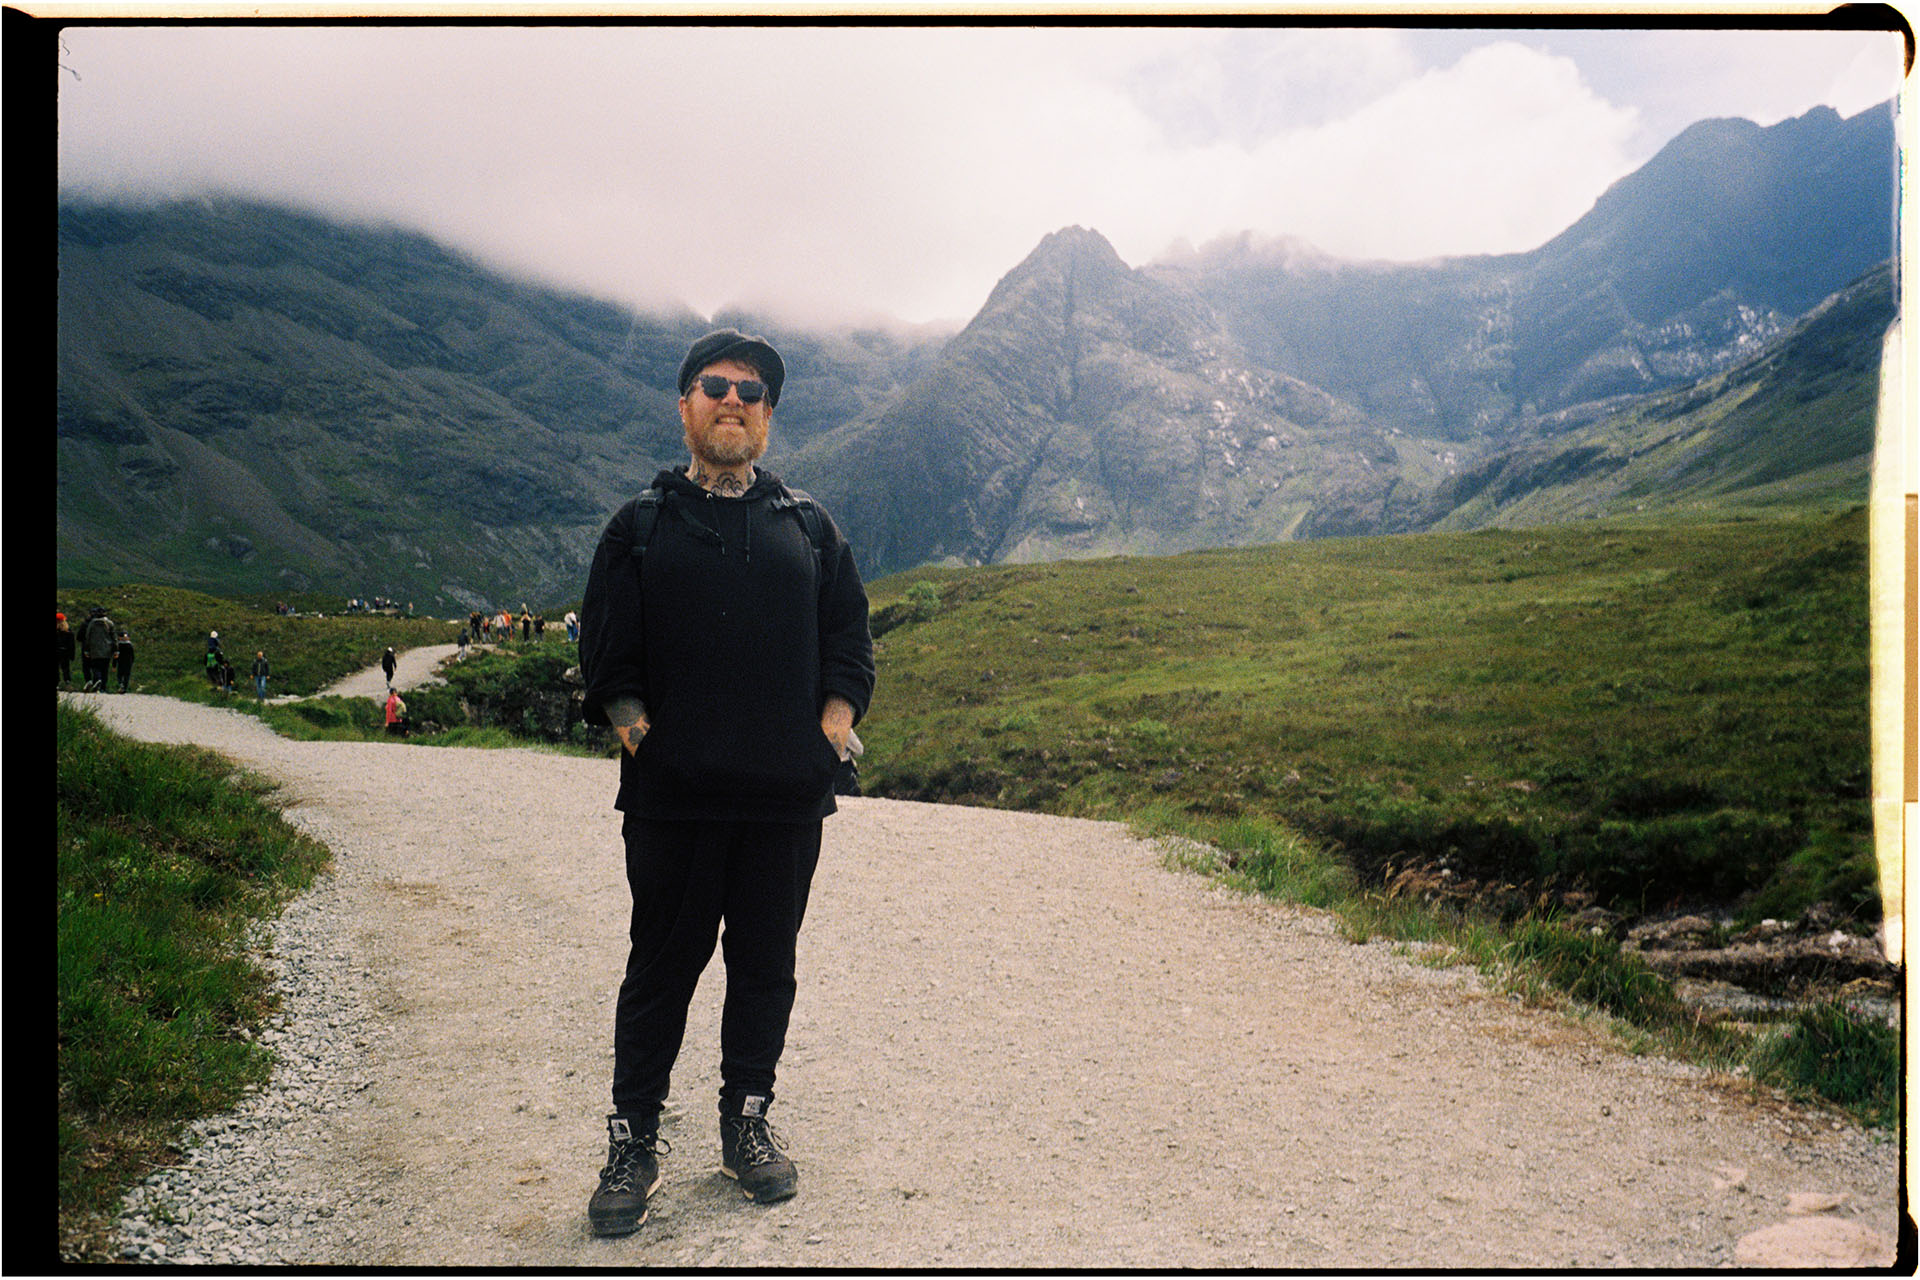
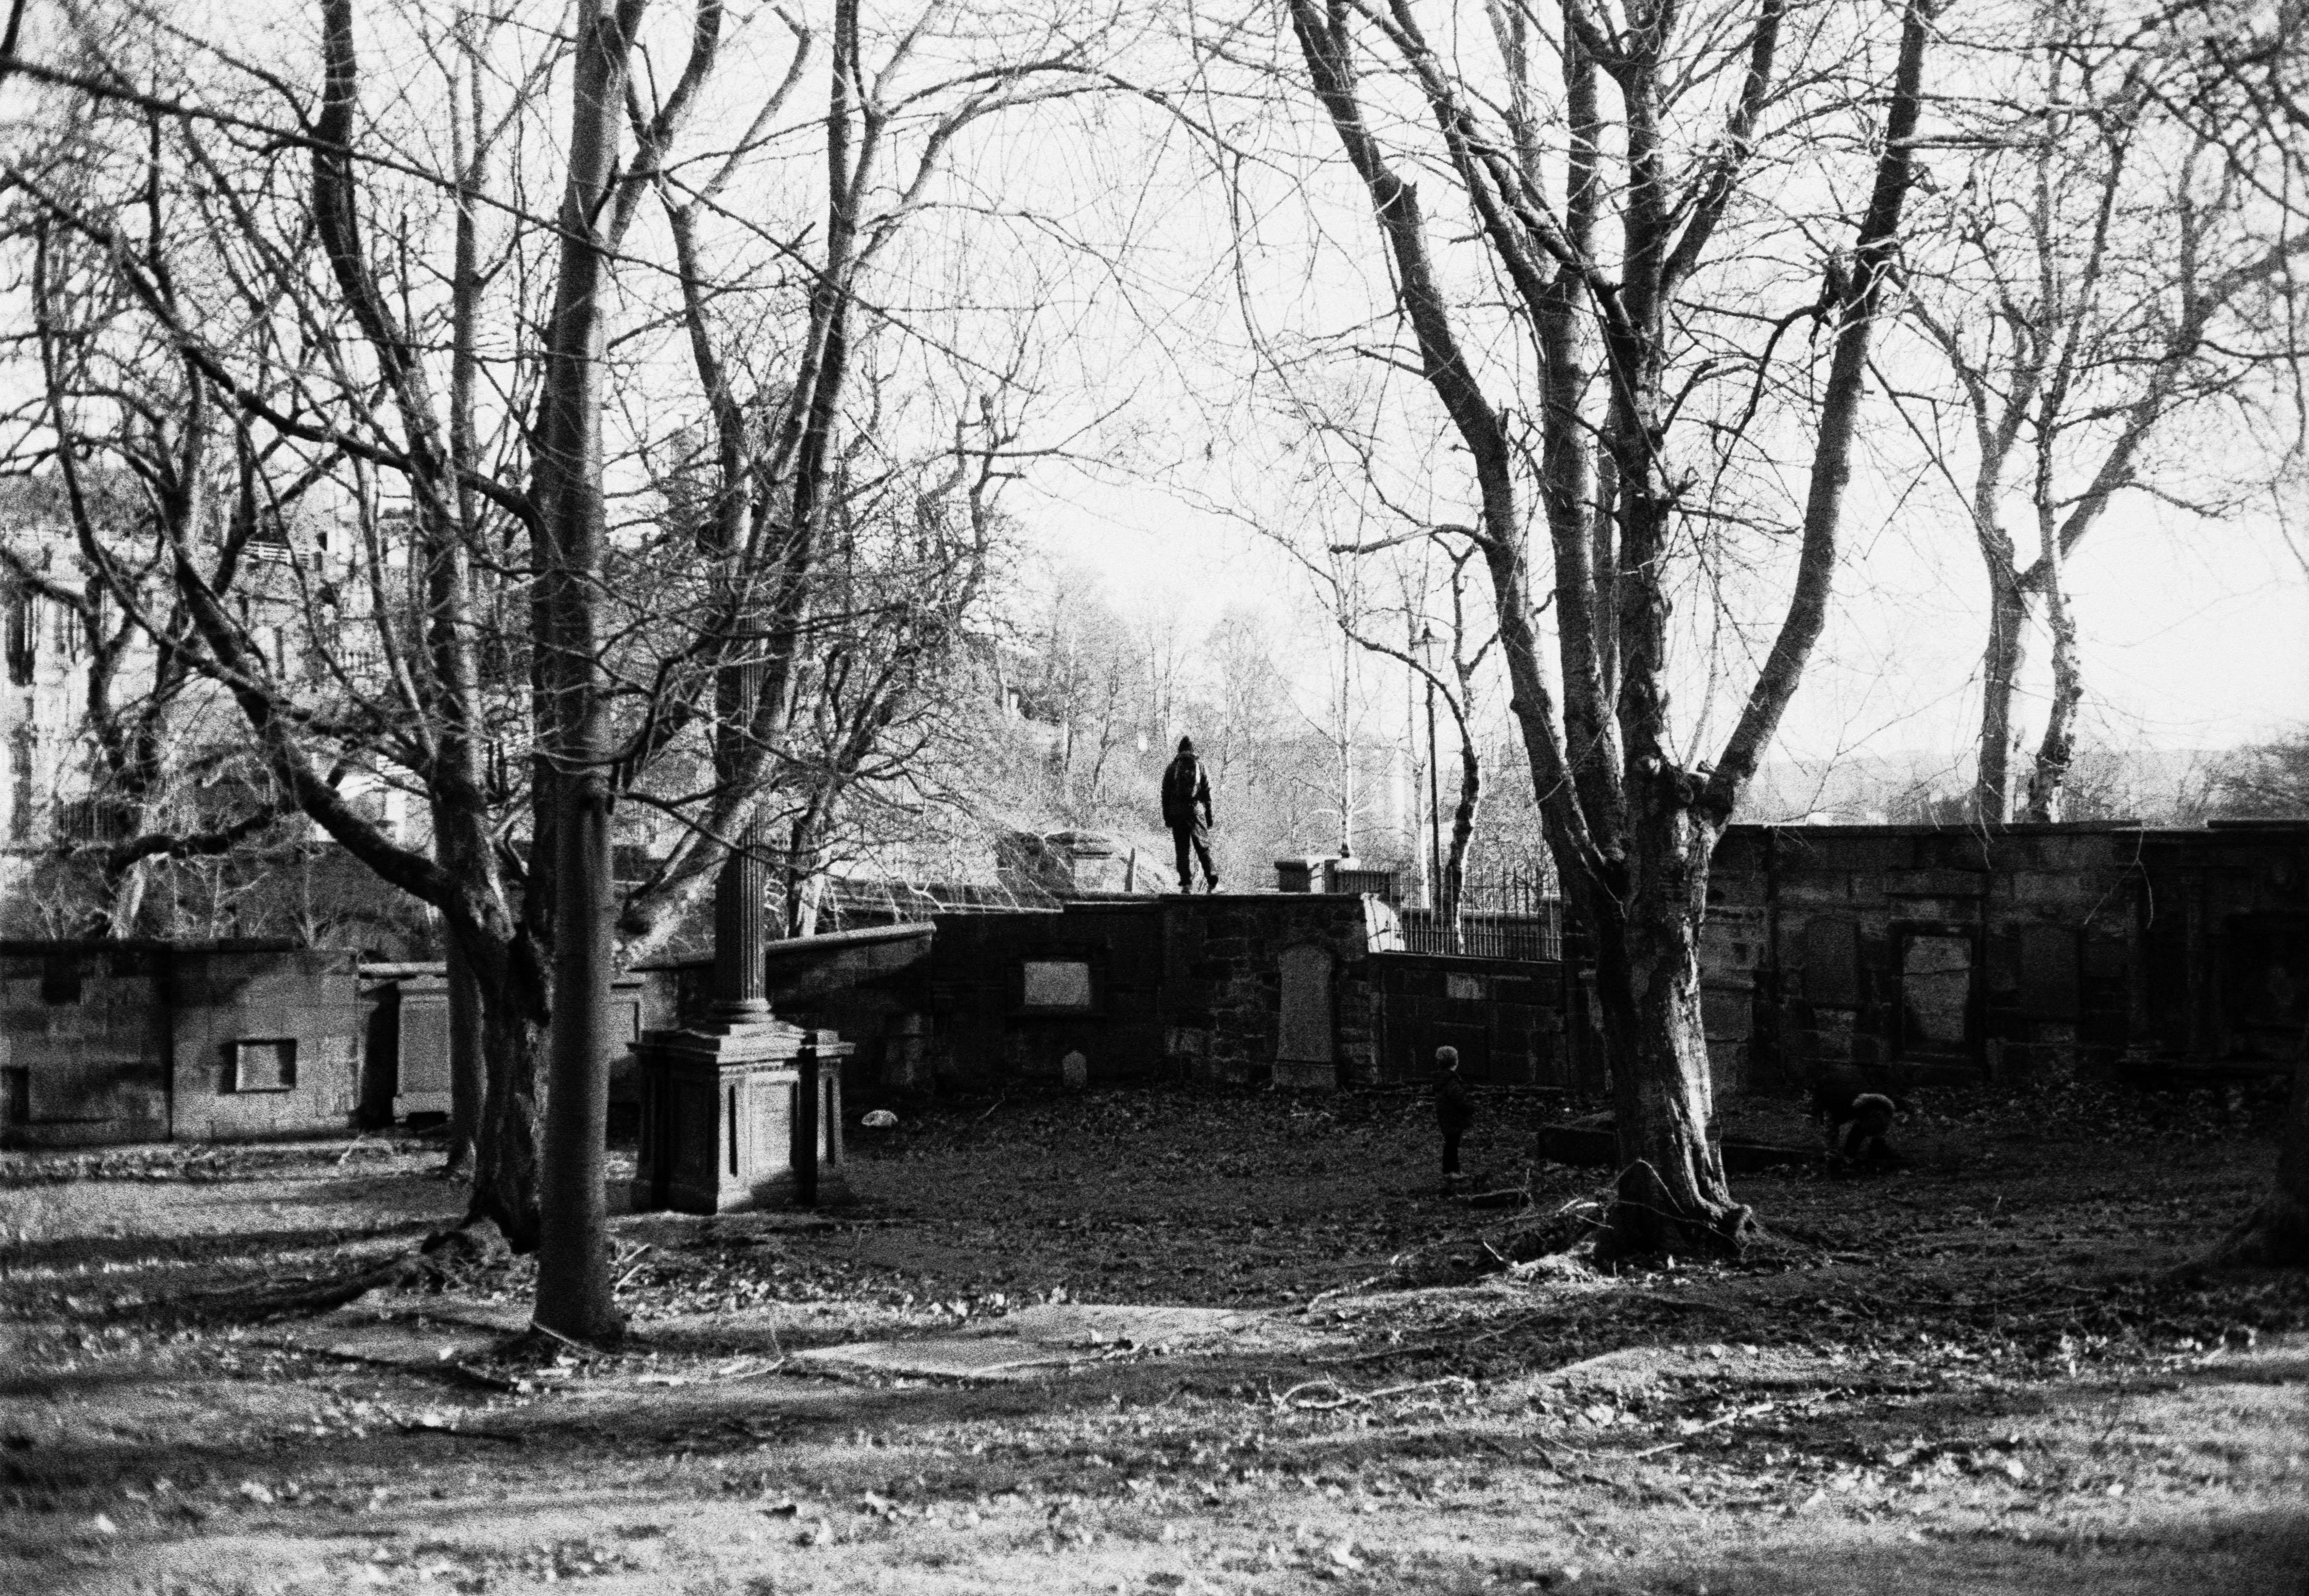
Once I got the gremlins ironed out things went fairly well. The pictures came out nicely, and when I nailed the focus (not always easy with a rangefinder), the images were surprisingly sharp.
Things to Watch Out for
- Automatic, shutter priority only. The 35ES is an automatic camera that works out the exposure based on the shutter speed that you set. There is no way to set the aperture manually, and the use of shutter priority can be a problem for some folks looking to shoot at night (though to be honest I don’t really understand this).
- PX675/MR44 Battery. The Vivitar 35ES takes a 1.35v PX675 battery. These are difficult to come by nowadays, and the only real direct replacement available online from Wein Cell is expensive – especially given the (supposedly) relatively short lifespan of the batteries. This initially put me off completely, since the camera is fully automatic. However, it turns out that a similar battery is used for older hearing aids, and if you search for ‘zinc air 675 battery’ you can find them fairly easily, and for a much lower price. The one problem is that the voltage on these batteries is 1.4v rather 1.35v, meaning that in theory the meter won’t be as accurate as it could be. Given the latitude of film and questionable reliability of vintage gear in general, this isn’t something I was too concerned about. It’s worth noting that I used the same battery for a good few weeks pretty solidly without any problems.
- No manual override. One big issue with these cameras for a lot of folks is that there’s no way to ditch the automatic metering and expose manually instead. That is a bit of a pain, especially given the above battery caveats, but wasn’t a deal breaker for me. If I want manual control, I use a different camera.
- ISO selection. The latch to select the film speed for the auto exposure system is located on the under-side of the lens, and is designed to prevent it from being changed by accident. However, I somehow managed to do just that on more than one occasion – only noticing when I spotted that the aperture reading seemed off. I suspect it was depressed by the case I have been using, but it did mean it was another thing I had to remember to check before shooting – as the indicator isn’t in the most prominent position.
- No shutter lock. There is no way to ‘lock’ the shutter button to prevent the shutter being actuated if it is cocked and ready – which can be a pain.
- Stuck aperture. This is an interesting one. If you look about the web you’ll find lots of reports of these cameras breaking down with stuck apertures – meaning that even though the meter seems to be working correctly, the aperture won’t open up or stop down accordingly. When I was trying to fix my light seal issues I thought I had broken something, as this same thing happened to mine. However, what I’ve discovered is that if you knock the smallest ring closest to the body on the lens barrel (for flash synch), the aperture will remain fixed except at infinity. It’s possible that lots of people who think their cameras are bust have actually just moved this by accident – as it isn’t something many people will use, or be aware of. The ring is fairly stiff, but it can get shifted if your focus ring is a bit sticky. The biggest pain here is that it isn’t obvious when this has happened, since the meter still appears to function fine. So… the lesson here is to always double check that ring is set to ‘Auto’. I’m going to try find a way to permanently stick mine that way. Suggestions welcome.

My Experience
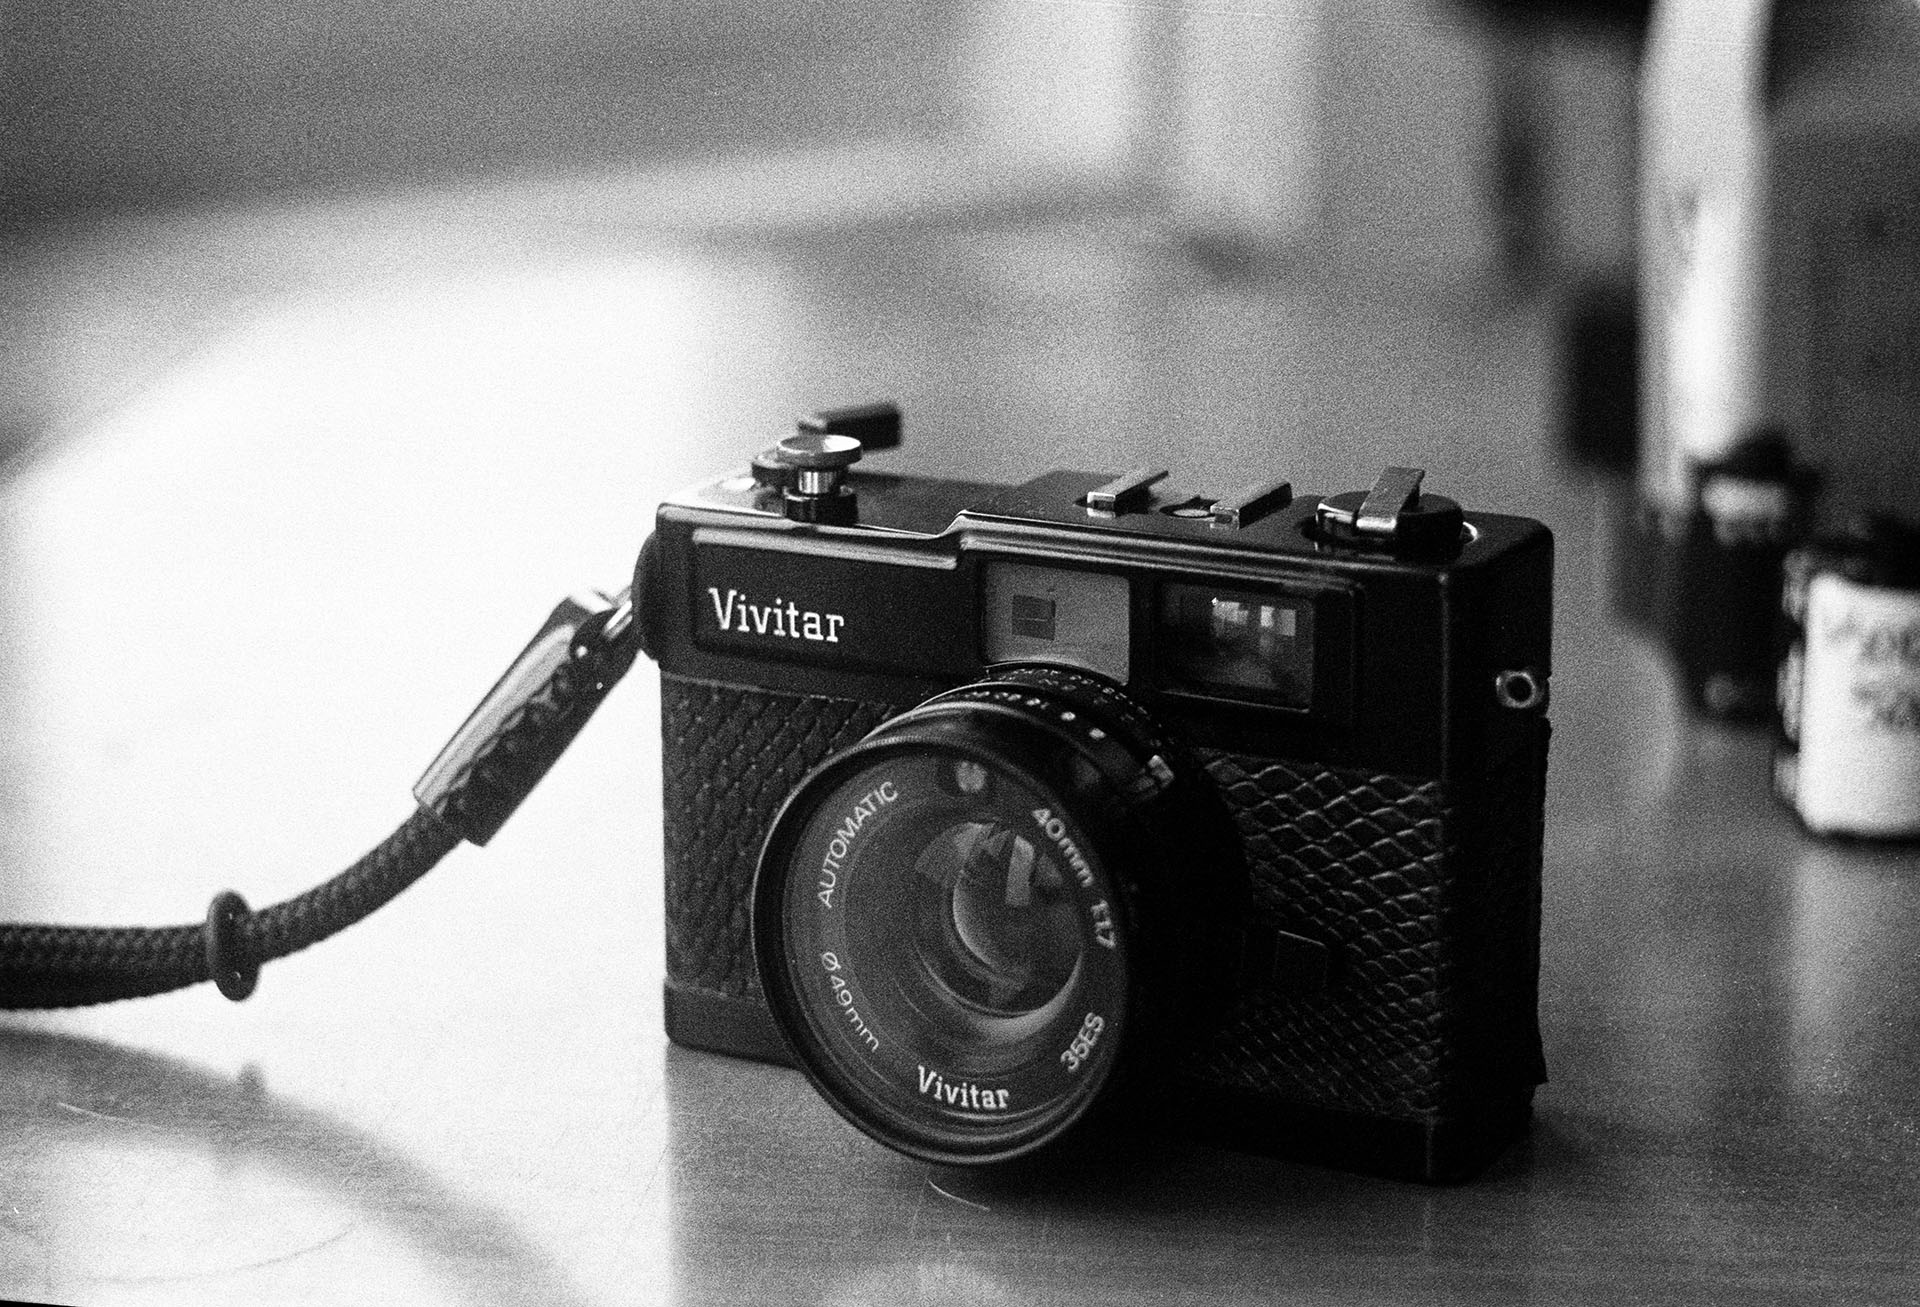
There are a lot of things I like about the Vivitar 35ES. For a start, having an actual rangefinder in a package this small is great (as opposed to a zone focus system, which is inevitably less accurate). I don’t really think twice about taking the camera out with me, as it doesn’t take up too much room, and I can keep it to hand fairly comfortably with a wrist strap. The auto exposure system means I can shoot film without having to put too much effort in to calculate the exposure… and the 40mm f1.7 lens is both sharp and also relatively fast – providing some rather pleasing bokeh under the right conditions.

There are other smaller film cameras of course, but none of them really have the same features as the 35ES. The only two that come to mind are the Rollei 35 or the Lomo LC-A… but neither of those have a rangefinder, and top out at a maximum aperture for f2.8.

There are some things about the Vivitar that annoyed me at first. For example… the throw of the focus ring is pretty short, and the lever isn’t especially smooth. There’s also no way to turn off the exposure meter, which I thought meant that batteries would be likely to run down even when not in use… though in practice that turned out to be less of a big deal than I thought it might be. When travelling through Japan for a month, I used the camera pretty consistently, and a single button cell battery lasted the entire time. You definitely wouldn’t get that with an LC-A, and it takes three batteries.

The main ‘problem’ I have with the 35ES (if you can call it that) is the lack of a shutter lock. That, combined with the fairly prominent shutter button means that if you leave the shutter cocked, it will almost inevitably get pressed against your side/in your bag/etc… resulting in wasted frames. I usually always wind on the film immediately after taking a shot. This is partly out of force of habit, but also for practical reasons: so that I’m ready for the next shot if it pops up. However, with the 35ES I decided to try and avoid doing so… but then genuinely lost count of the number of times where I brought the camera up to my face, focussed, pressed the shutter… only to realise that the film wasn’t wound on. Endless frustration! In the end I gave up worrying about it too much and just advanced as I usually would, and found that the shutter was stiff enough to avoid being accidentally depressed too often, though I would still have the odd mis-fire.

Overall, it’s a great wee camera, and I am consistently surprised at how the pictures come out in a variety of different circumstances.
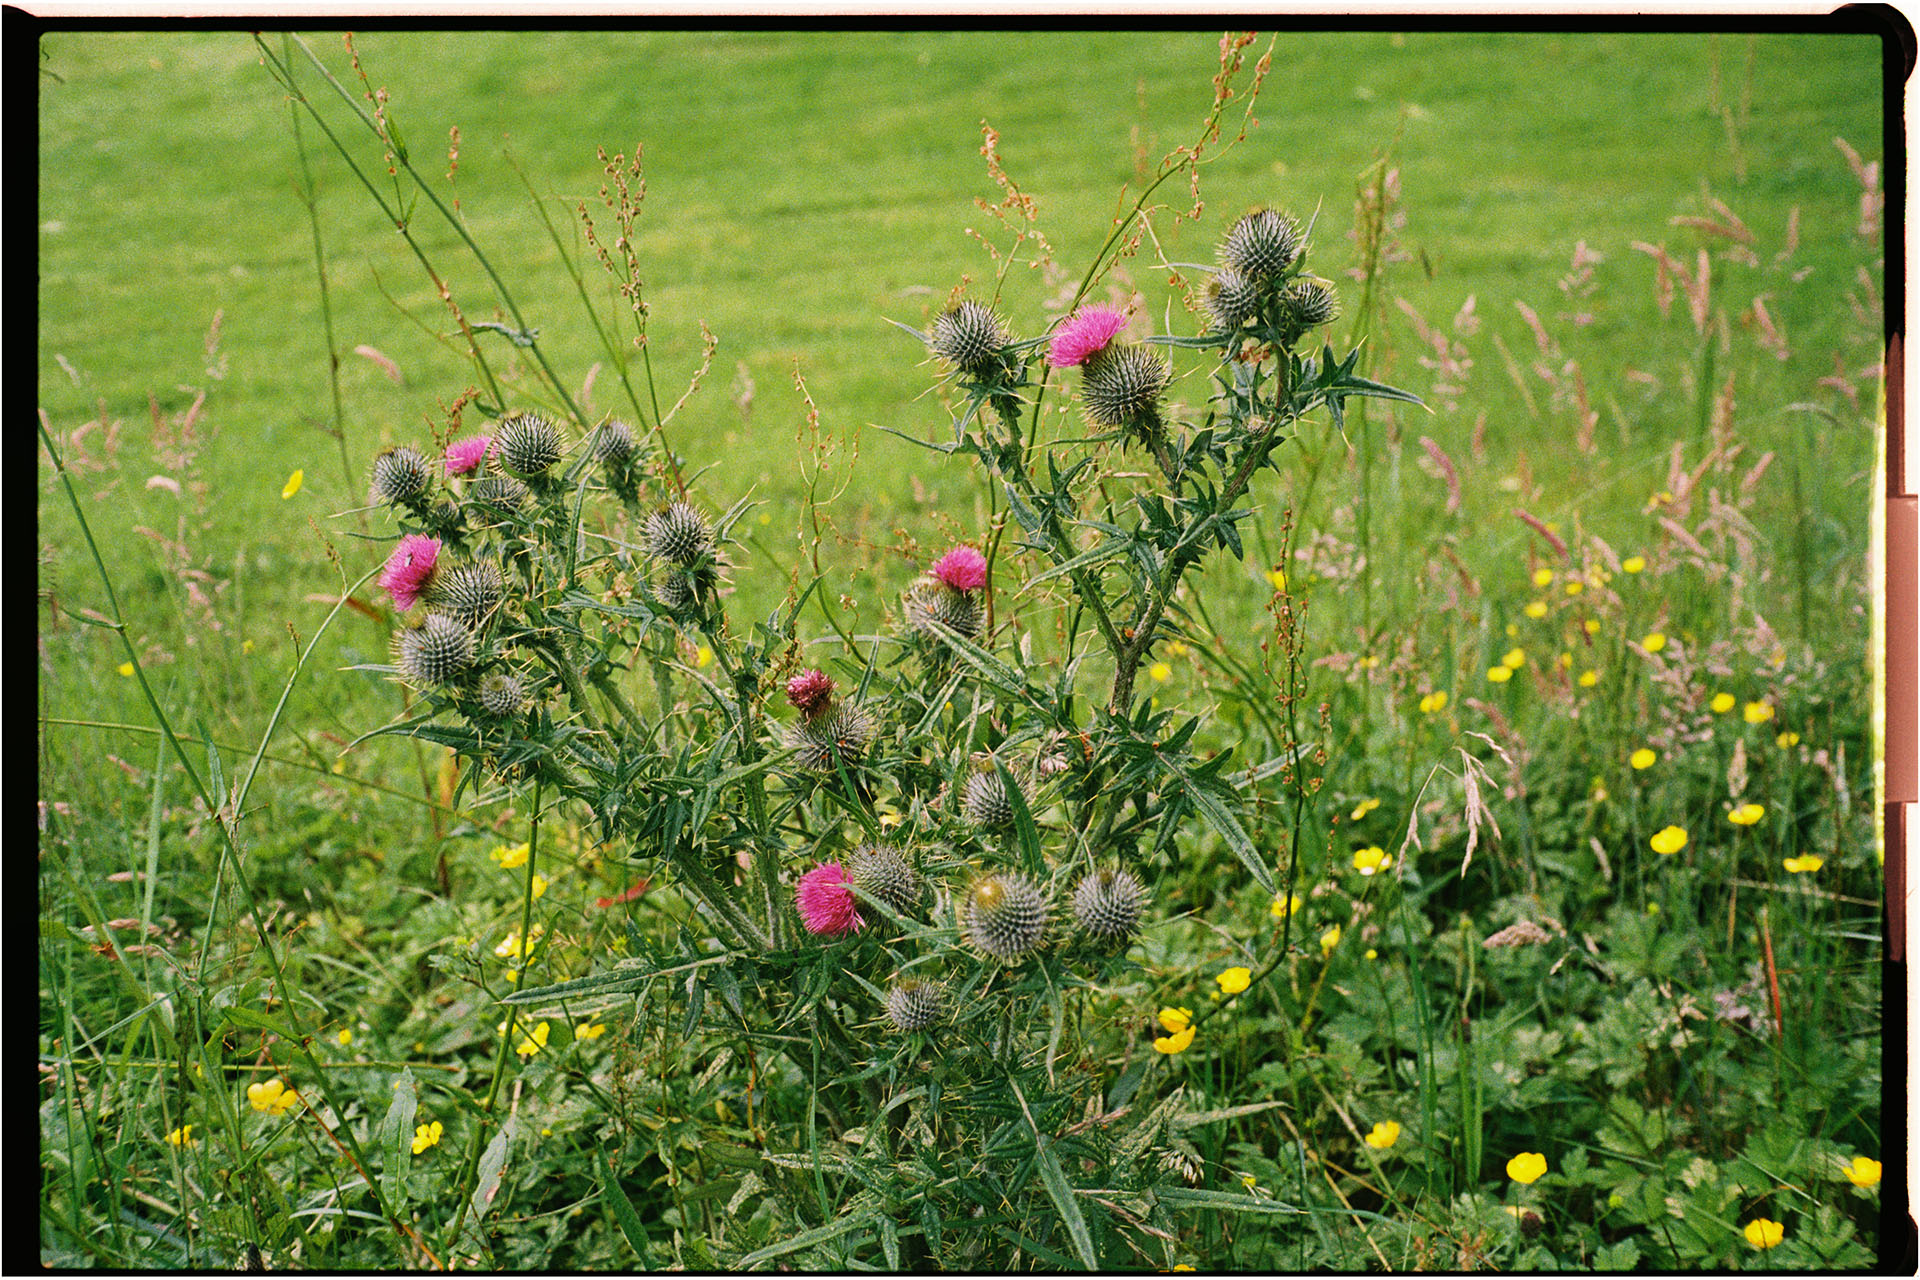
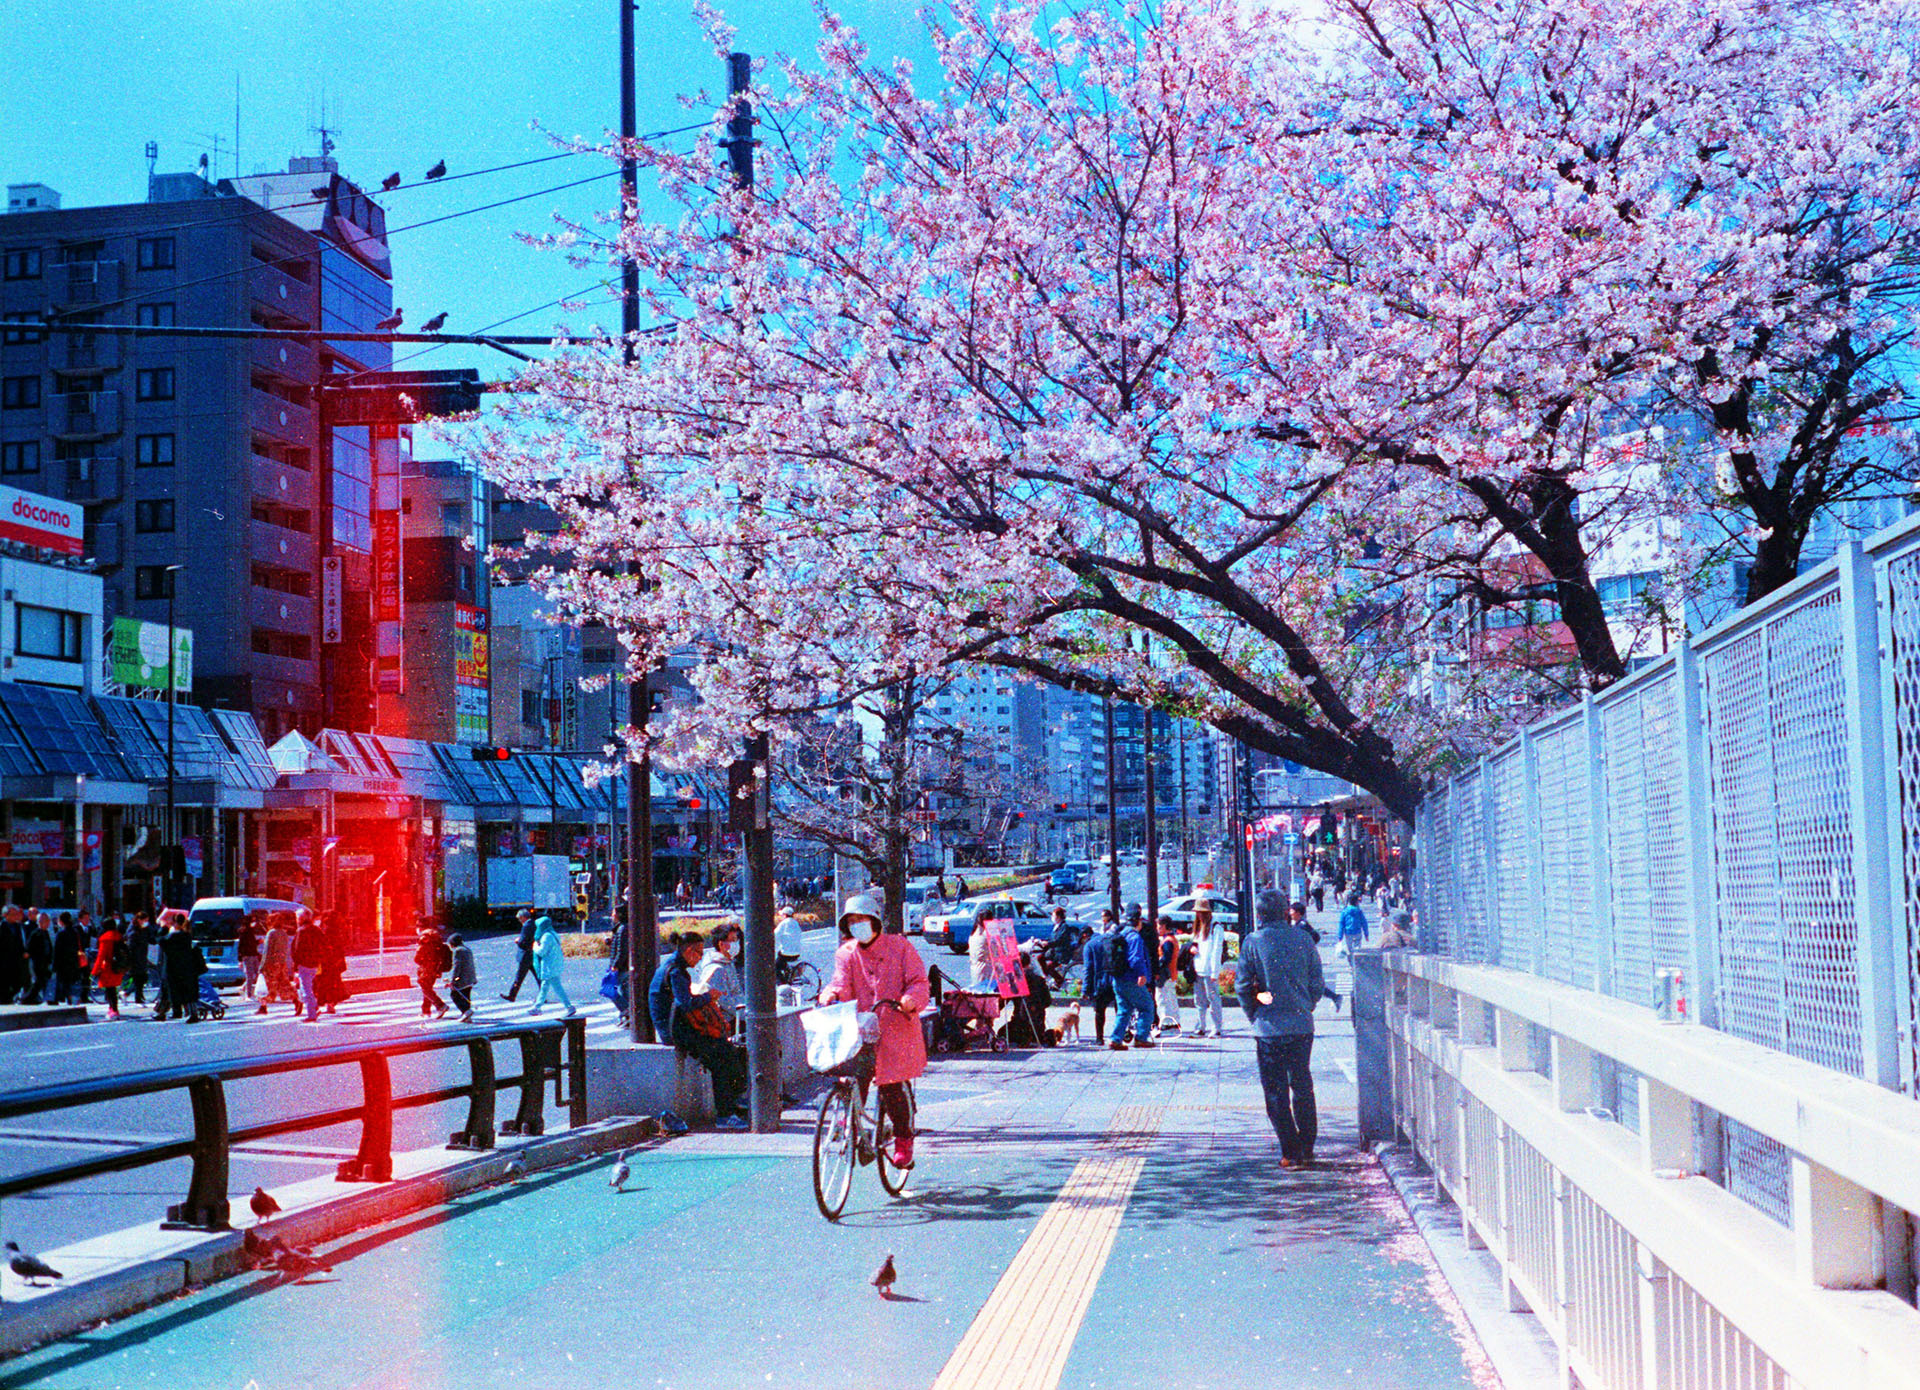
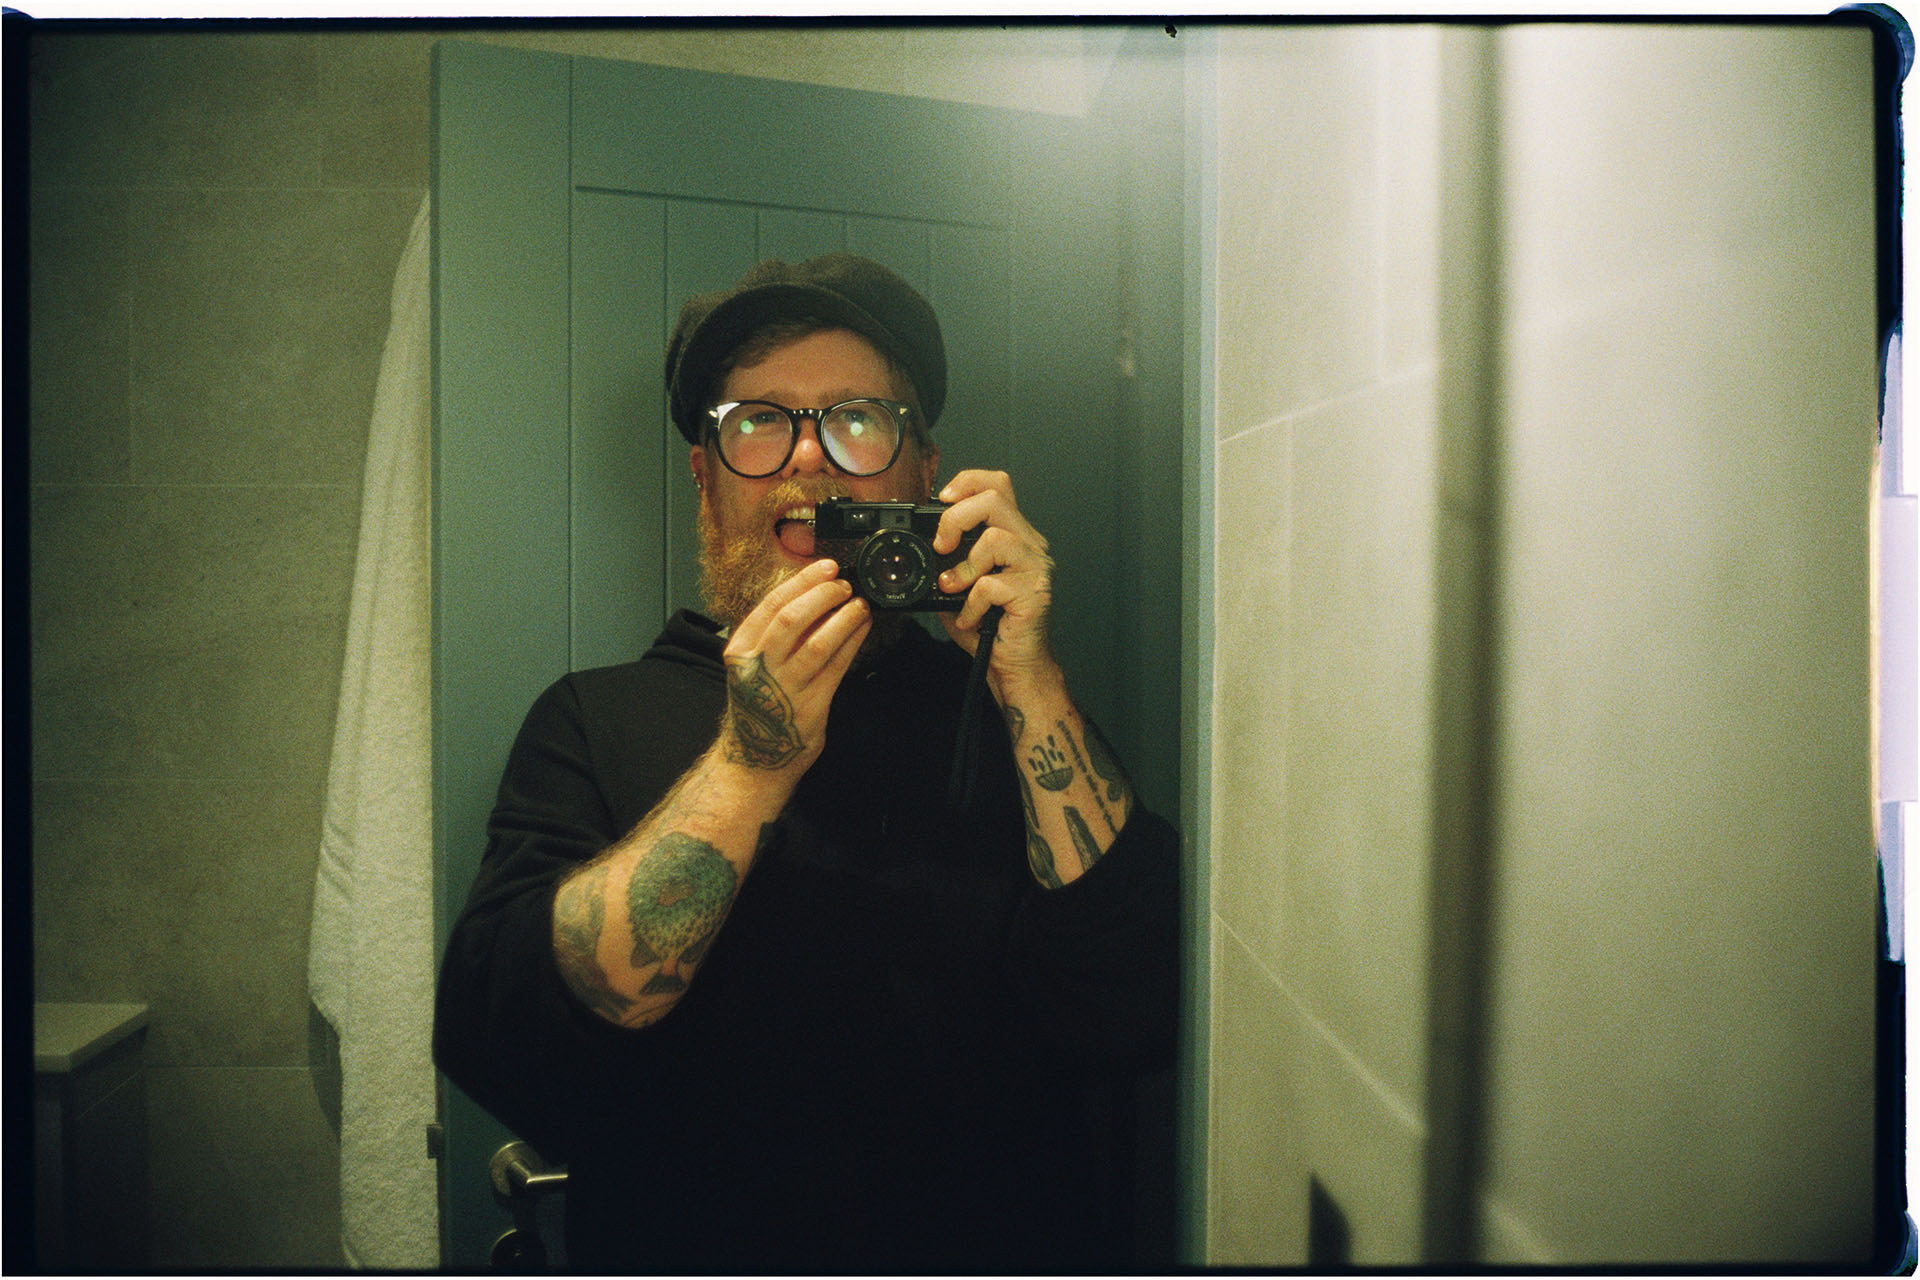
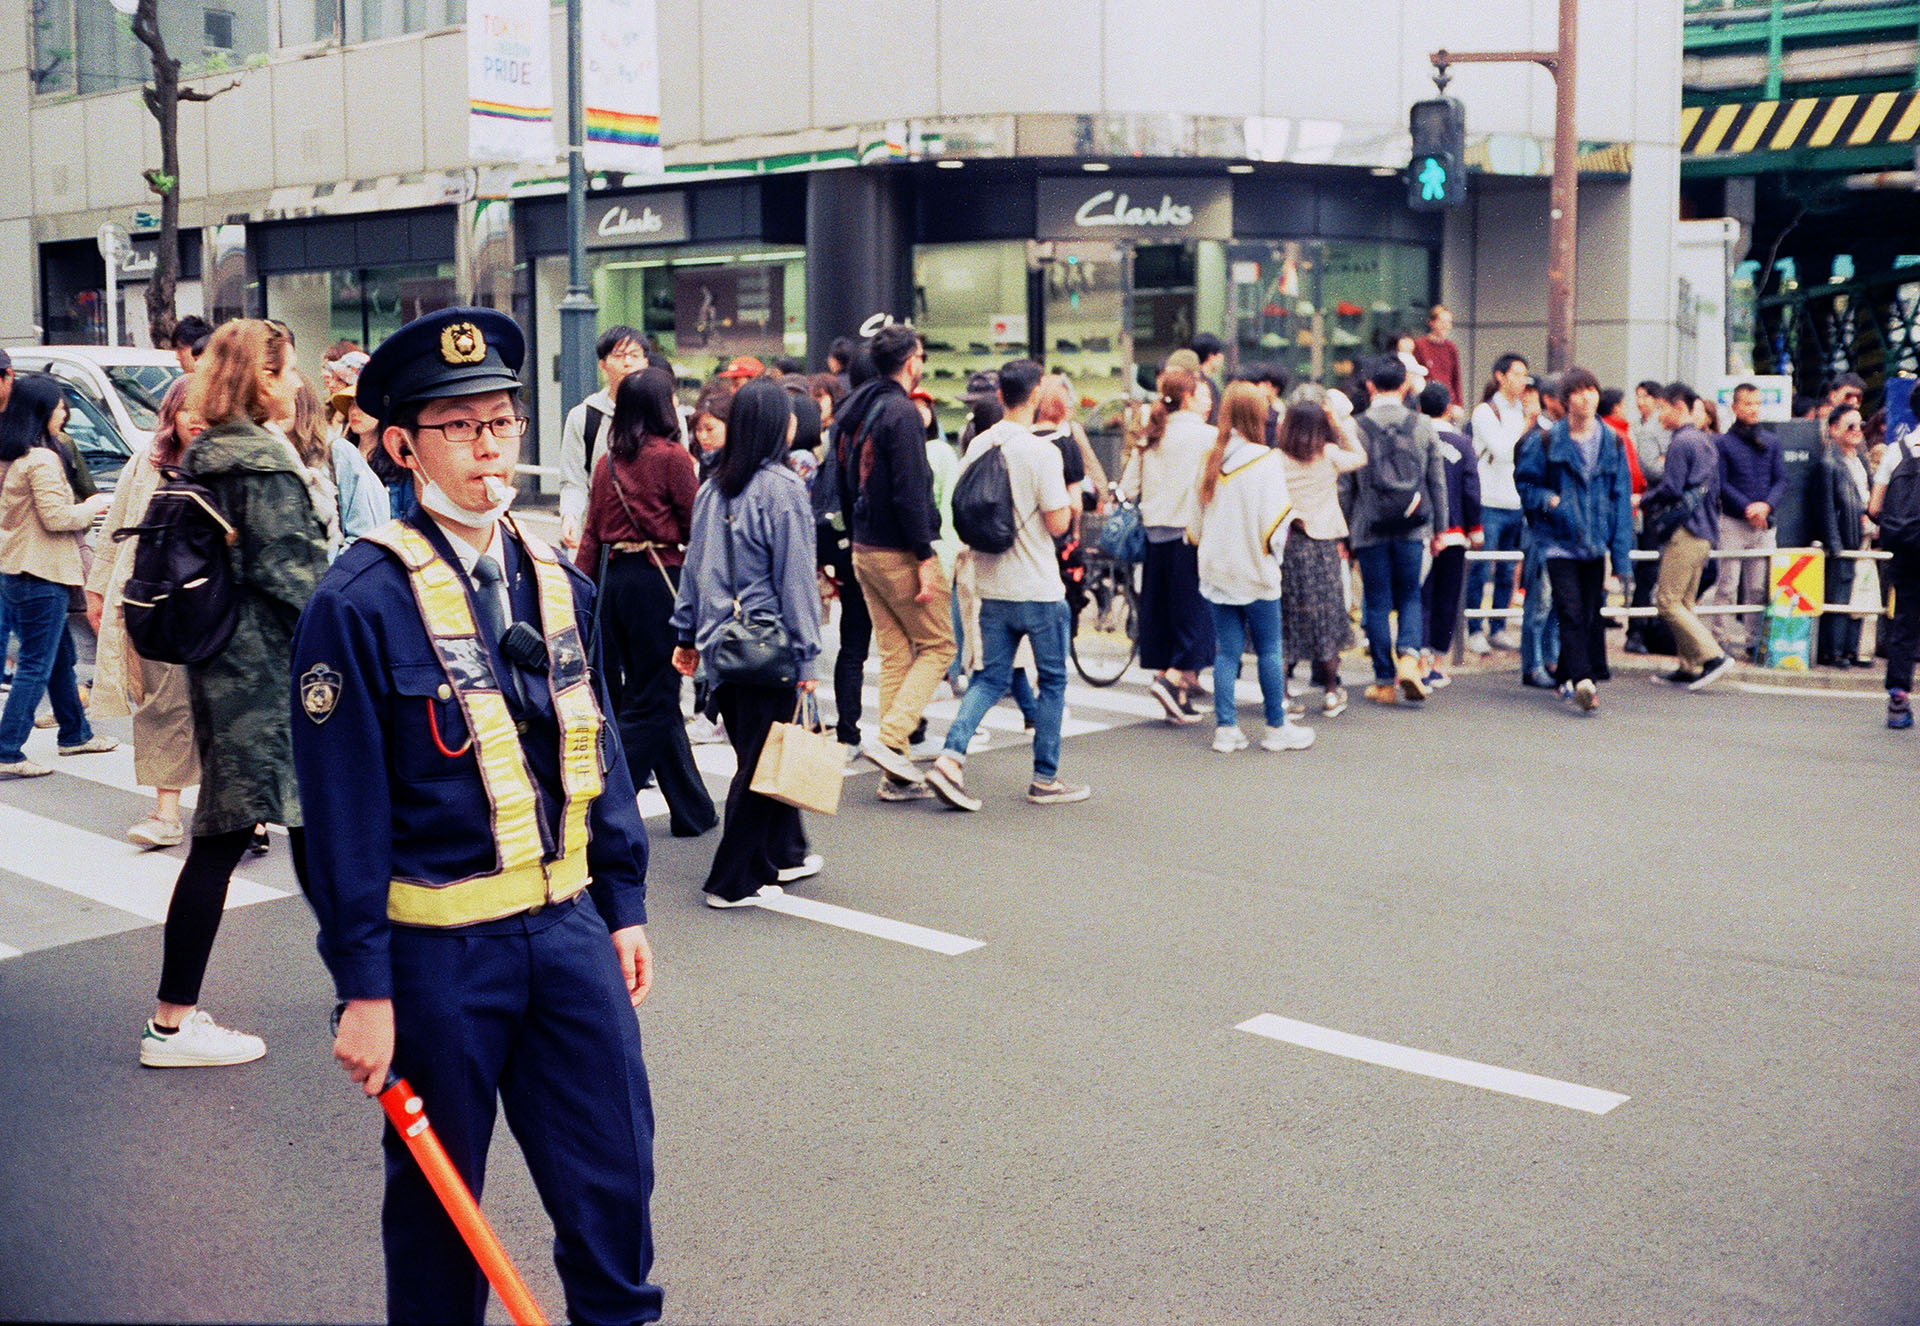
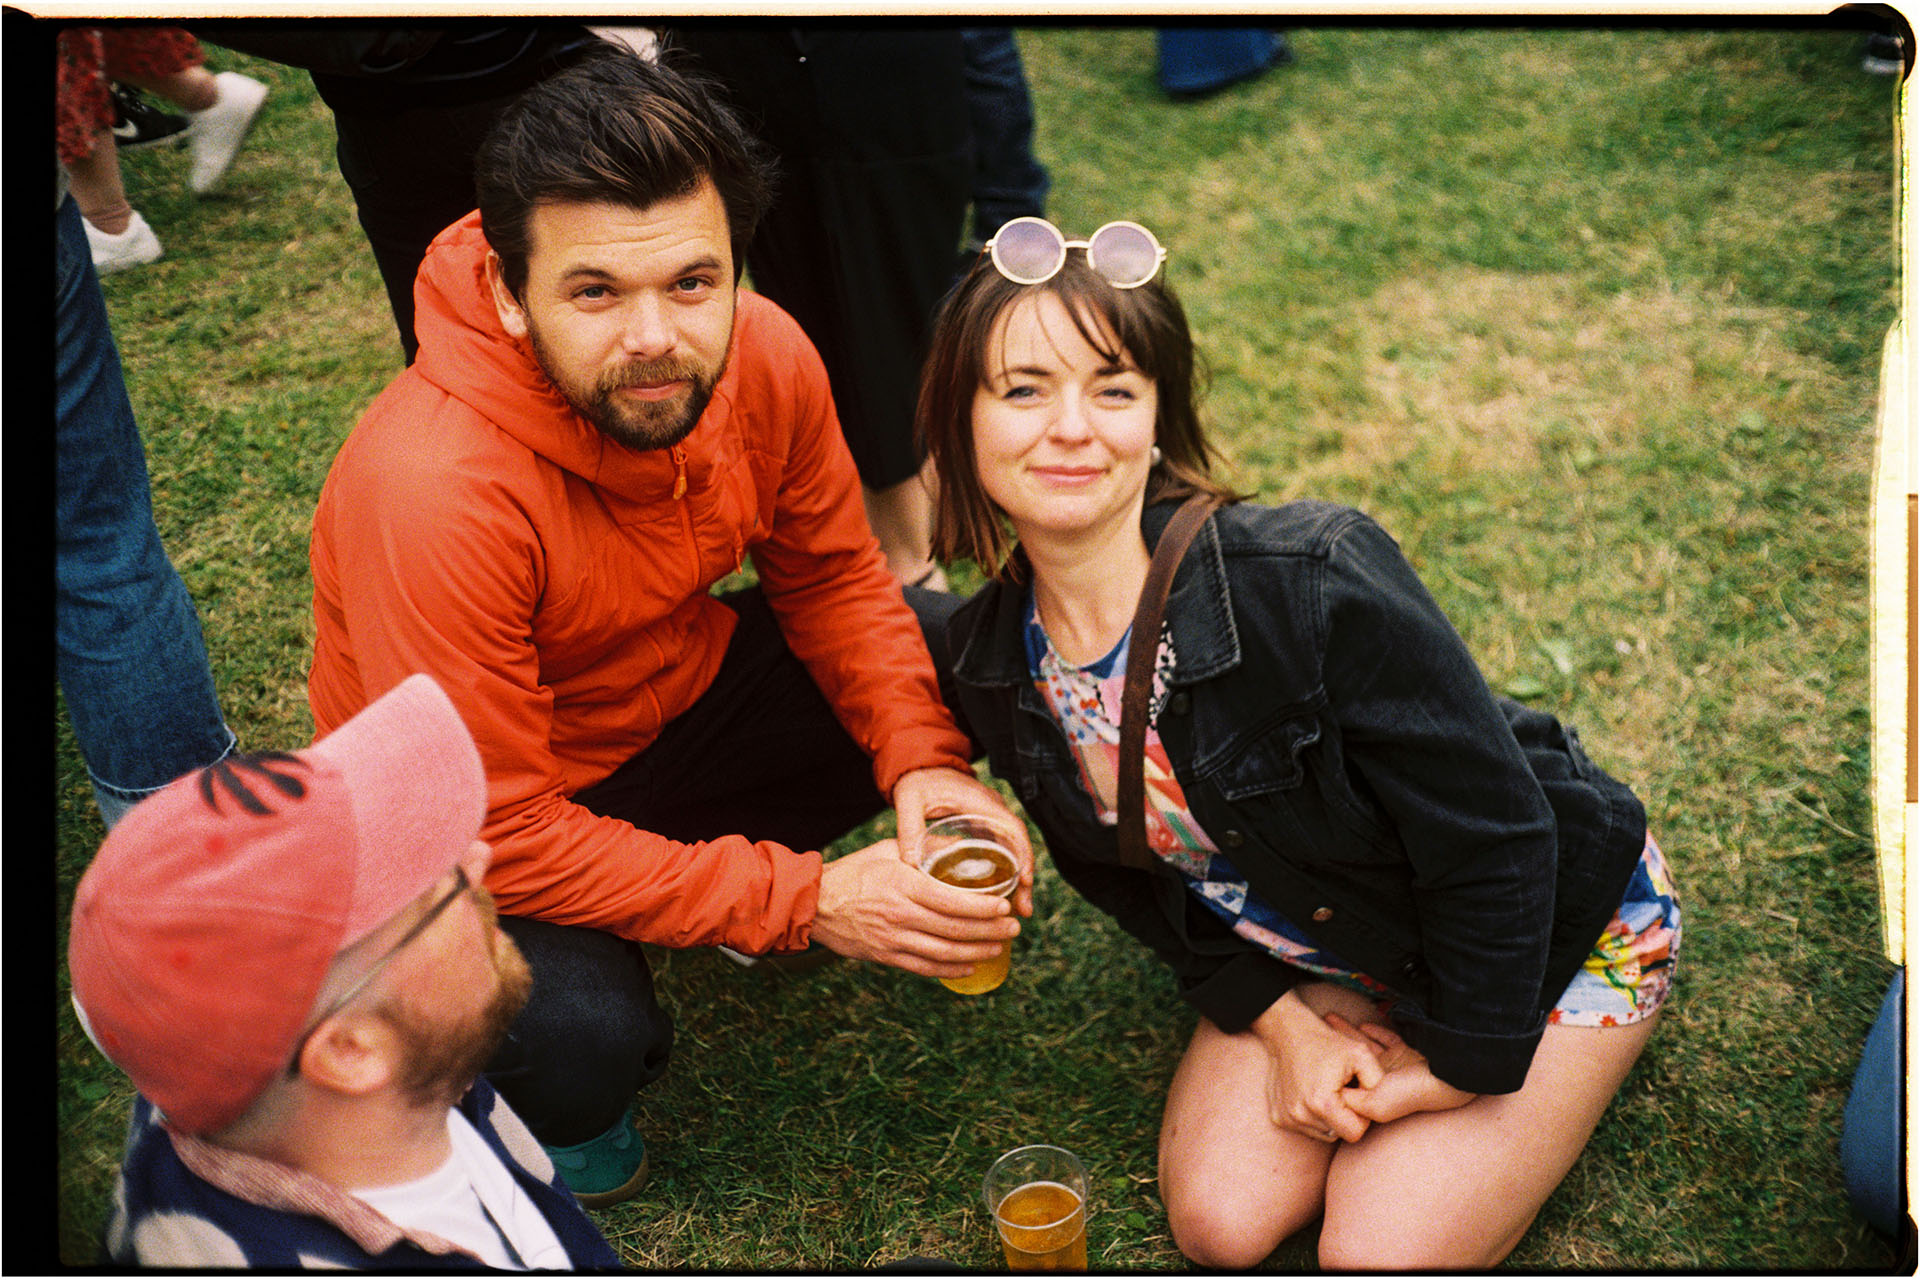
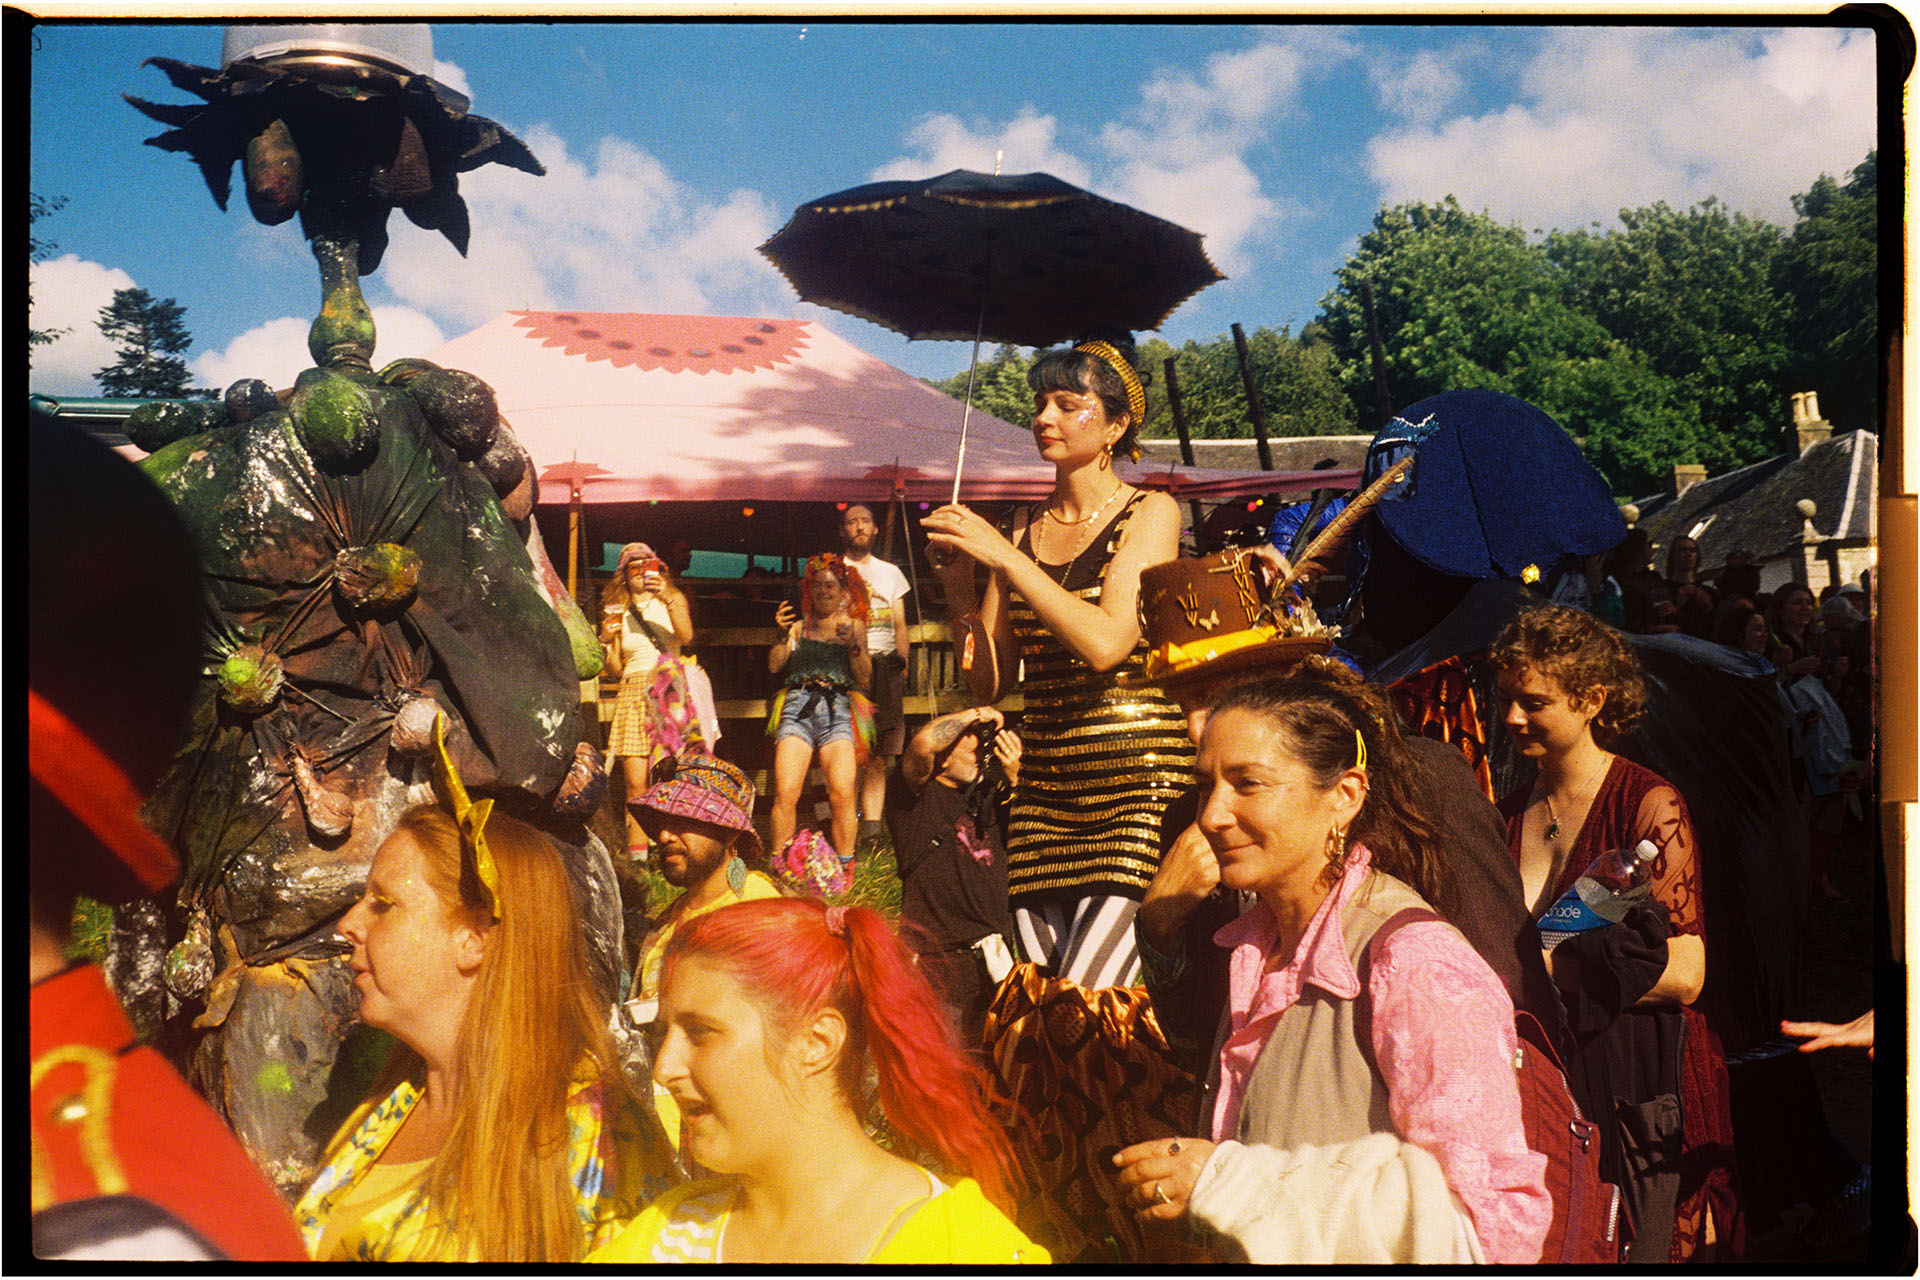
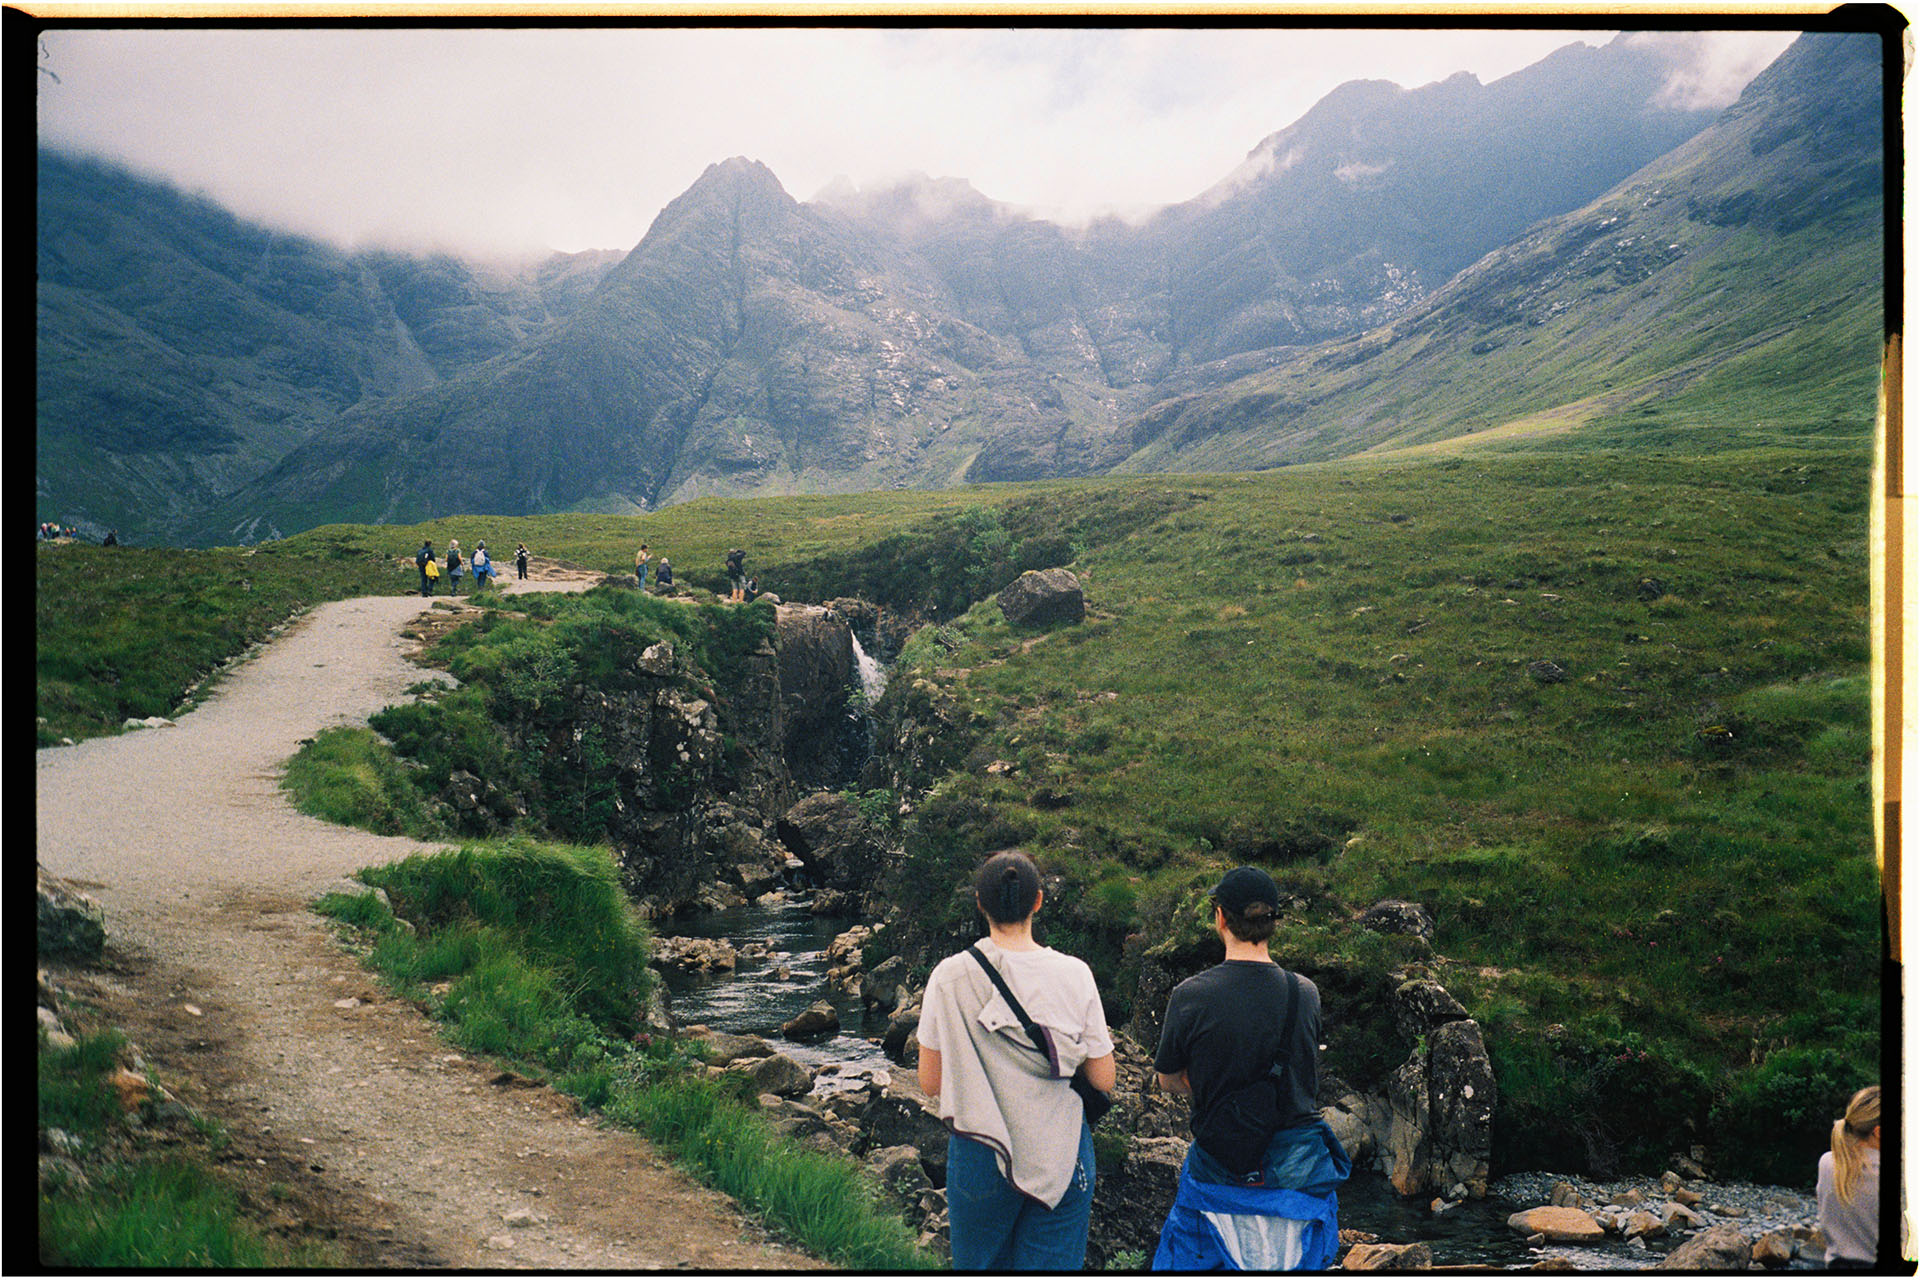
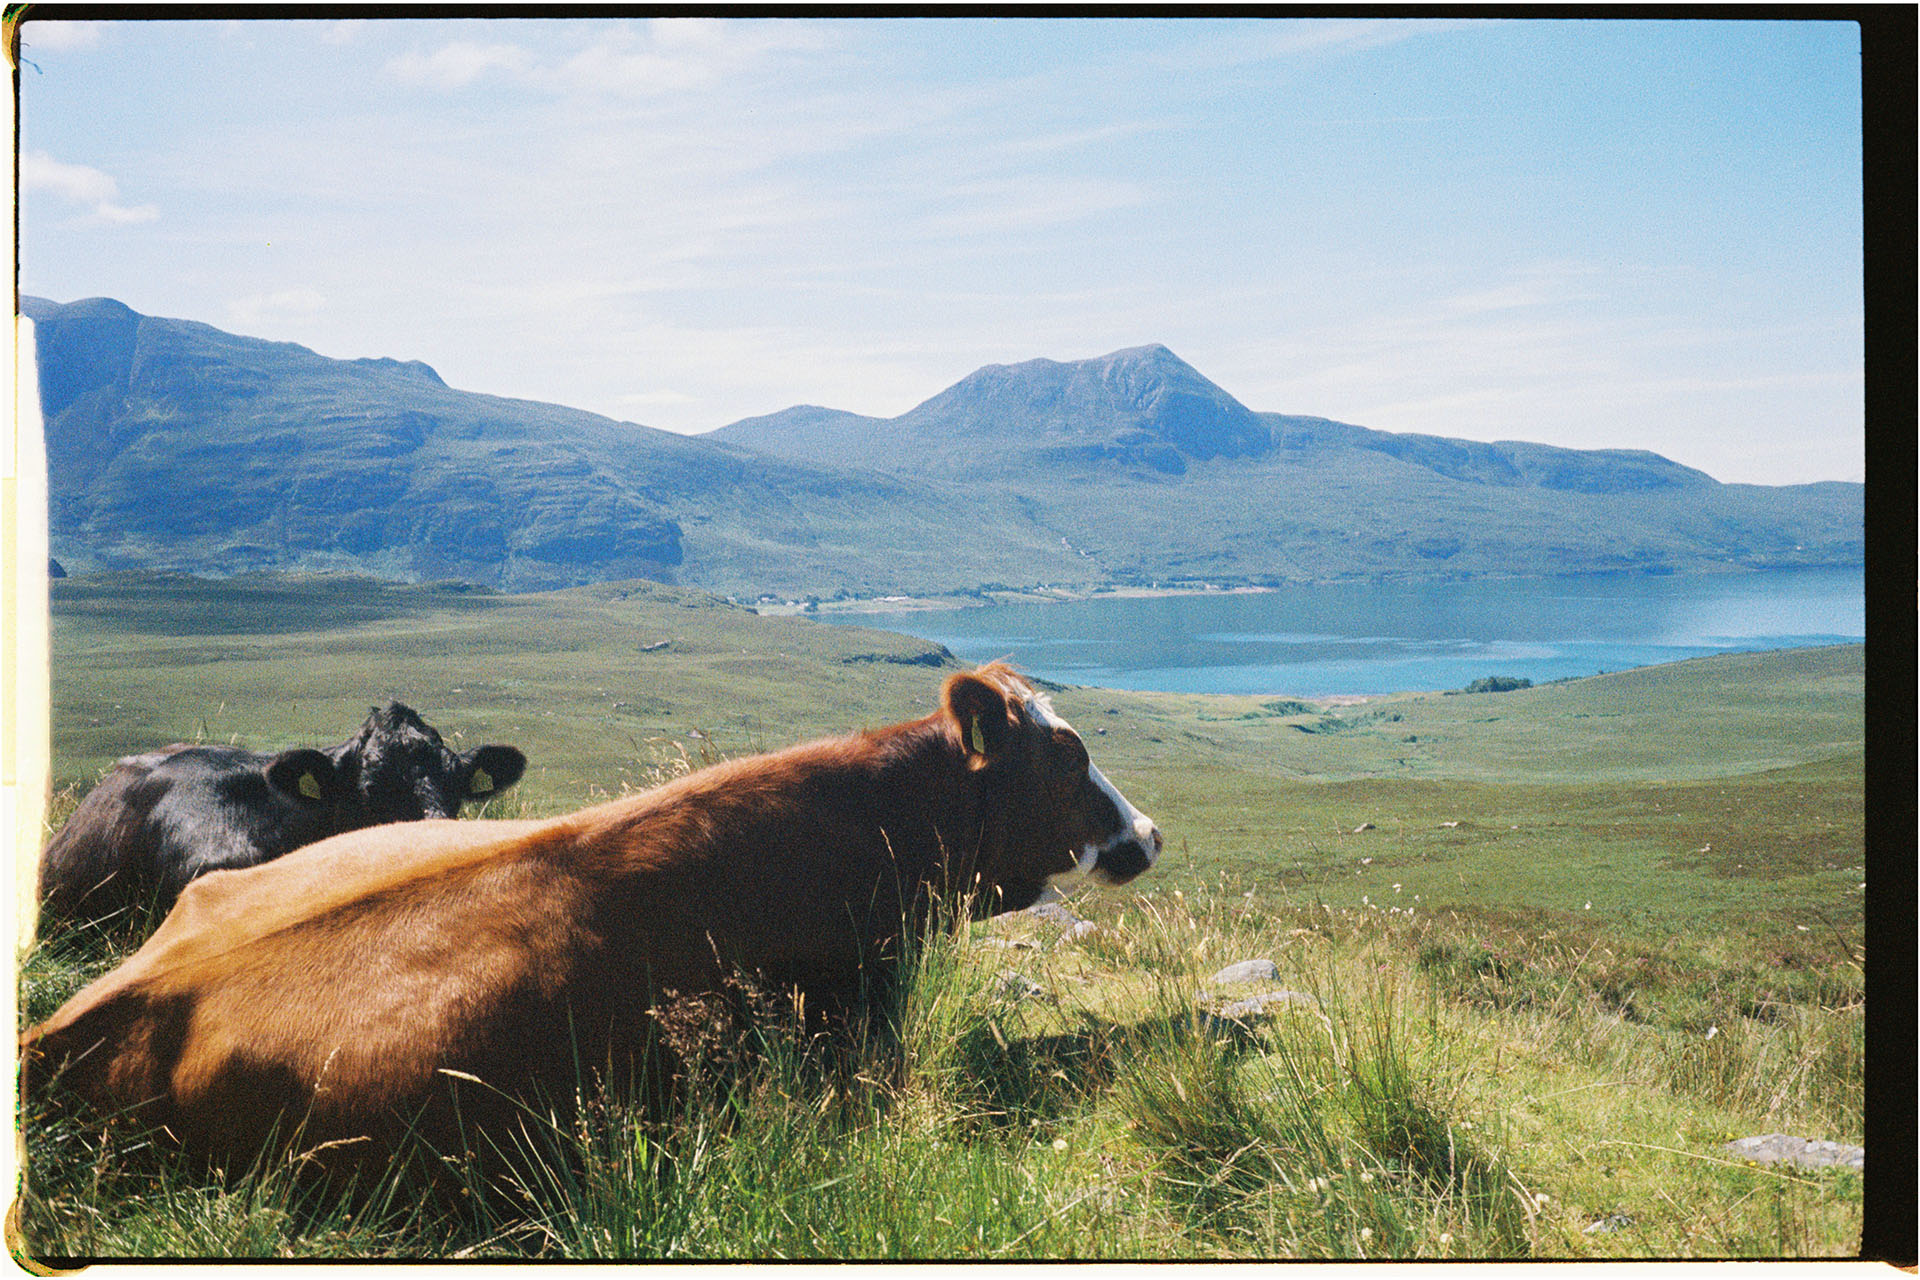
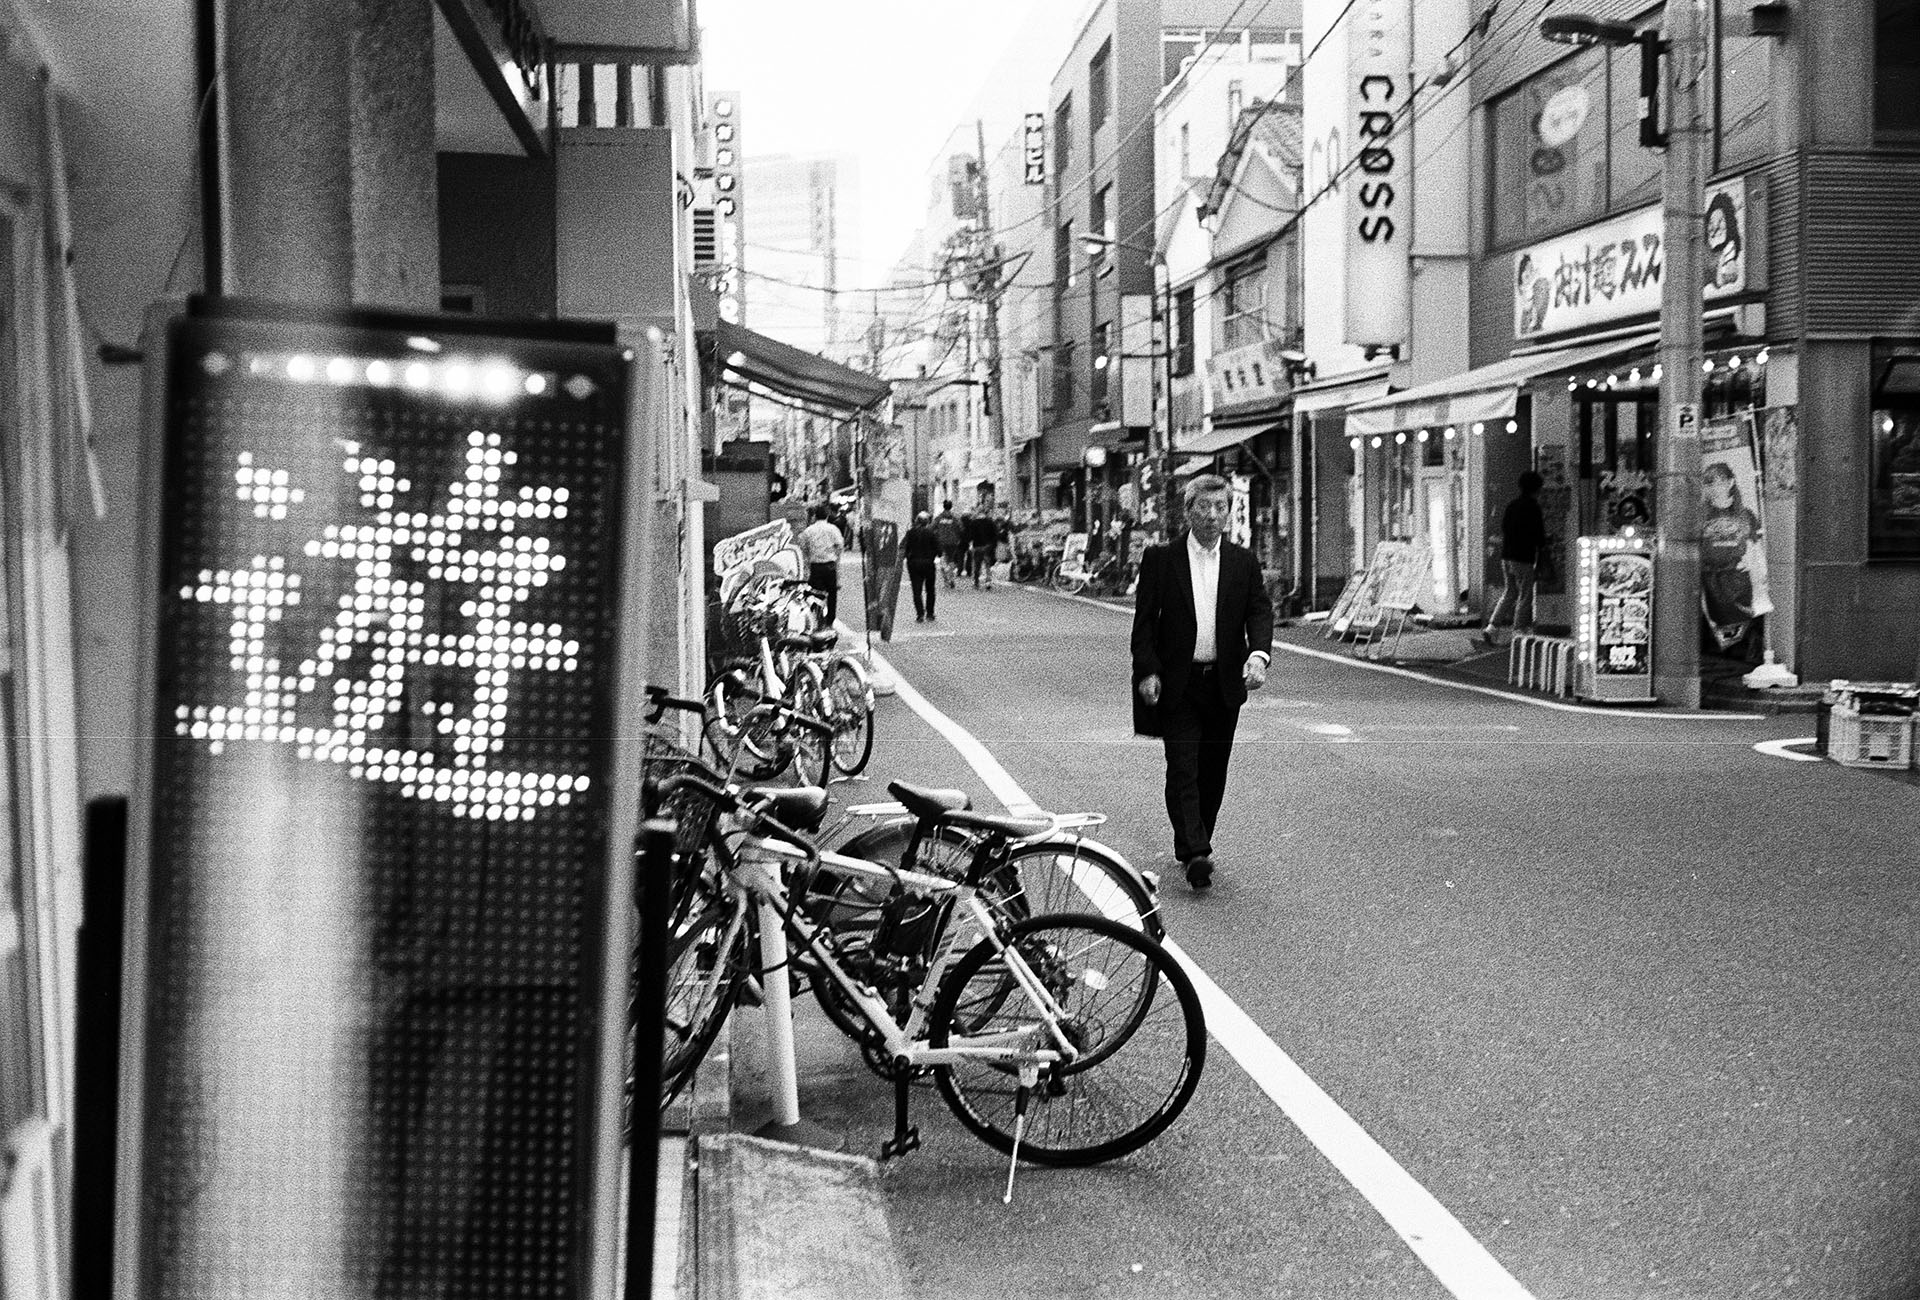
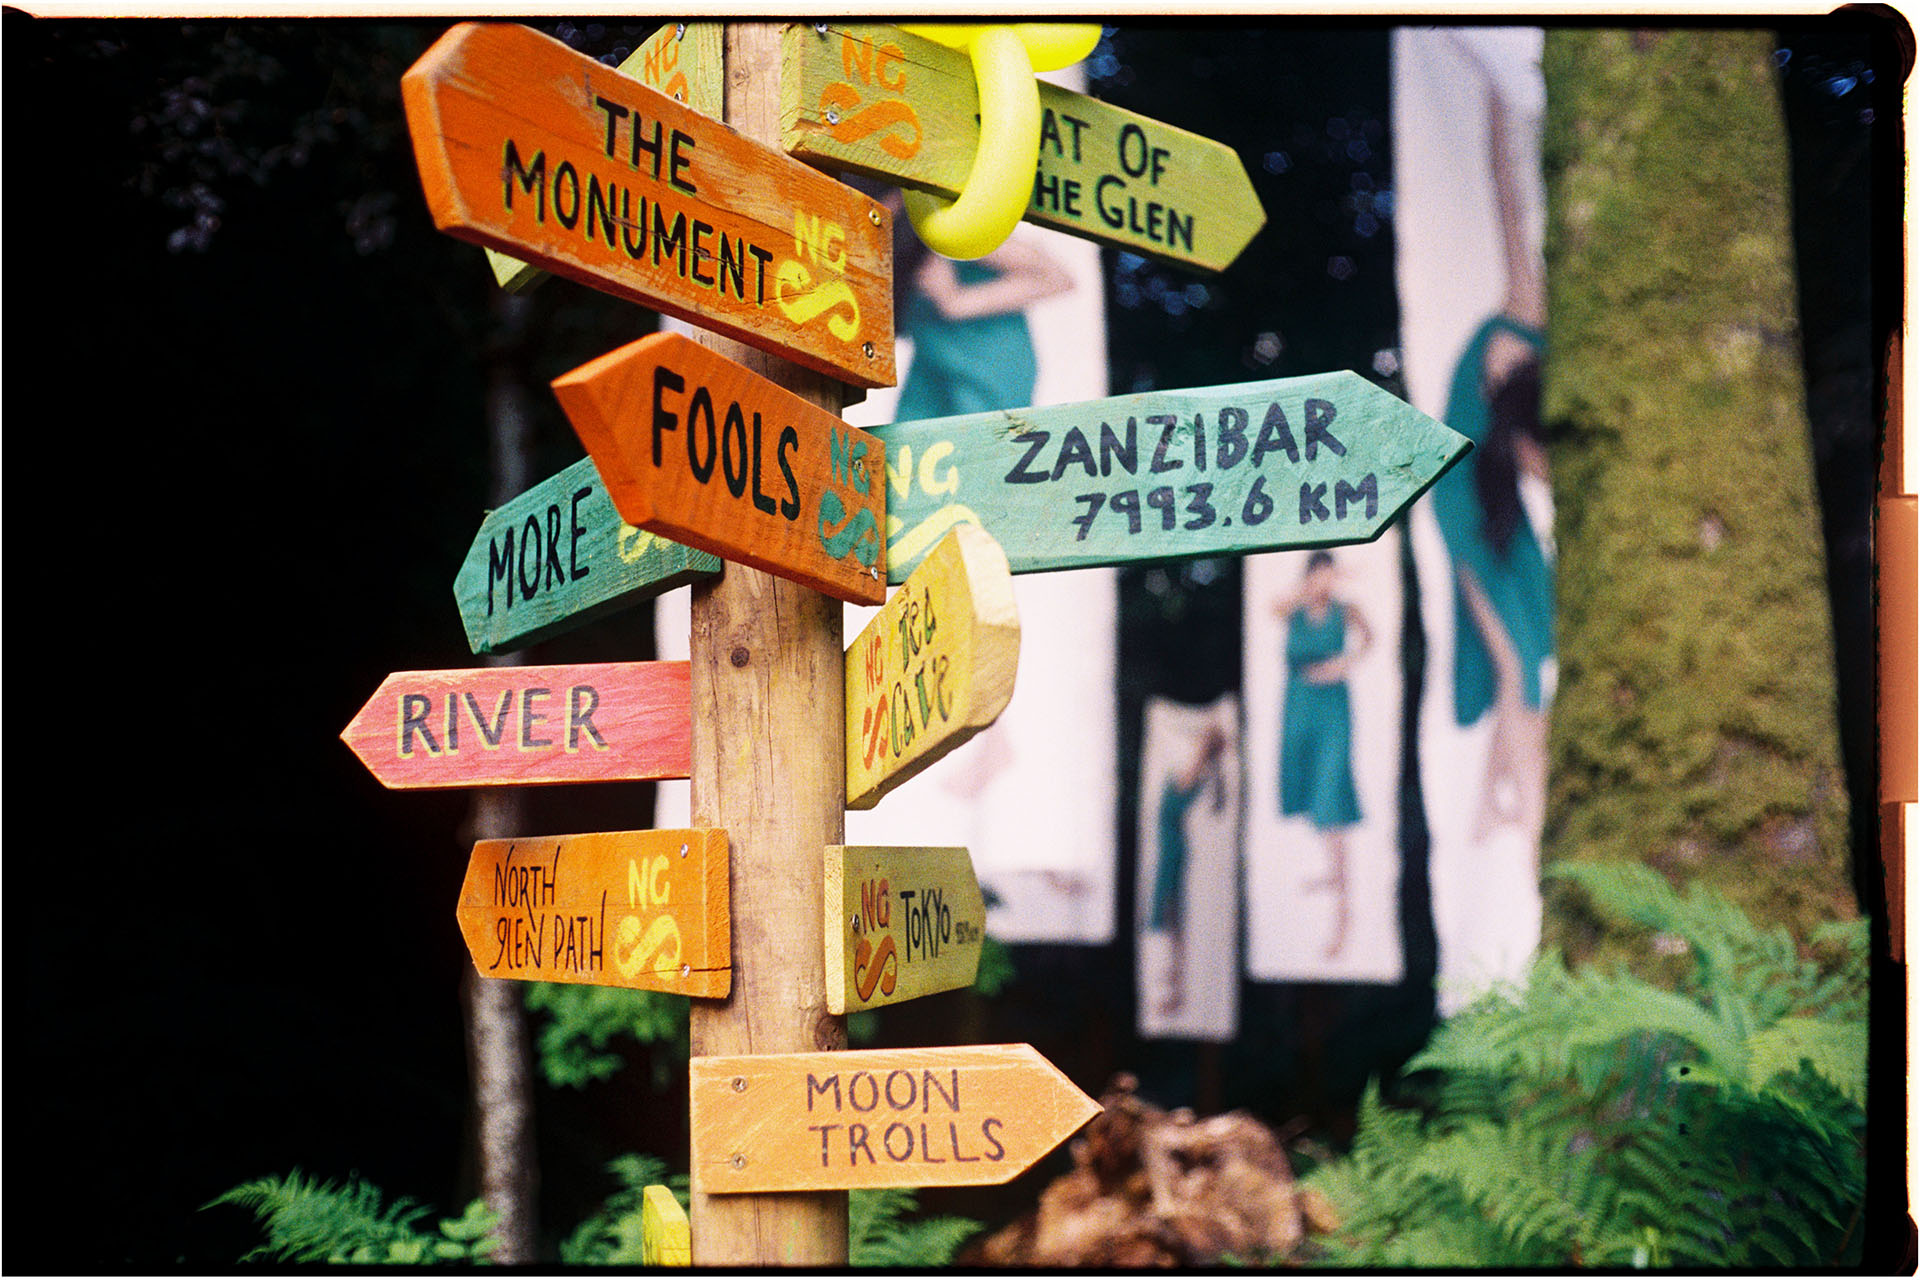
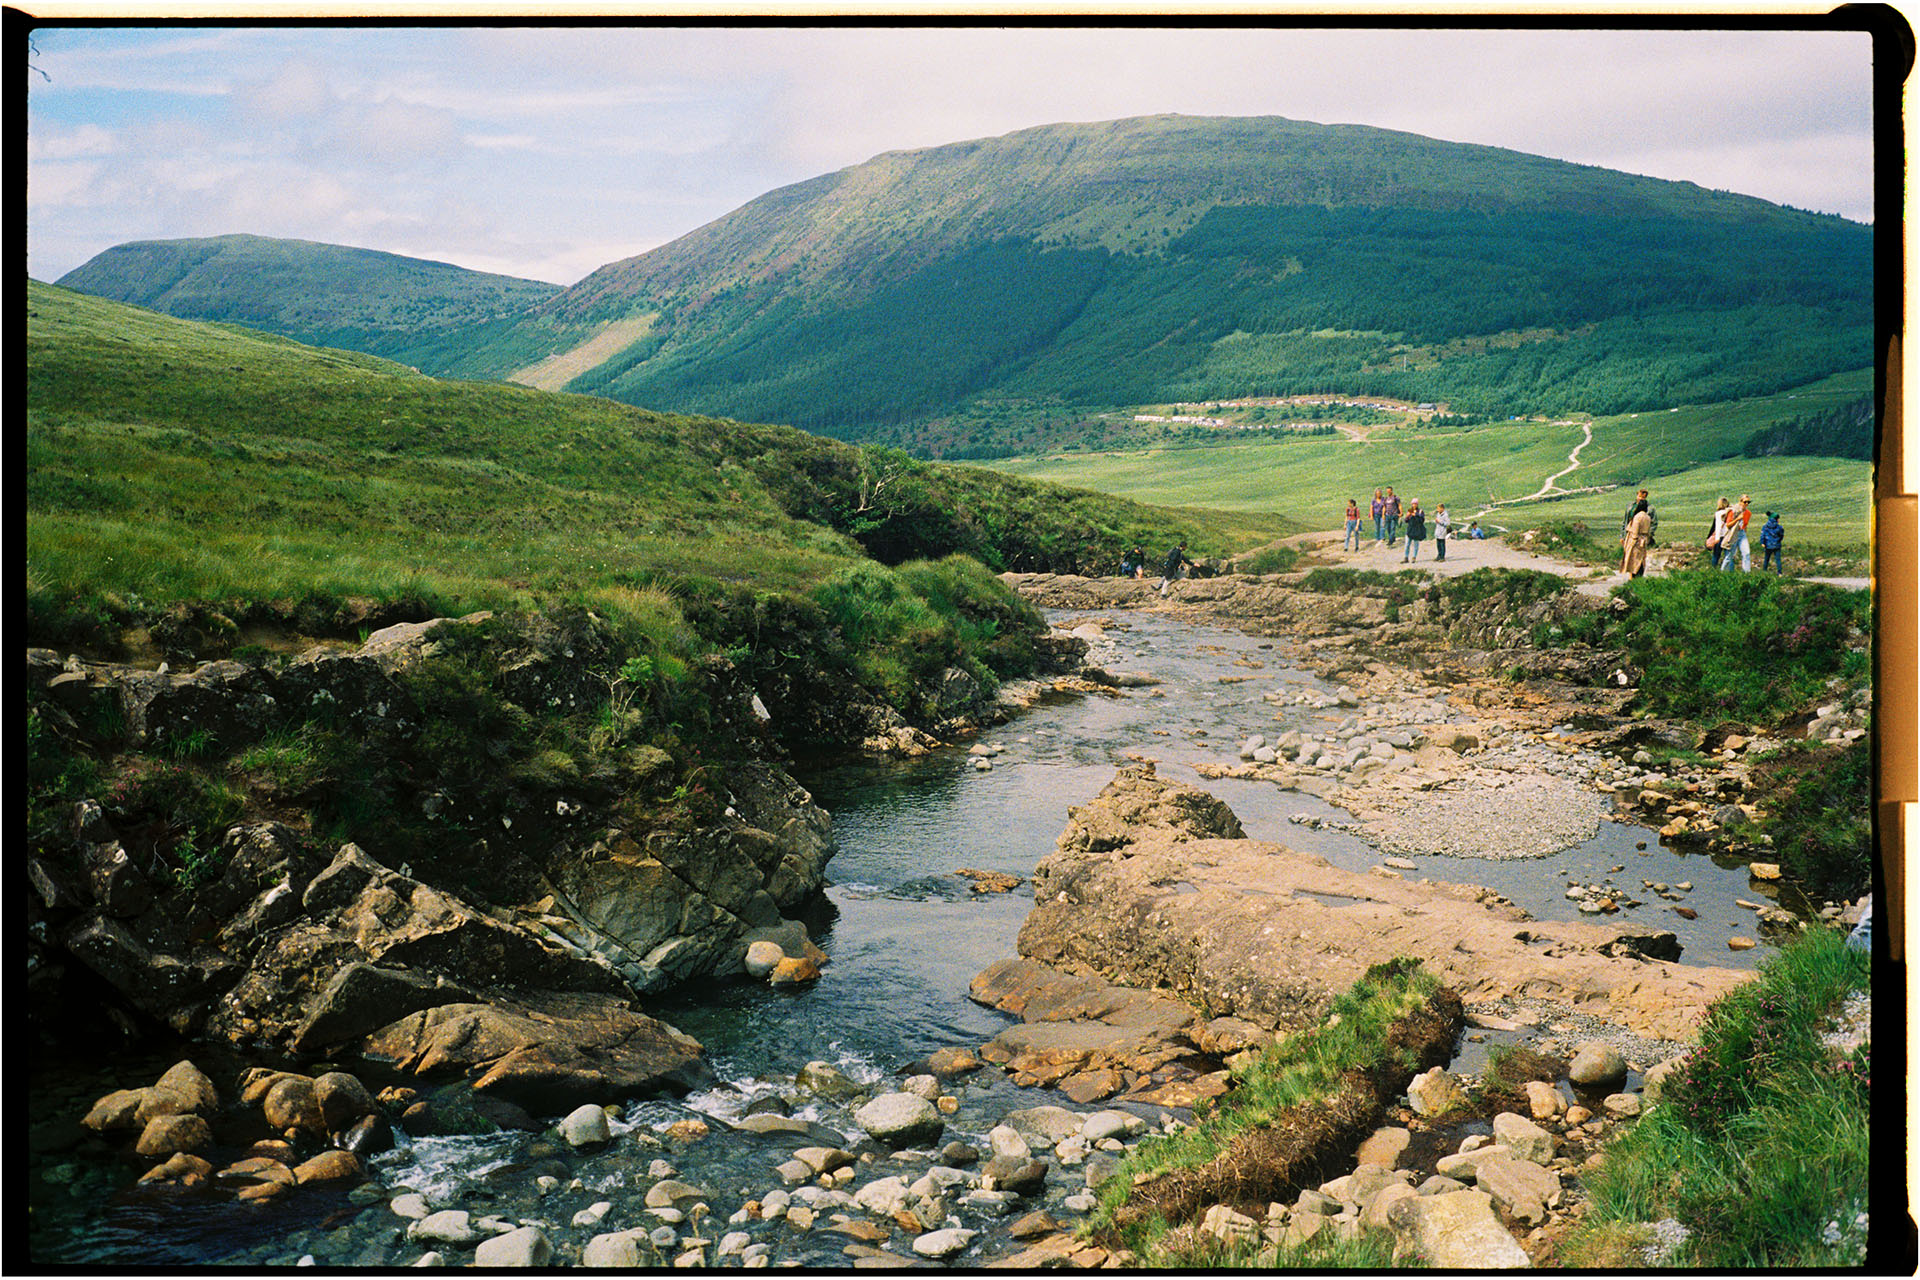
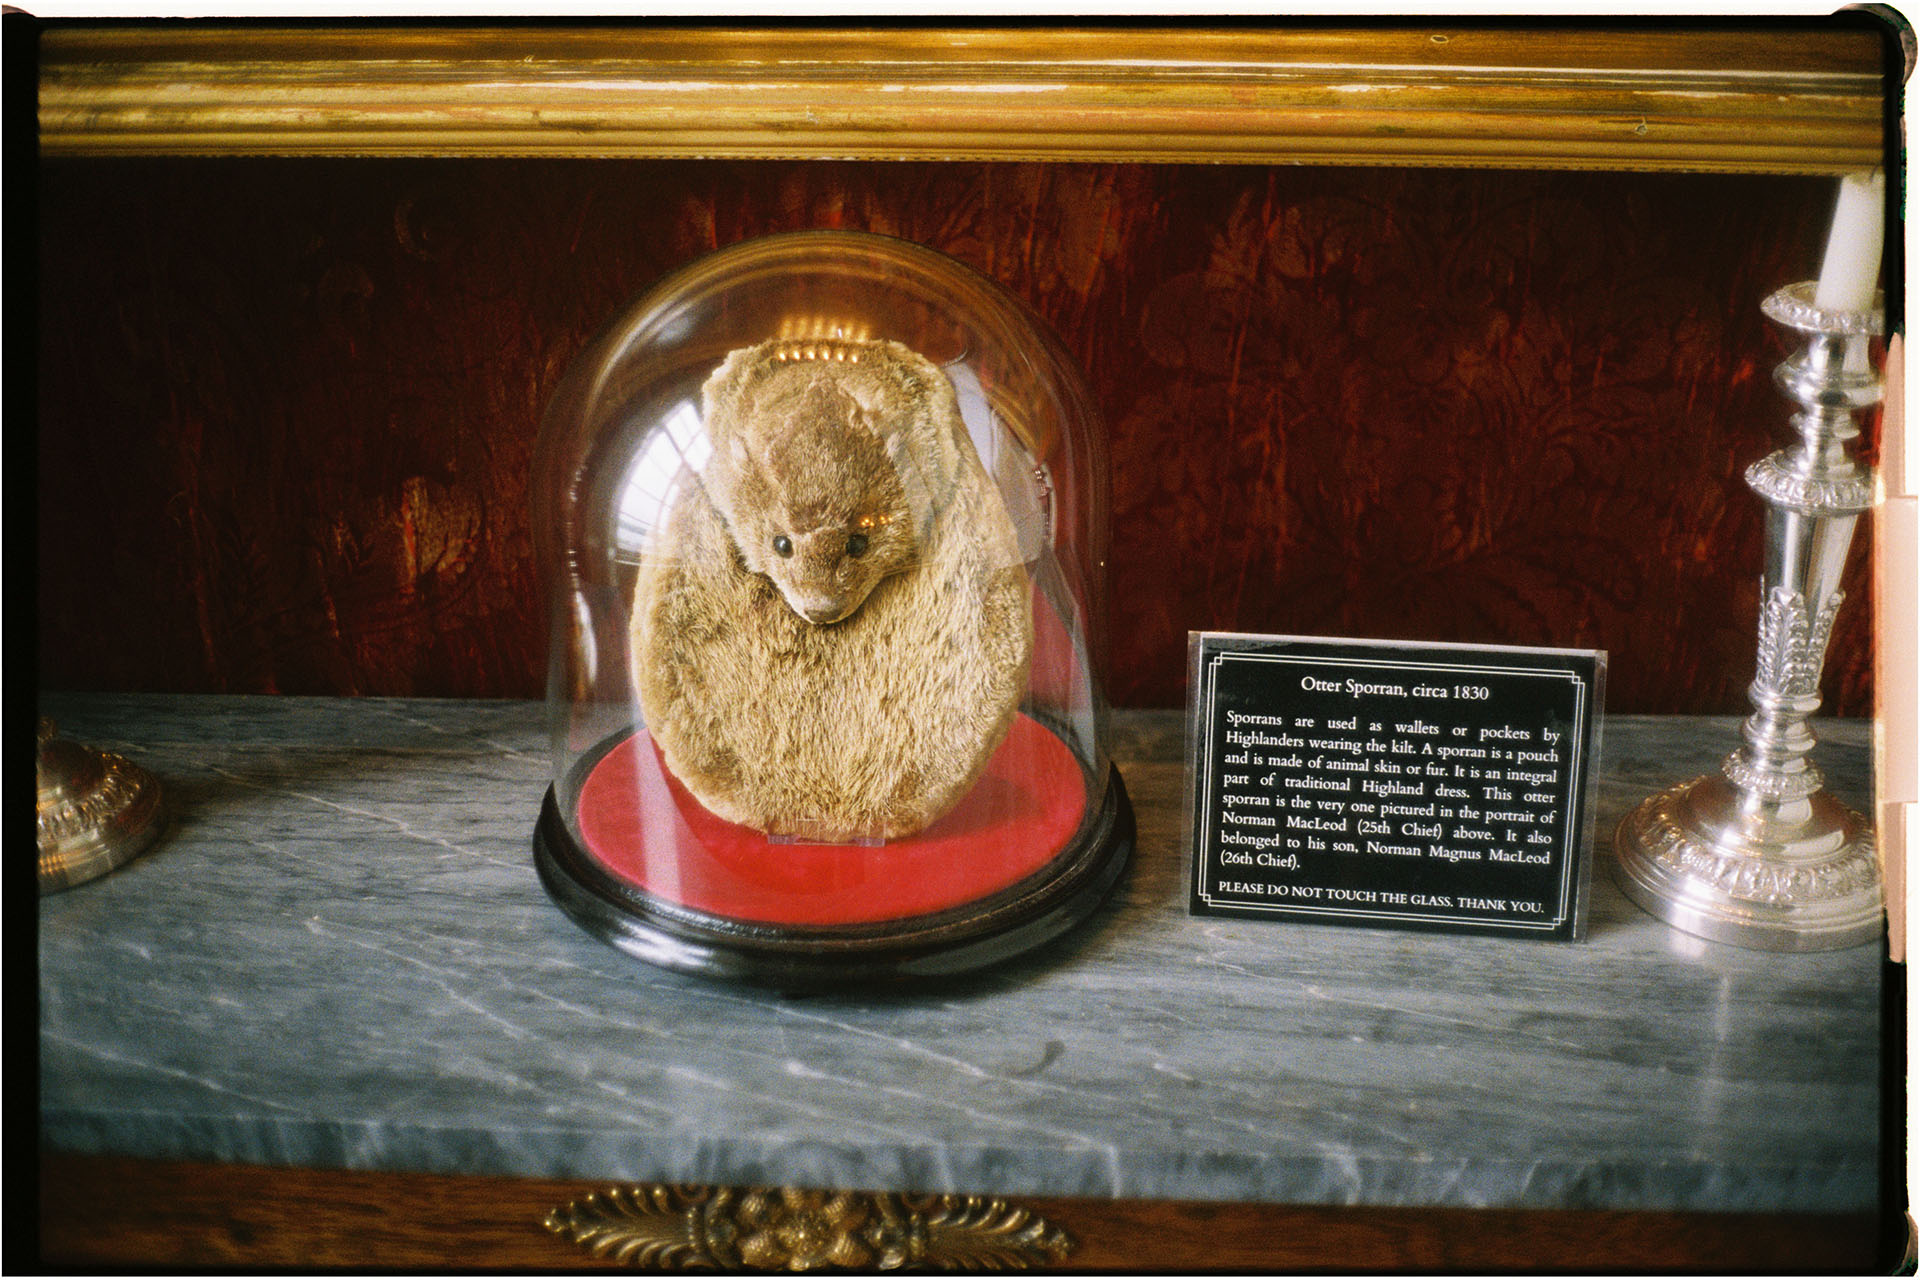
Sample Photos


Last updated:
Nice! I have a similar wee rangefinder, an Olympus 35 RD. The specs are pretty close to your Vivitar, but it does manual exposure along with shutter priority. I got it CLA’d last year: It was gifted to me in inoperable condition due to a sticky shutter. Now it works perfectly, and gives great photos.
I do like these late-era (mid-70s or so) compact fixed-lens rangefinders, the ones that have more features than the “all auto” ones that dominated the market then. Still, I like my big ol’ 60’s fixed-lens rangefinder as well, the Minolta Hi-Matic 7s. It’s definitely bigger/bulkier than the 35 RD, and I thought I’d give it up when I got the Olympus serviced. Bt there’s something about the shutter-release feel, and the viewfinder is brighter incl. the rangefinder patch. So I now have two rangefinders!
Oh that 35RD looks really cool! I’ve never seen one of them before, but it looks very similar indeed. Right down to the plasticky shutter button. I wonder how much crossover there was in manufacturing these at the time. The Hi-Matic 7s is another great looking one, which I’ve never shot with. There’s a bit of magic in the weirdo rangefinders of that era.
The 35RD was pretty uncommon, the “premium” rangefinder for Olympus from 1975-8. The smaller and slower 35RC is much easier to find and is also supposed to be good, though only a f/2.8 lens and slowest shutter speed of 1/15.
It is amazing how much ALL those premium compact 70s rangefinders look similar!
Mind if I ask what films you were predominantly using for these example photos? They look fantastic!
Hey thank you! These are a big mixture of films. Neopan 1600, Kodak Gold 200, Ultramax 400, Kodak 500T. A whole pile of things. 🙂