It’s trendy to say you don’t edit your pictures, but the fact is that post processing images after you shoot them is an important part of taking portraits. I’m not talking about the kind of modifications deployed by the fashion and glamour industry of body sculpting, etc, but rather the same kind of adjustments that one might have made to exposure, contrast, and colour in the darkroom.
The reality is that those who claim to not process their images are simply giving over control of certain decisions to their camera, rather than making those choices themselves. To me, creating portraits is more about art and evoking or reflecting specific feelings than perfectly recreating reality, and as a result, I prefer to gather the most amount of data possible from a scene (shooting RAW), and then decide how to shape the outcome afterwards – whether that means bolder colours, bringing more attention to the eyes, or whatever else.
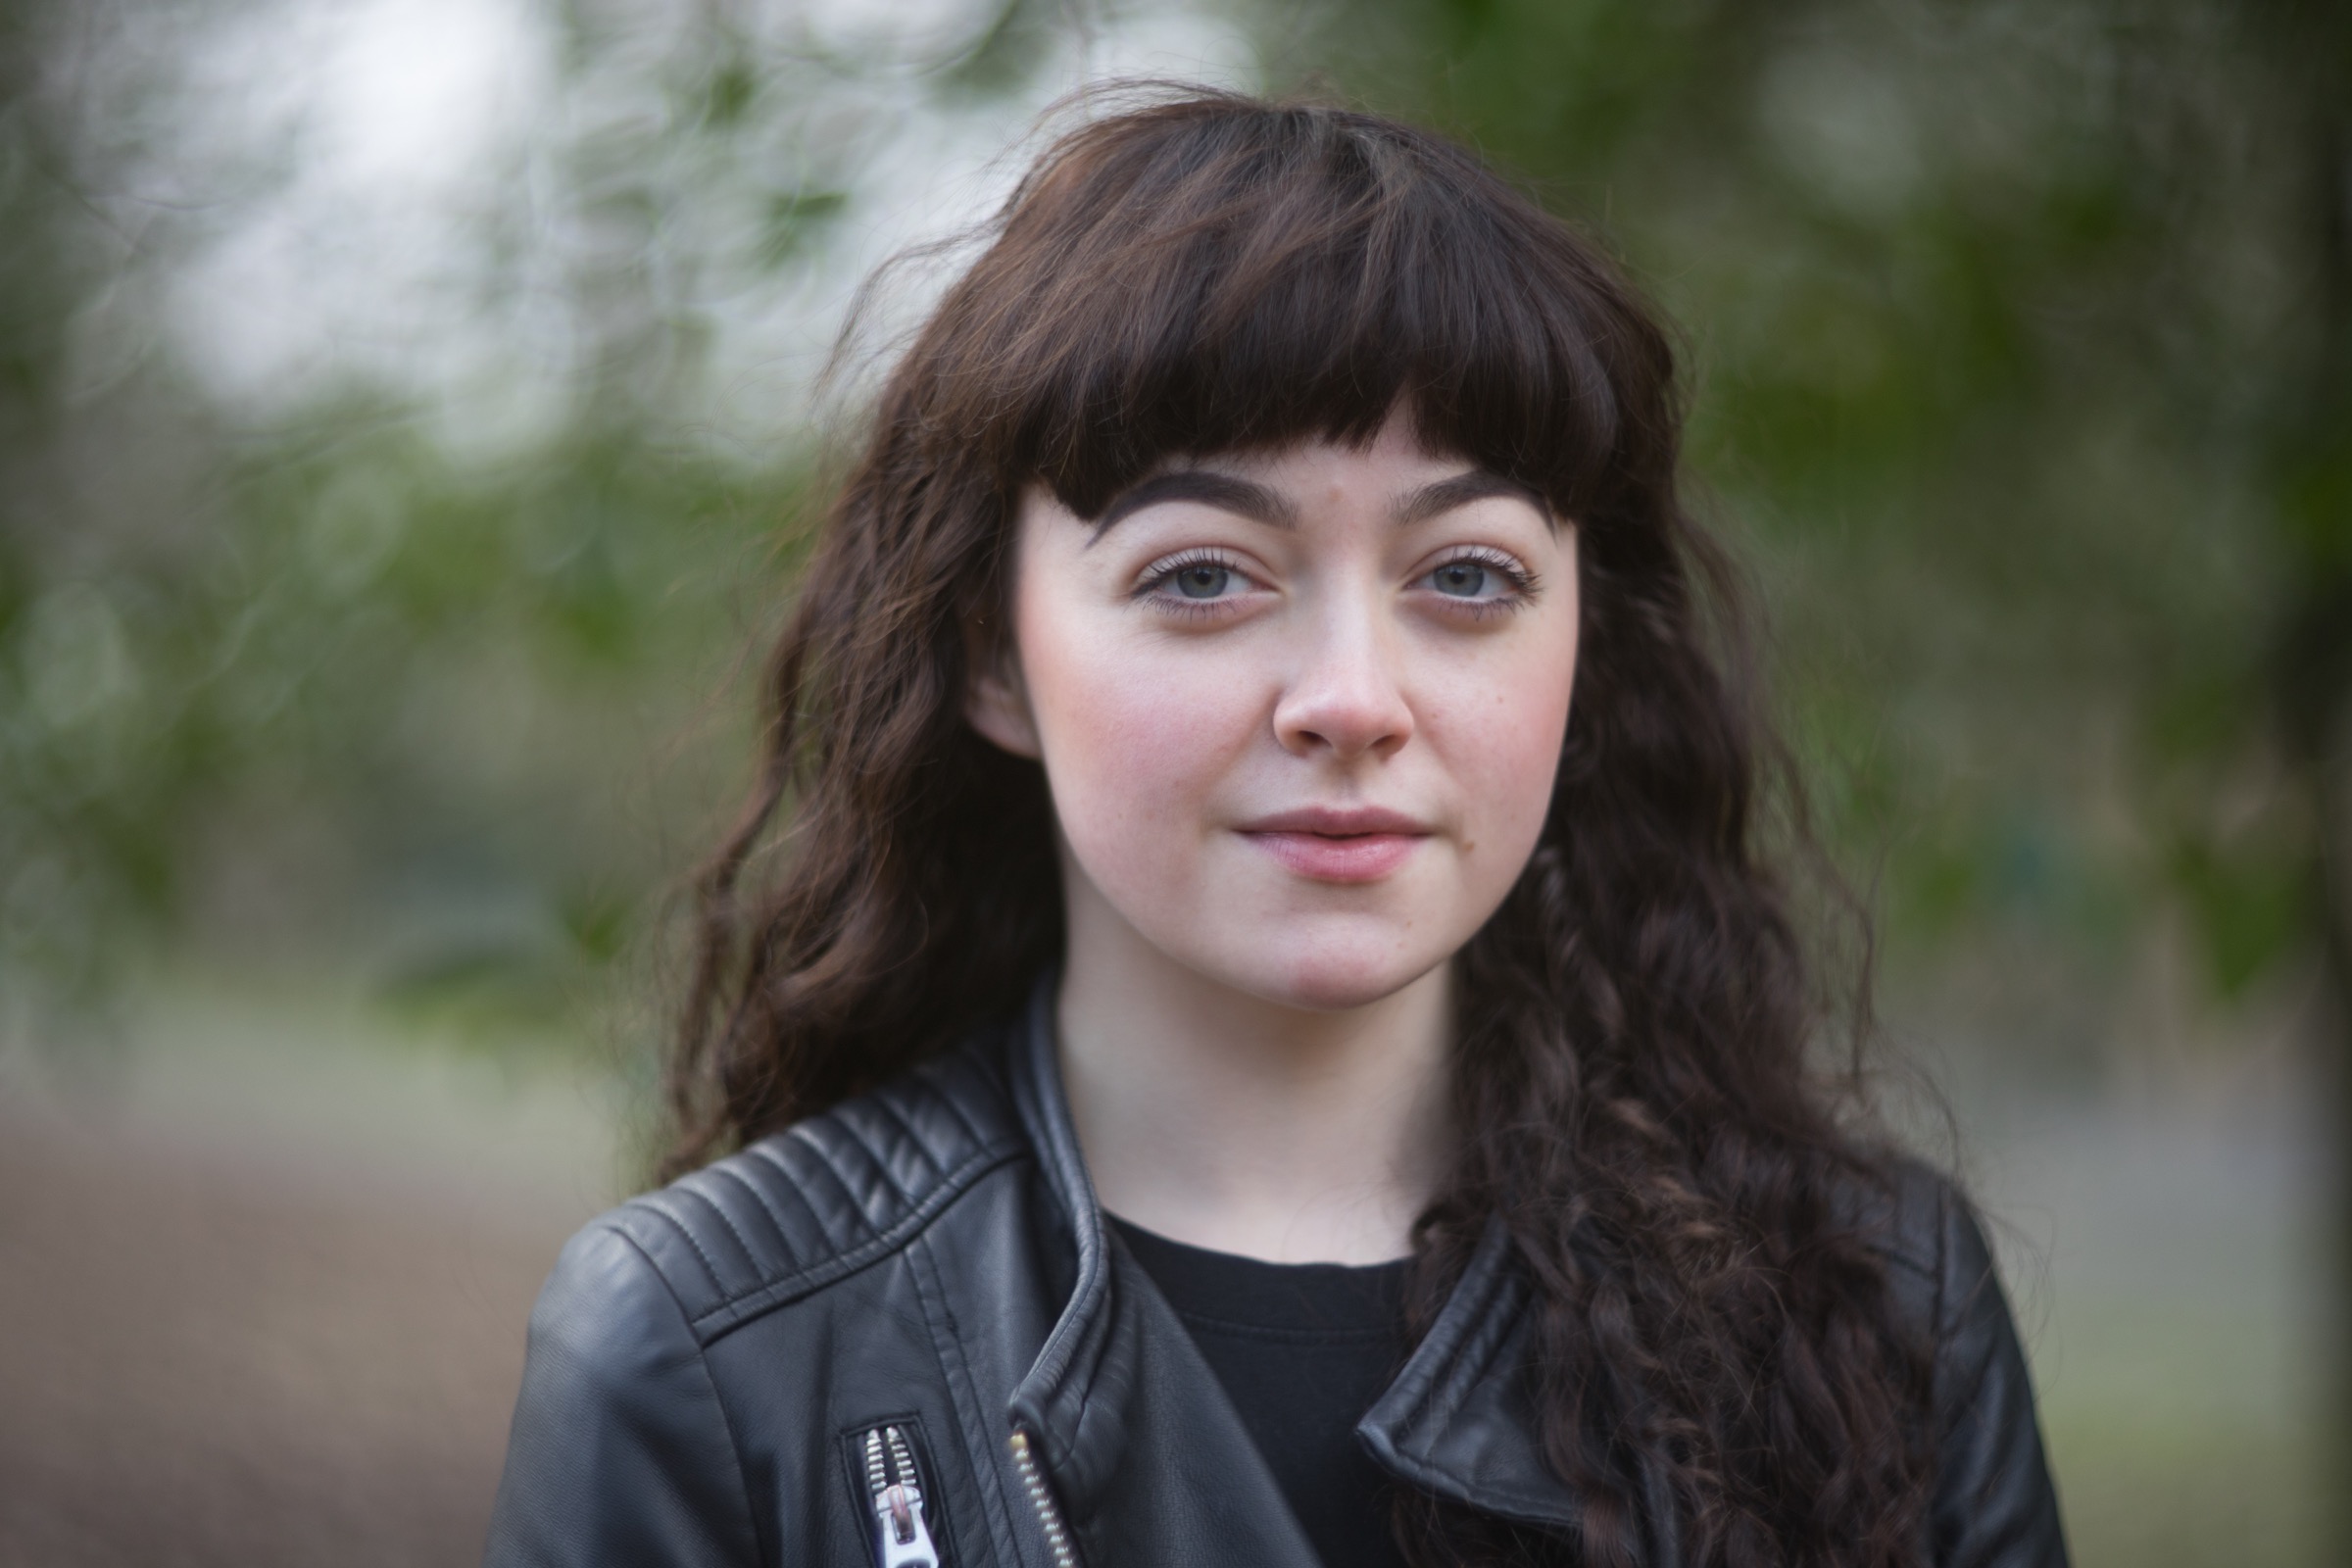
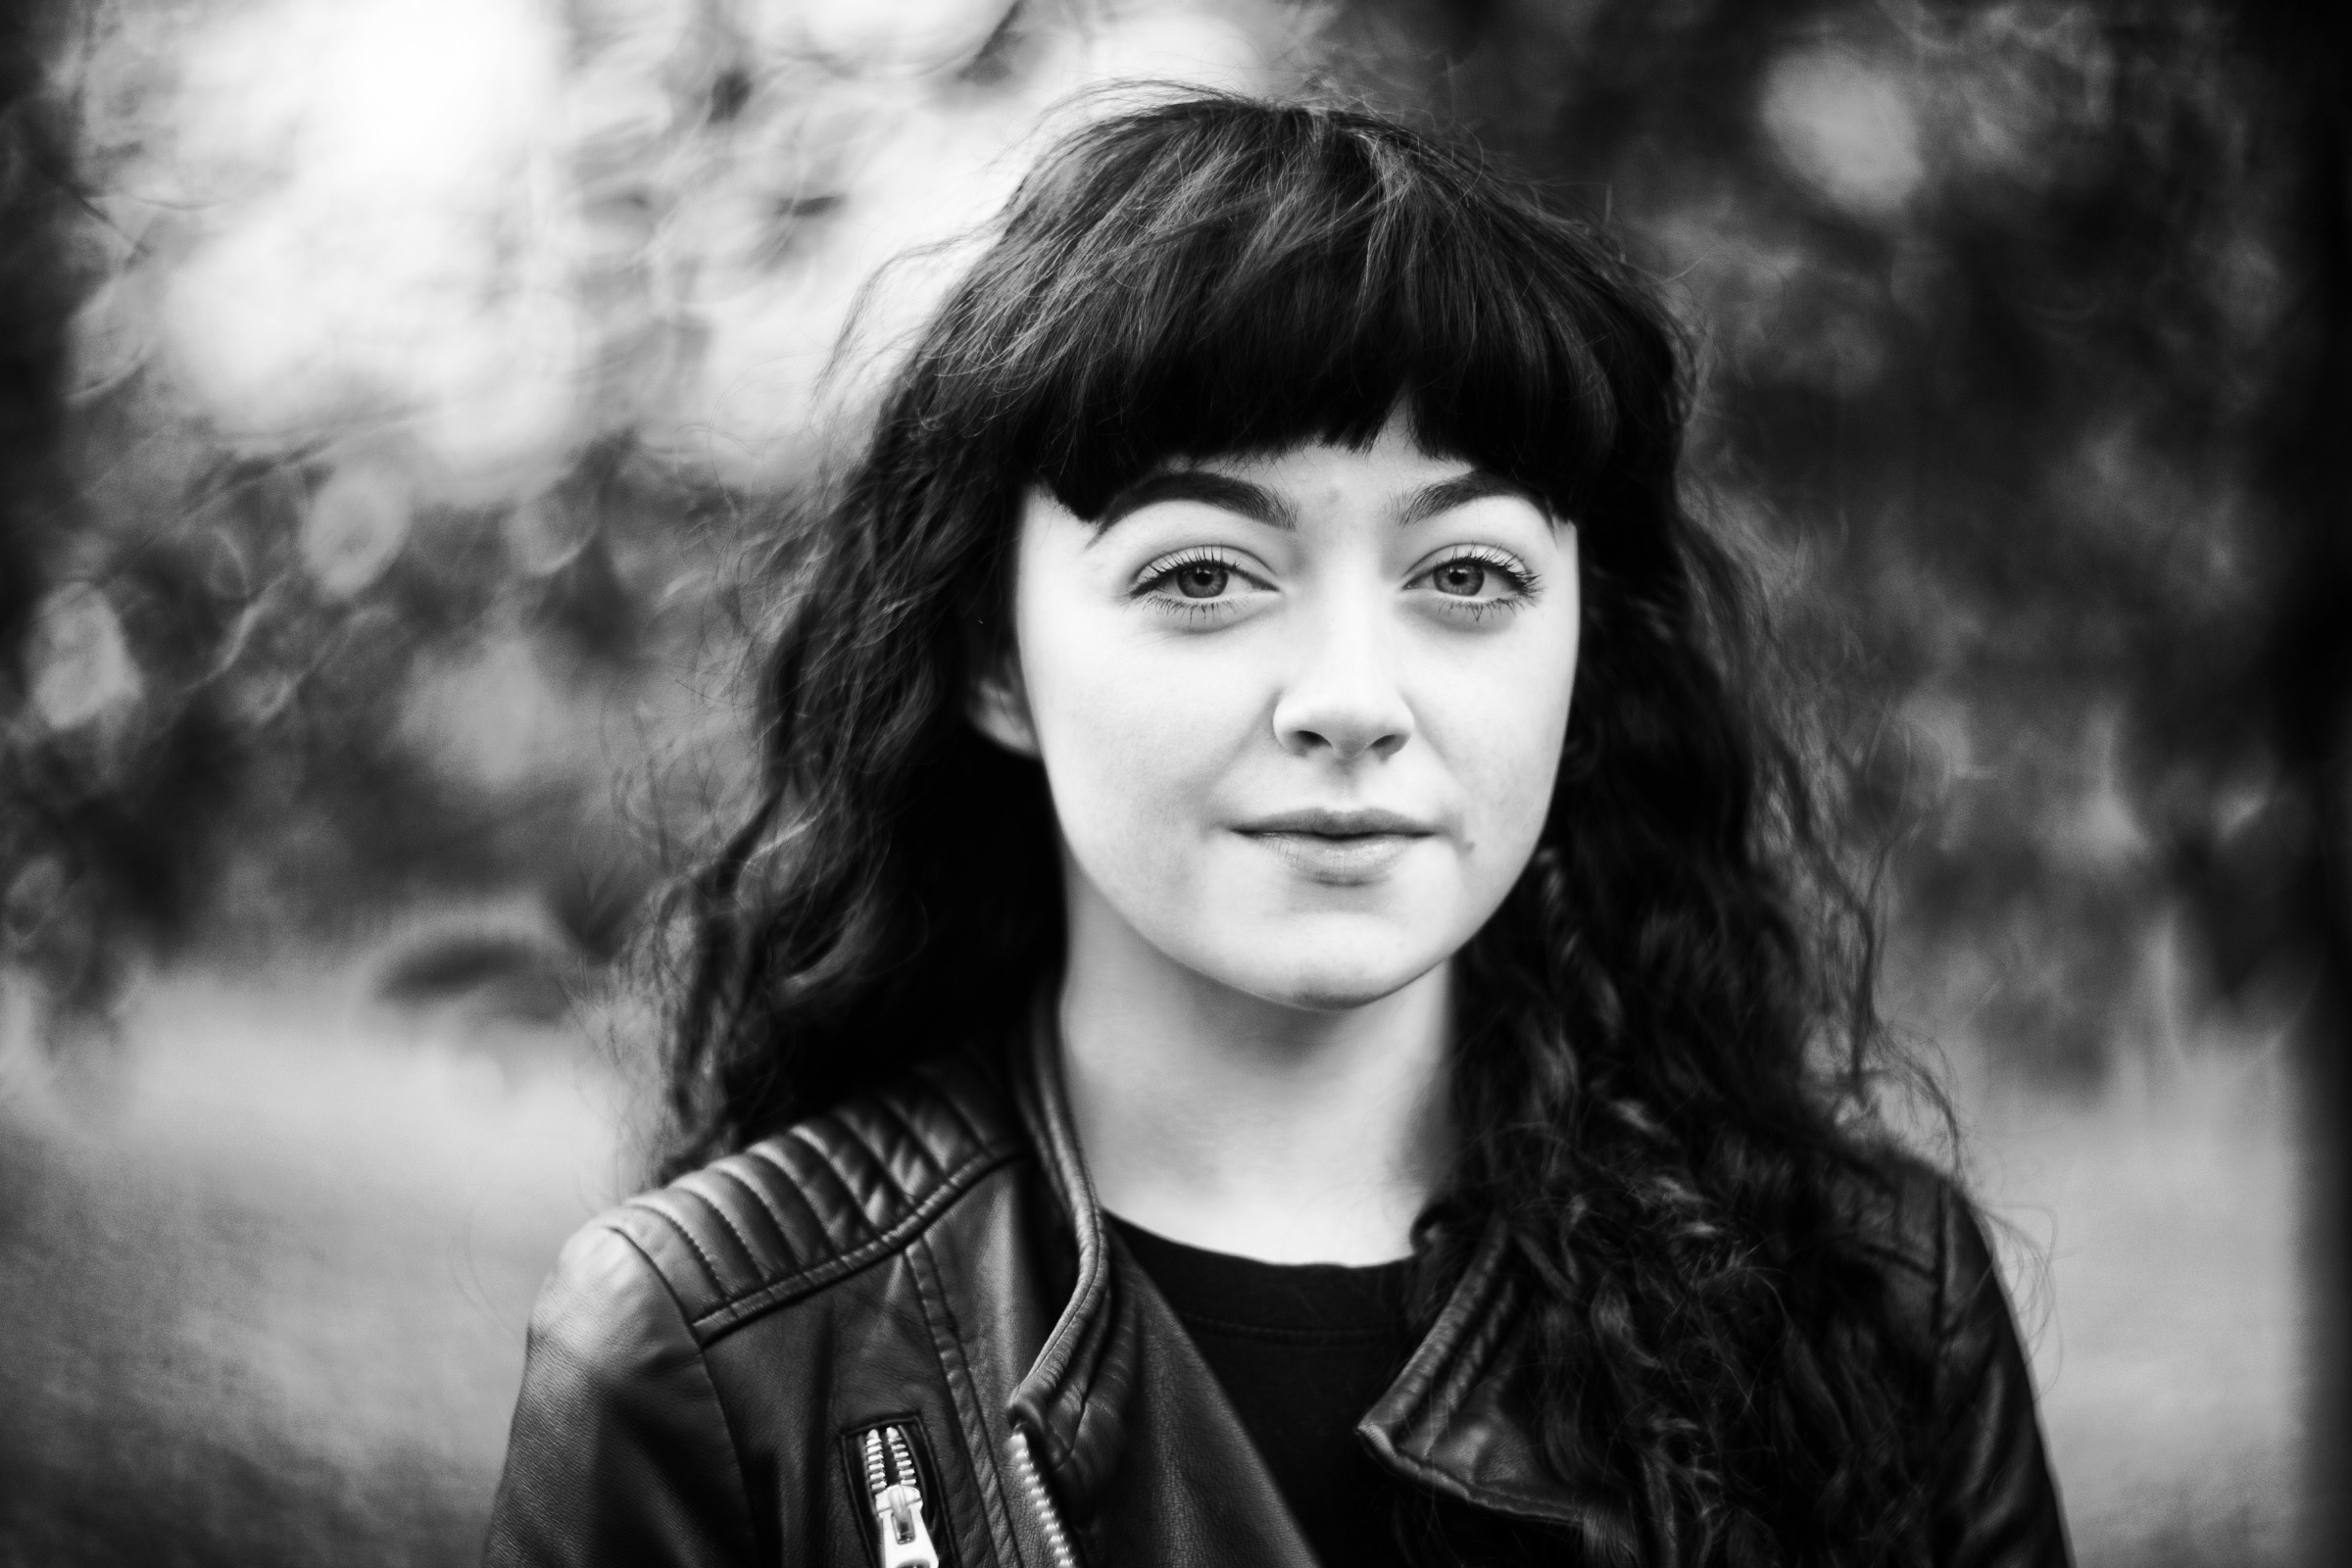
My workflow for editing portraits is pretty long, and far more time consuming than other things as a result. It involves a combination of different software, and with a bunch of steps that are probably redundant, but it’s what helps me tweak things to get exactly the results that I want. Below I go into some detail about the usual steps I take when editing portraits, along with some example before and after images. The ‘before’ pictures are sometimes straight out of the camera, but some may have had some minor tweaks in Lightroom already. The captions below the images will indicate which is which.
In some ways I was unsure about publishing this, but I think it’s good practice to reflect on, and be transparent about what goes into producing the pictures I publish. If nothing else, it helps show that not all post-processing is somehow evil or negative.
Colour Portraits Workflow
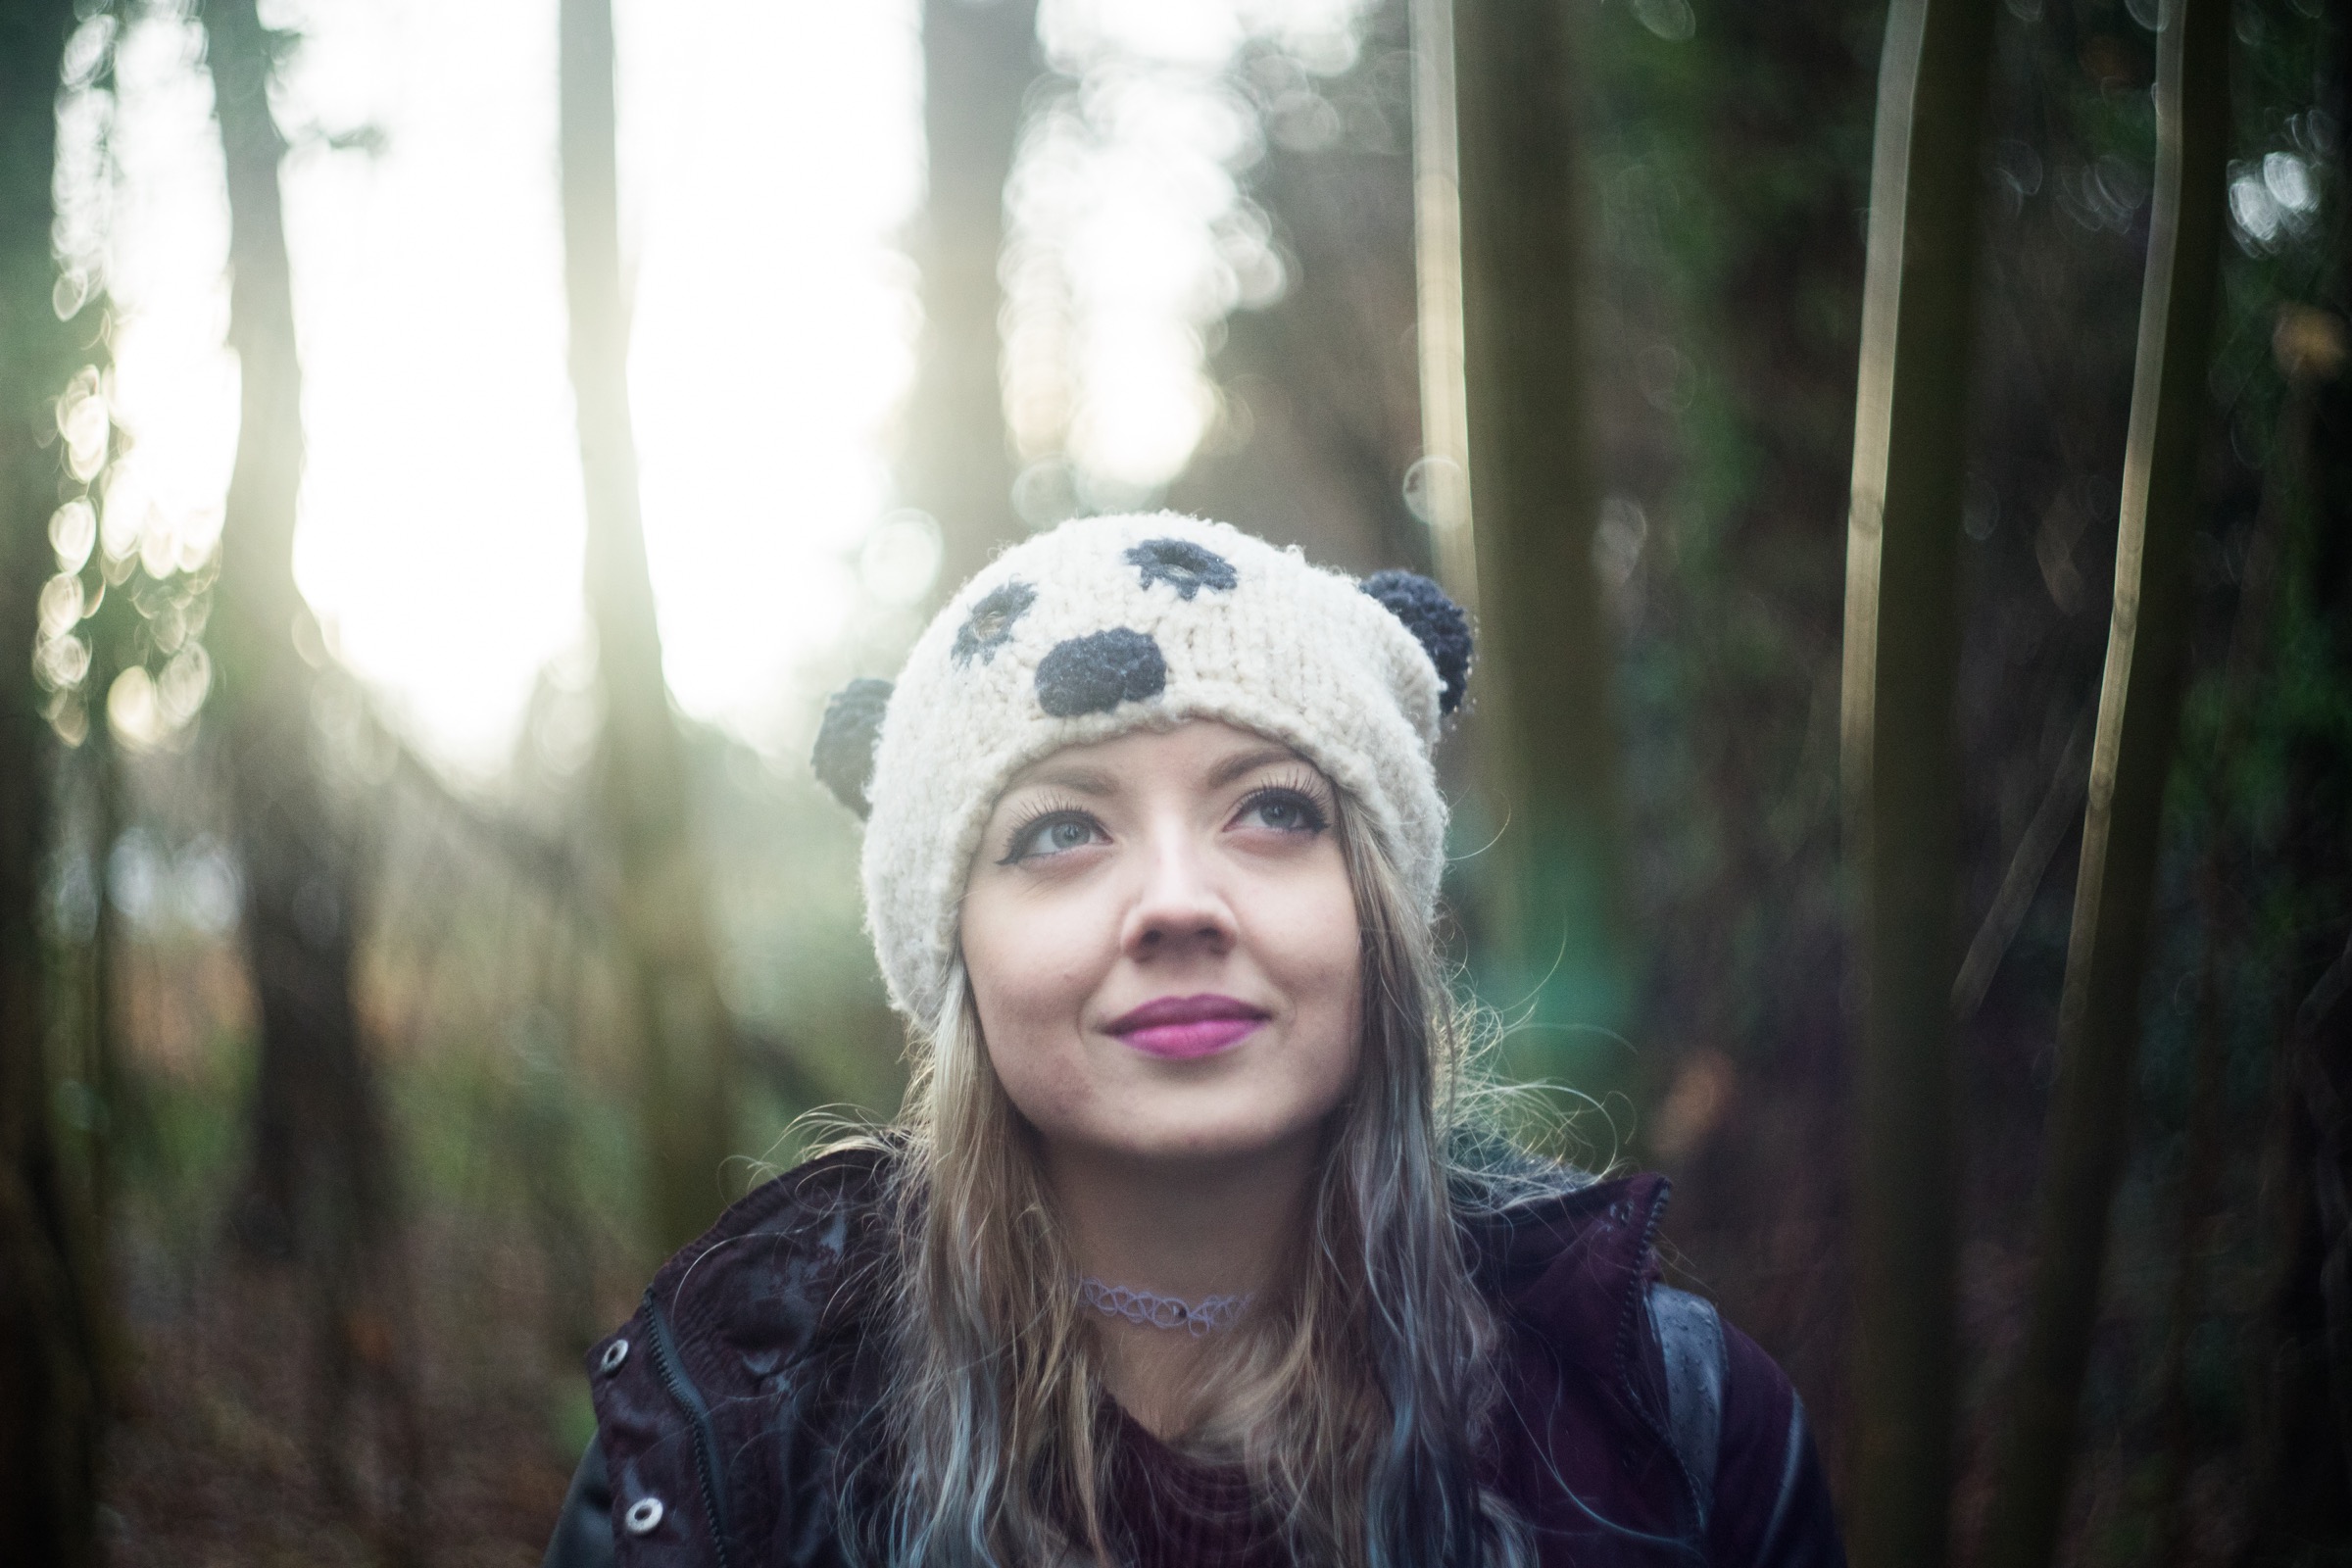
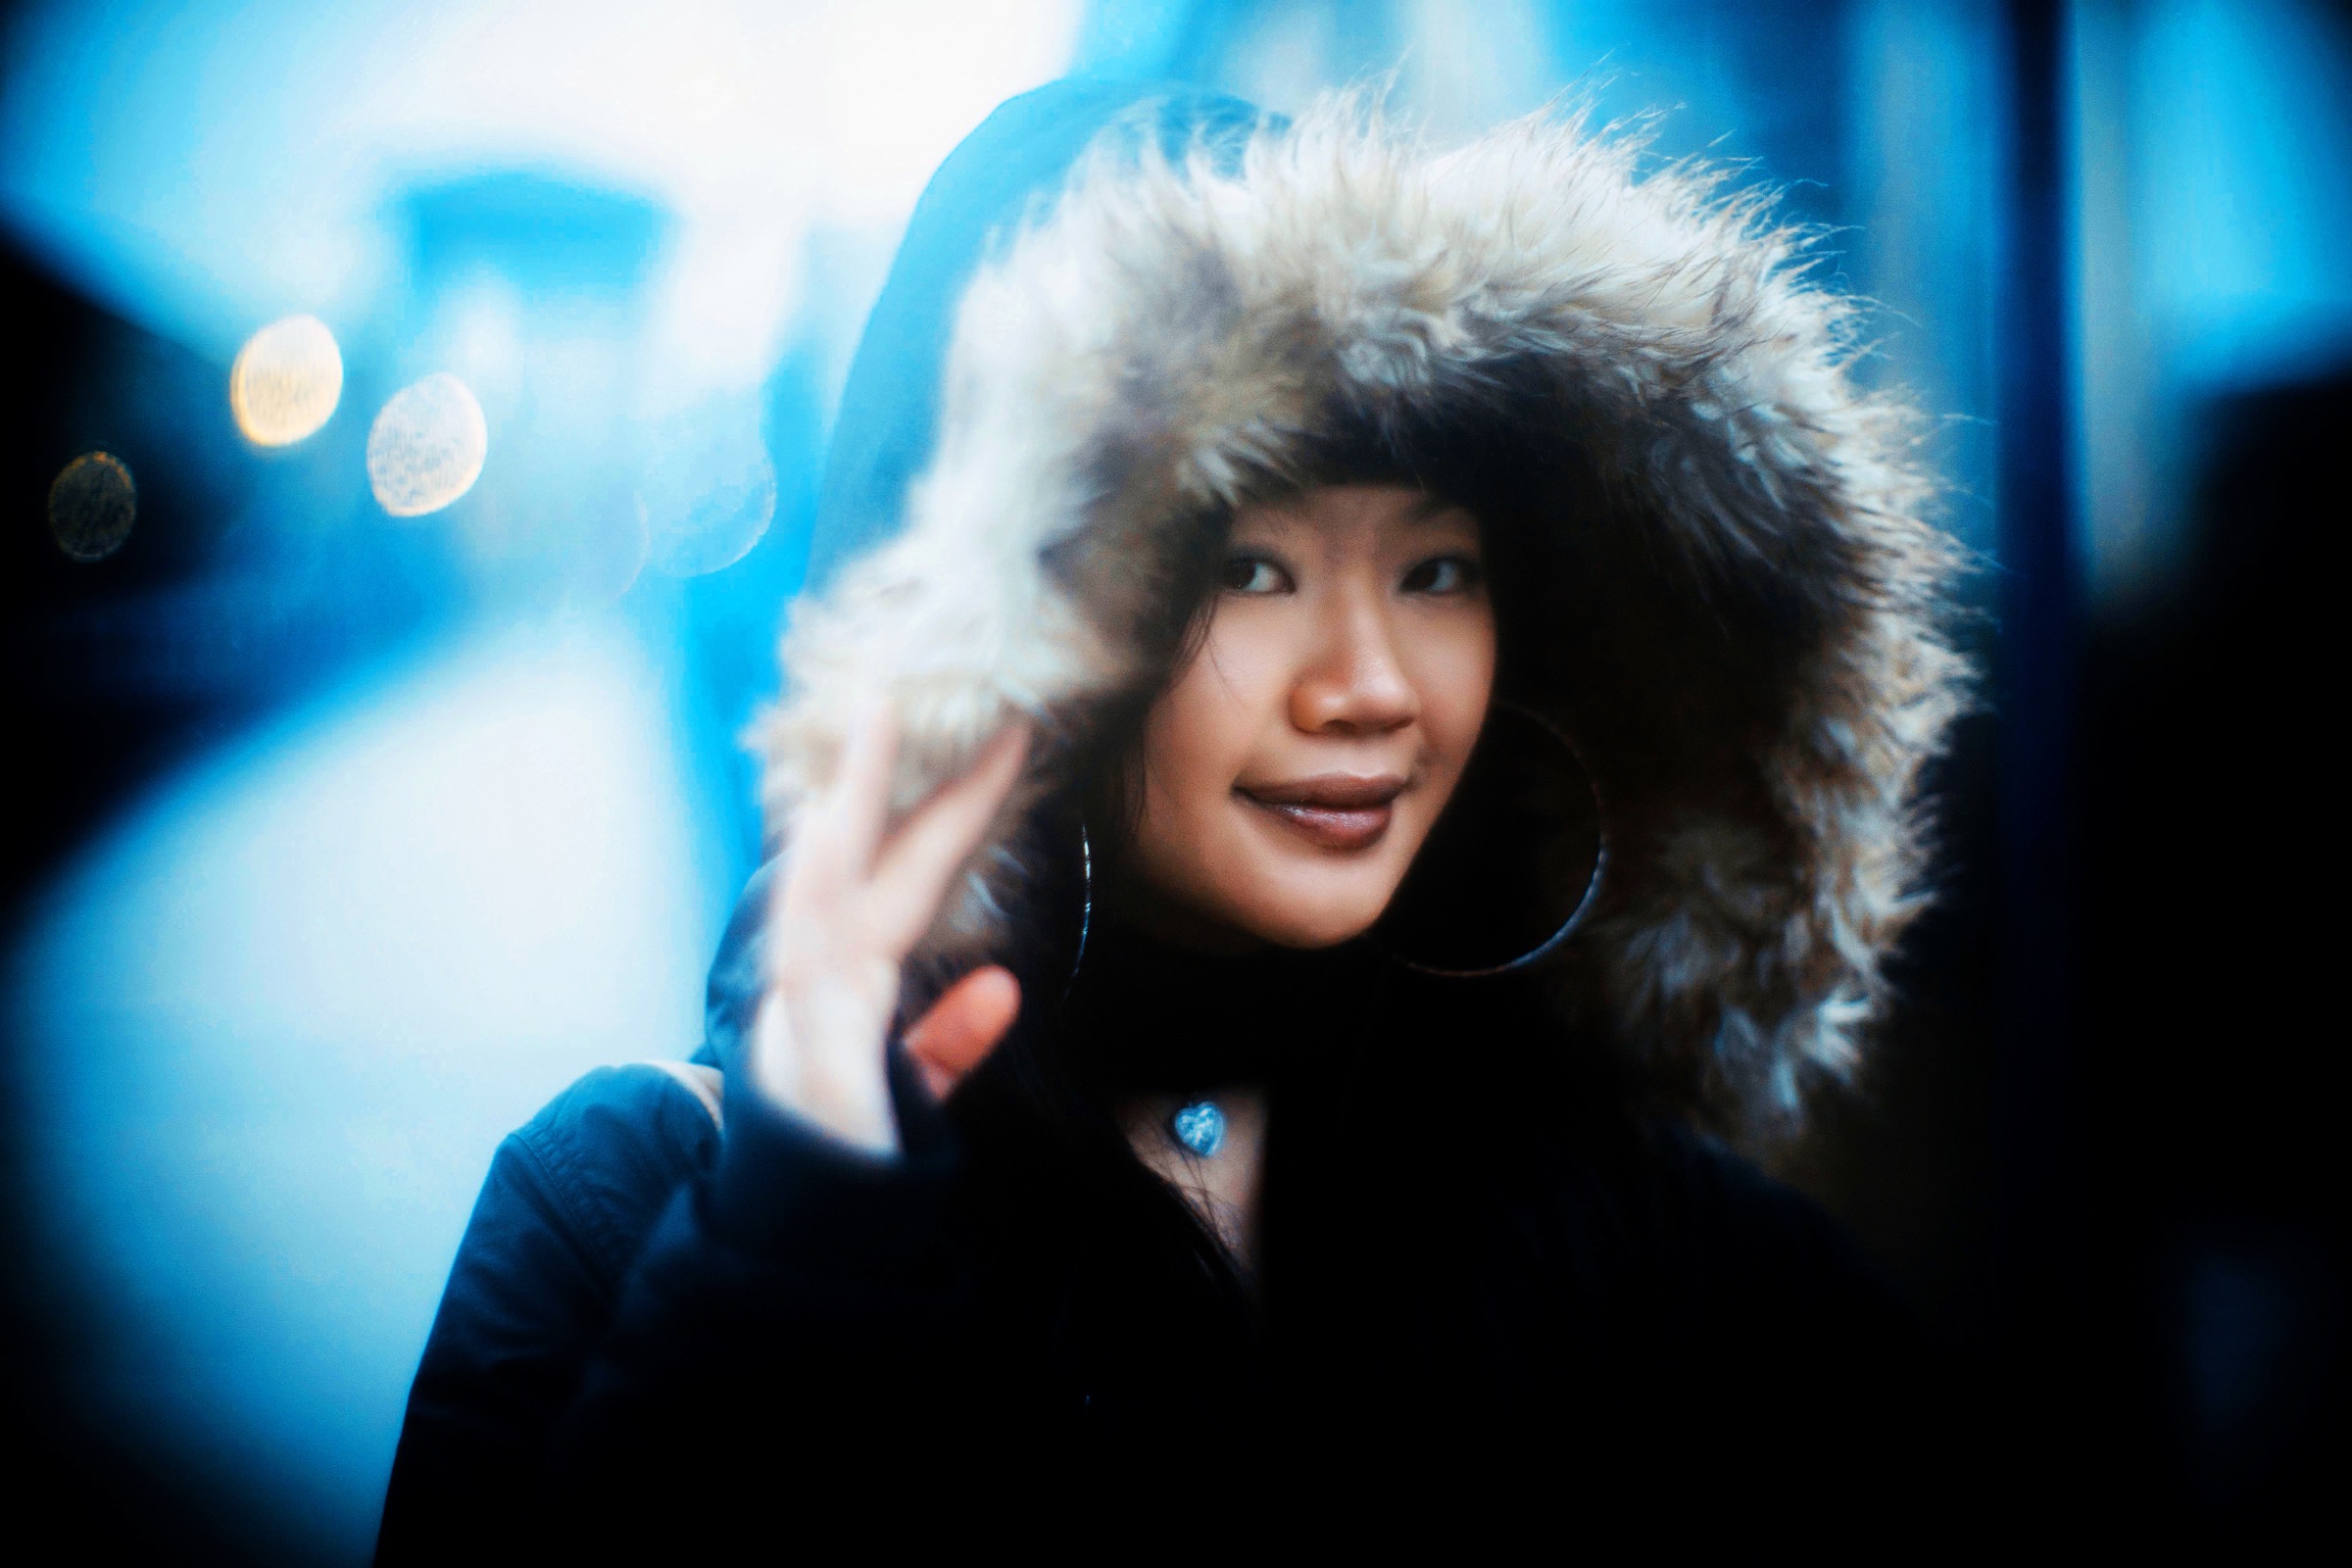
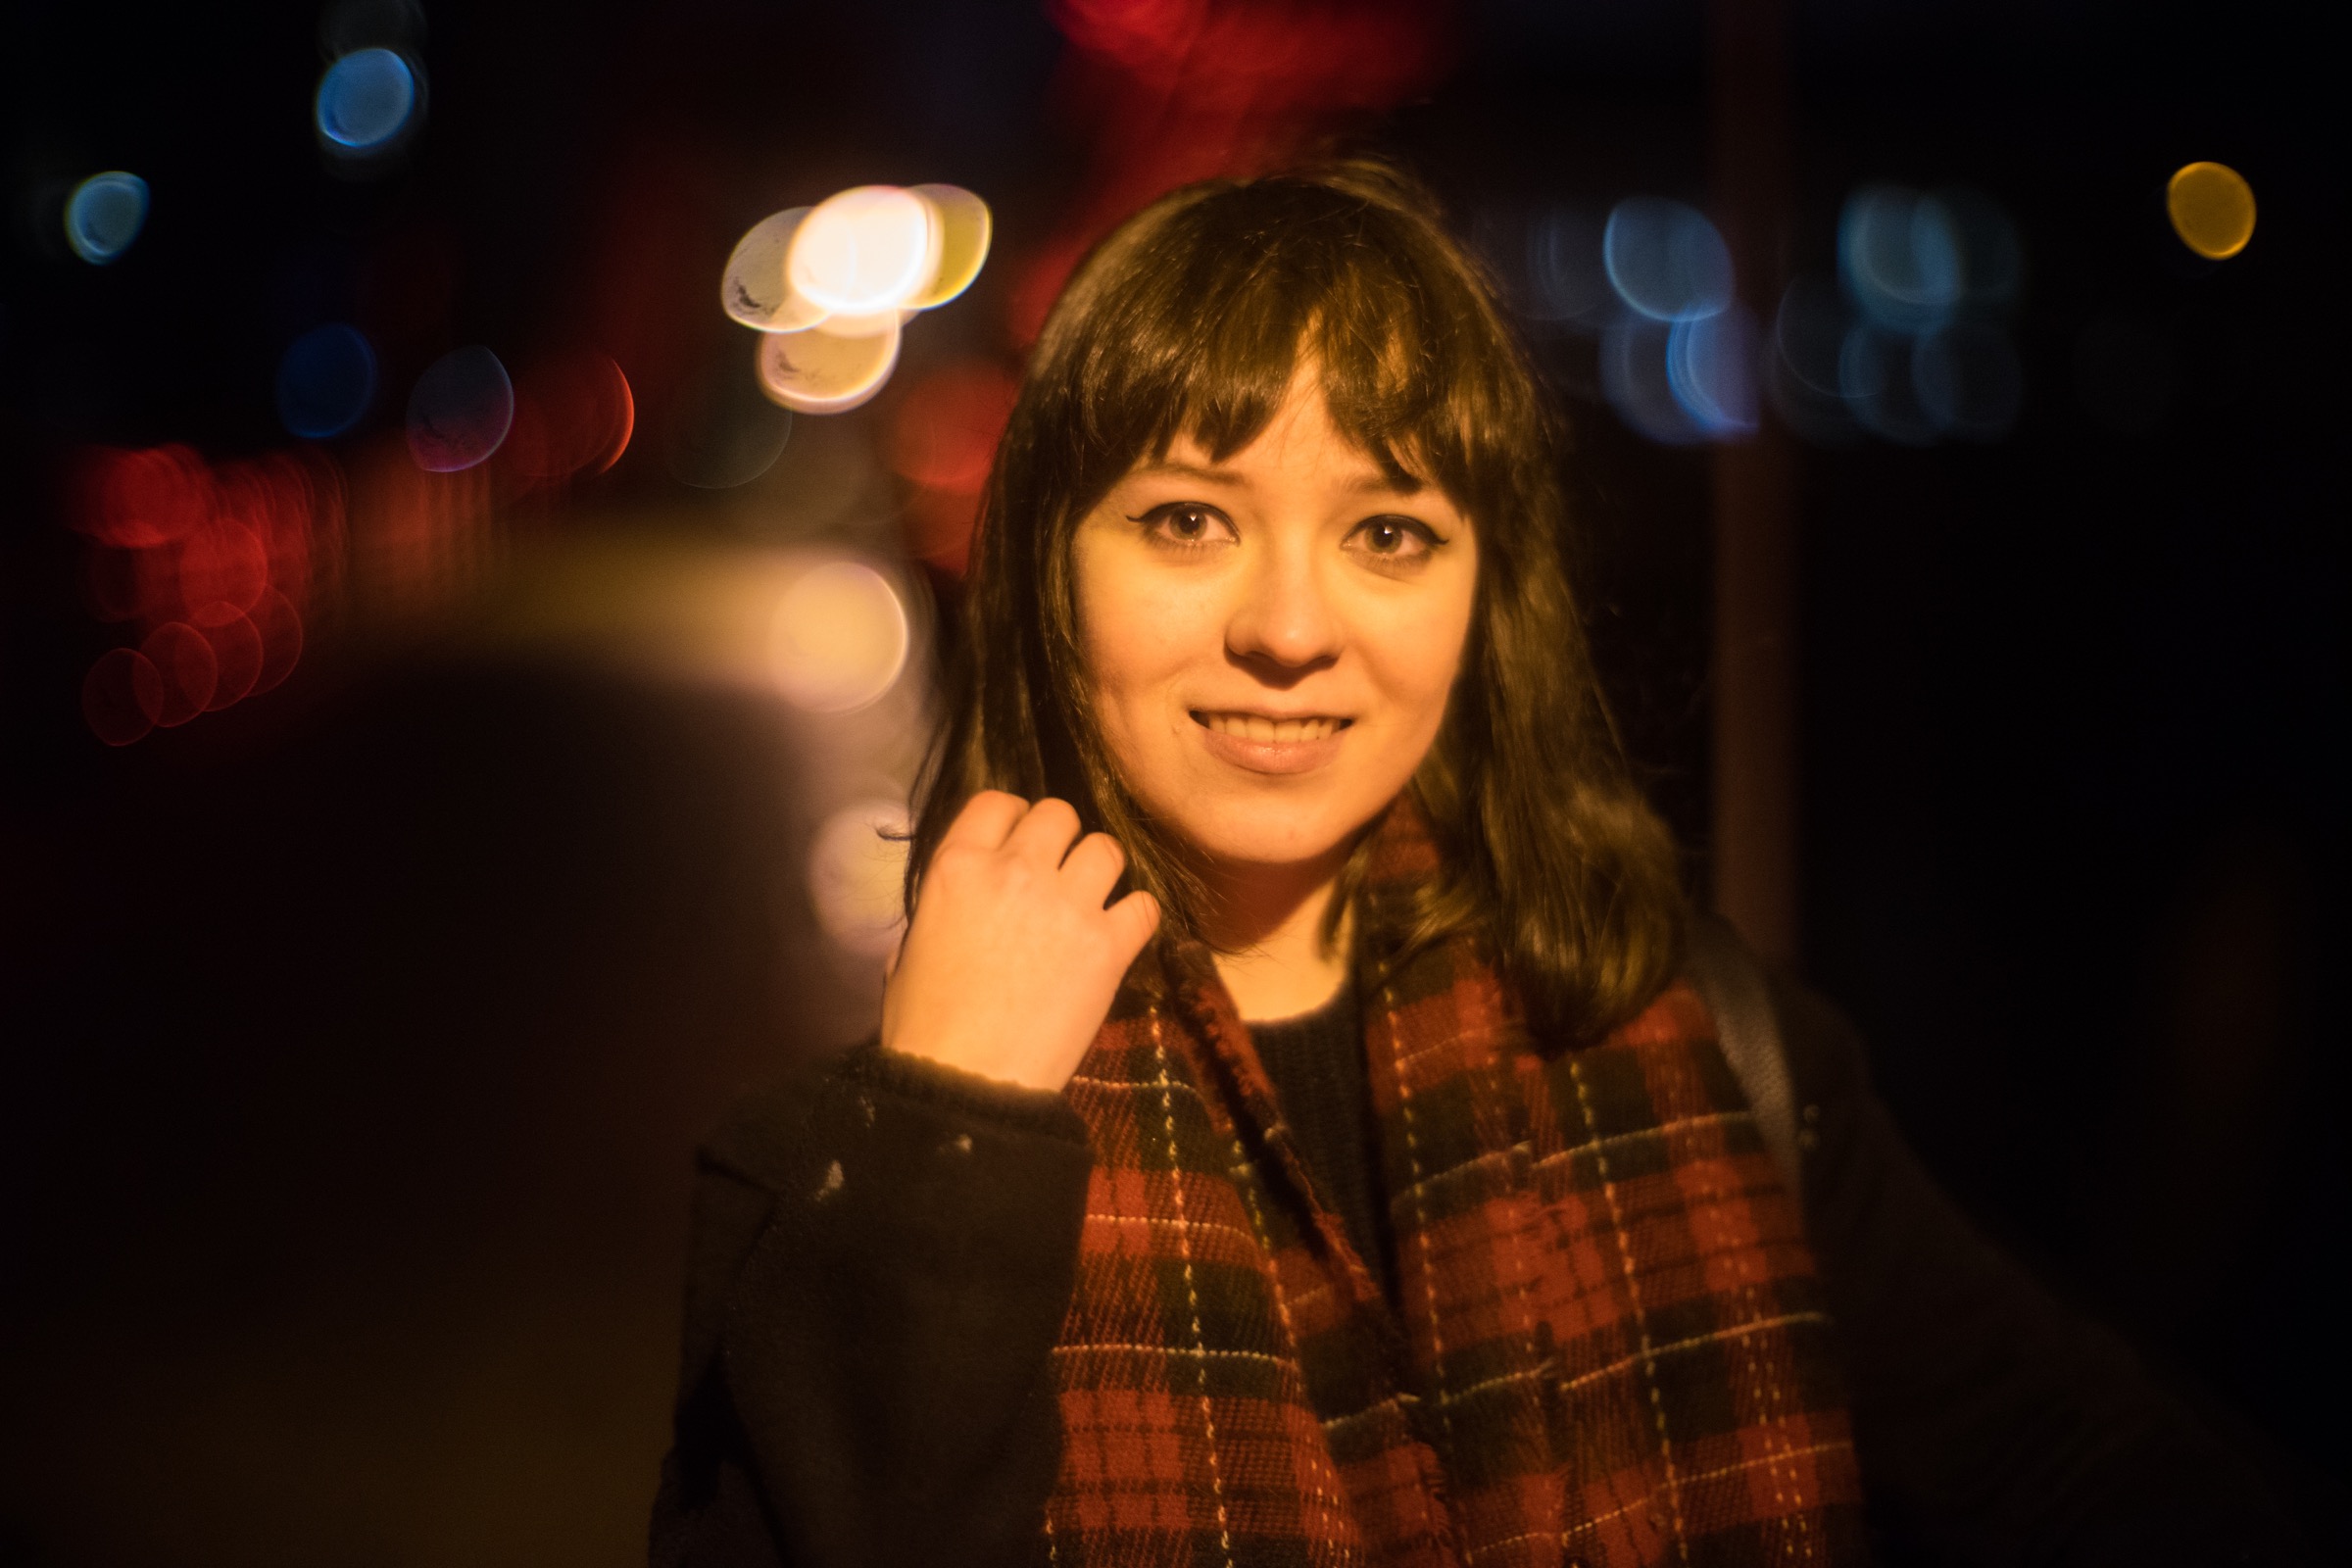
I am a big fan of colourful portraits. Bright colours, lots of contrast, with flares and lots of bokeh are what I like best. I’ve never really been good at subtle pastel shades; I want people to pop and stand out in my portraits, because that’s how I see the scene in my head when shooting. Again, perfectly capturing reality isn’t what I’m after.
My usual workflow for colour photos is:
- Import the RAW images into Lightroom, and 5 star the keepers. Make general changes to the exposure, contrast, vibrance, and saturation as I go. Export them as JPEGs.
- Go through the JPEGs and determine which ones are the best. Pick one to start editing.
- Load into Photoshop, and apply a 3D LUT depending on the look I am going for. (A 3D LUT is a colour profile which helps bring out colours that you want more effectively than adjusting them directly).
- Make edits to the eyes to sharpen them up a bit, and make them stand out. I usually make sure and lighten the existing highlights, as well as the colours of the iris.
- Make general adjustments to the colour balance, saturation, and exposure.
- Save the image.
- Import into Nik Software Color Efex Pro to add any vignette, and use the dynamic skin softener to smooth certain elements out.
- Import into Nik Software Viveza Pro, and make final adjustments to exposure, saturation, and structure.

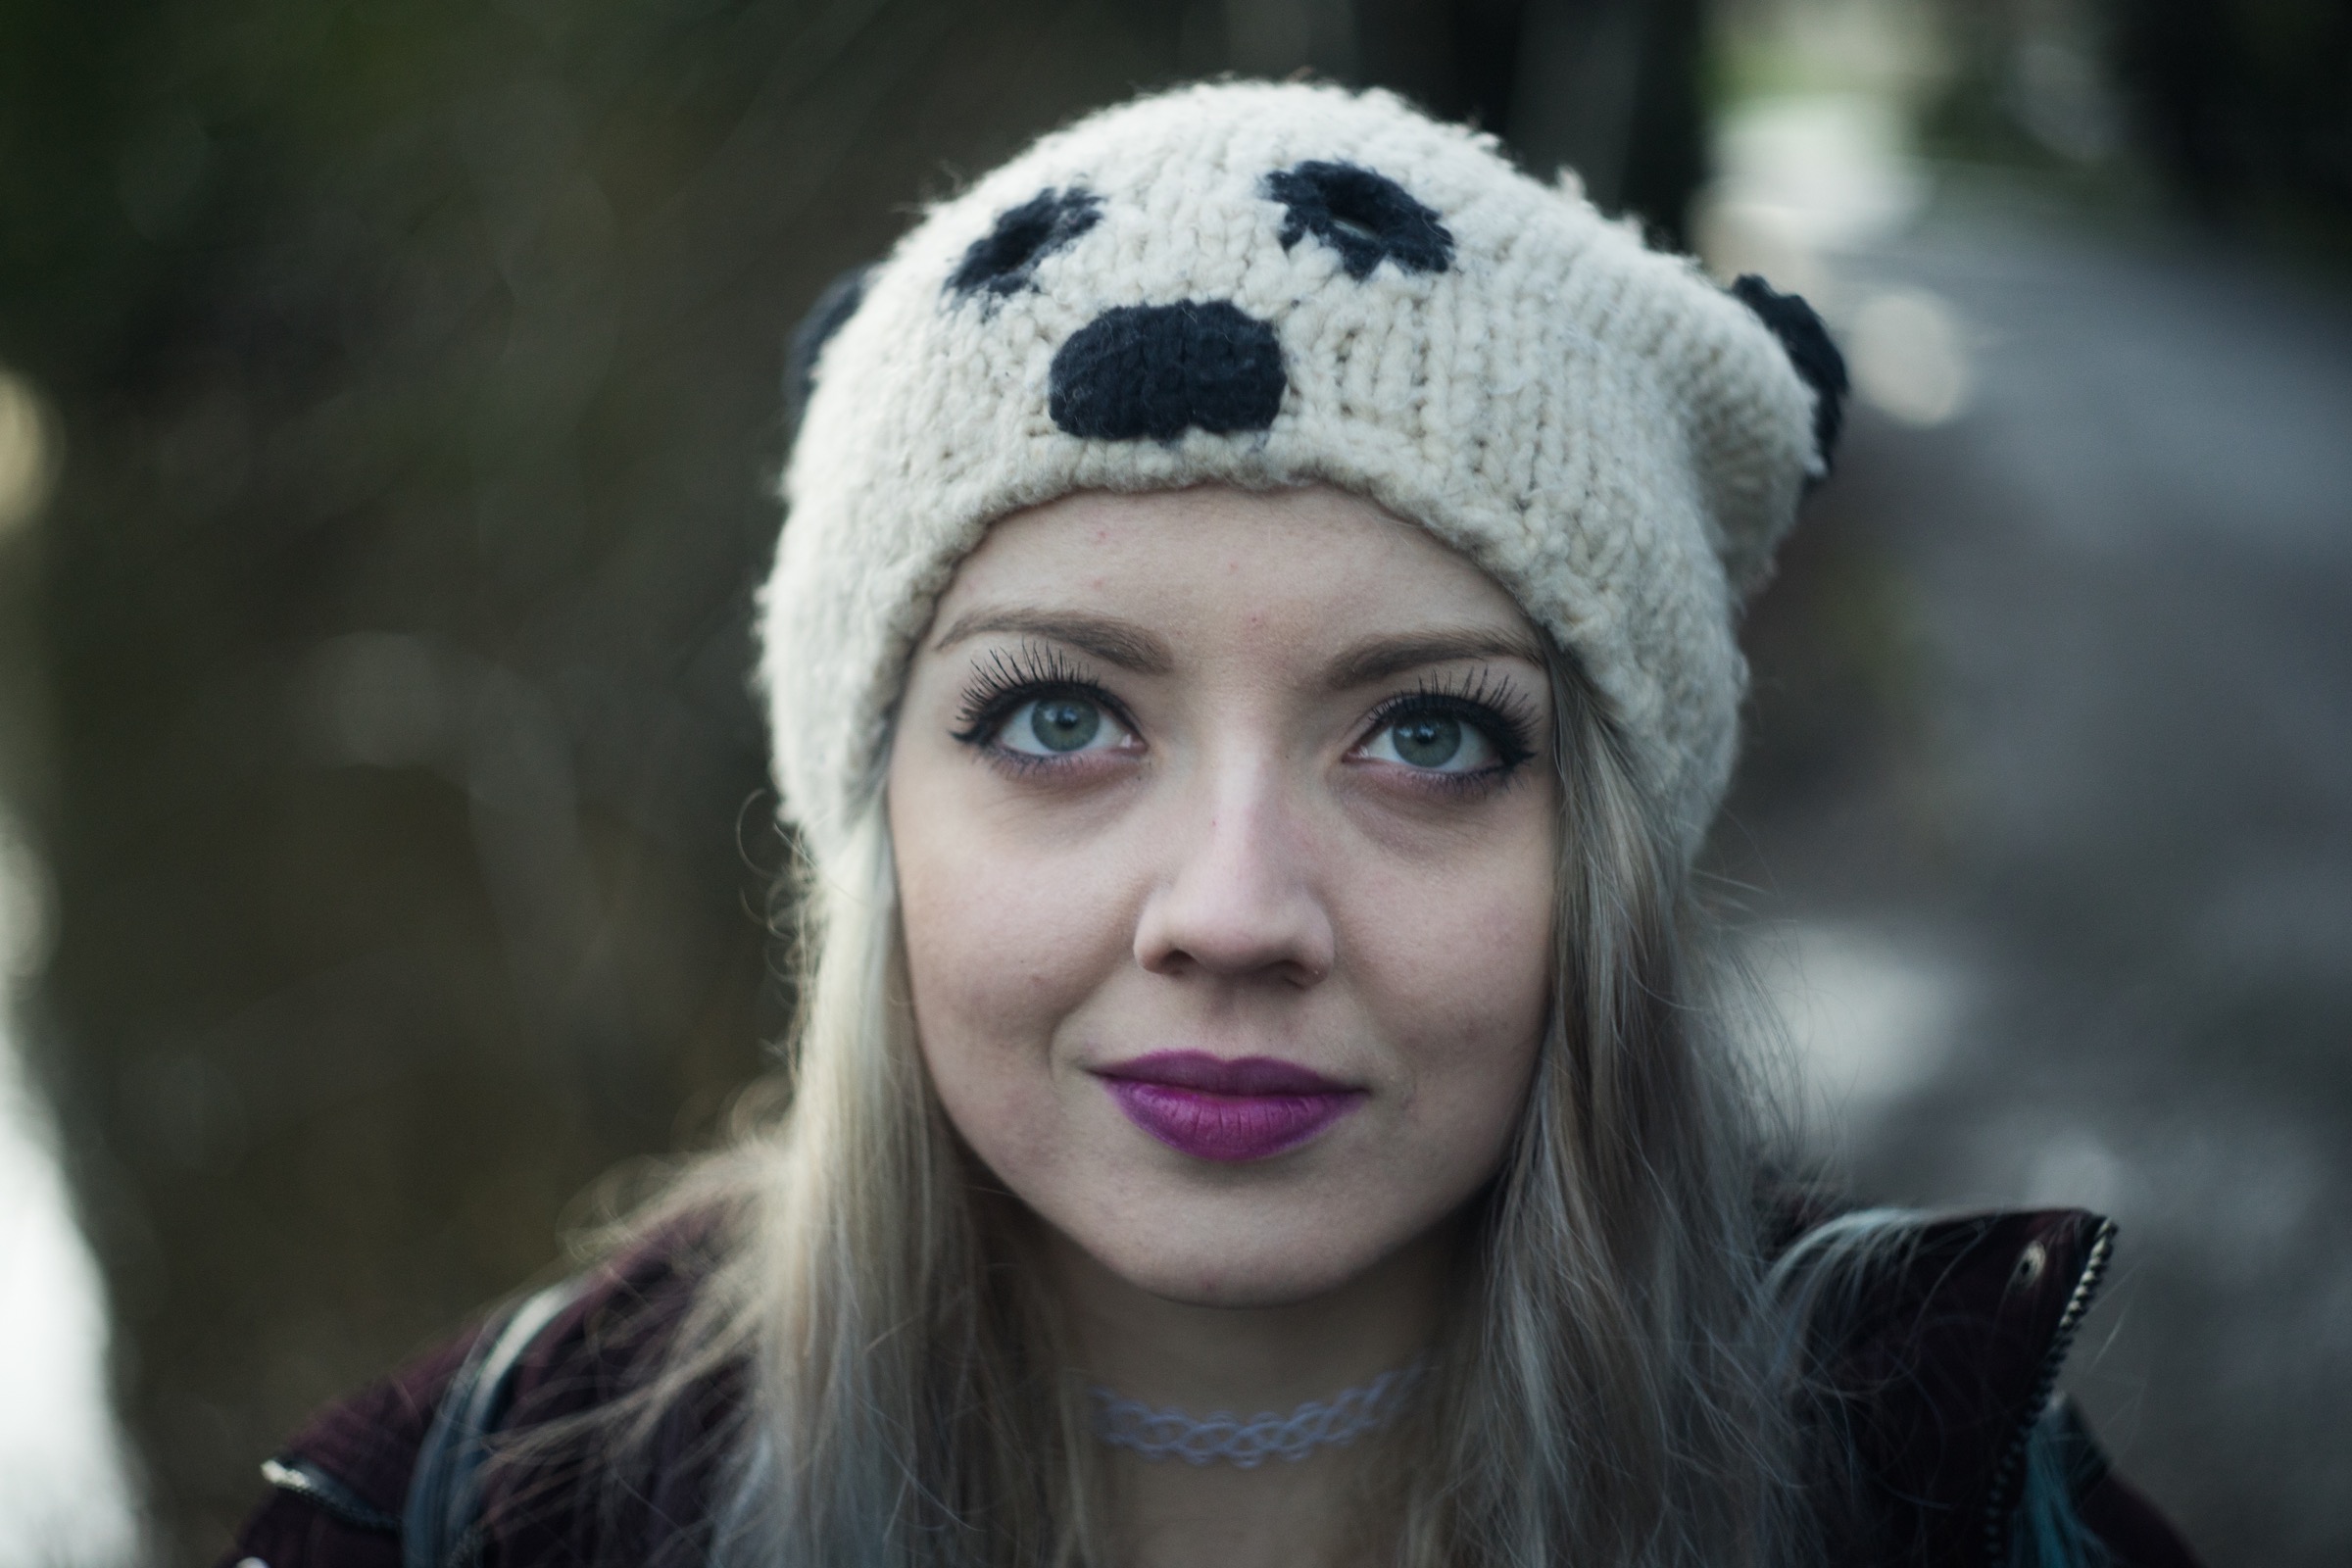


Why bother editing the eyes at all? It’s easy to over-do things and make them look unnatural, but a little bit goes a long way. The first thing that you are drawn to in a portrait is the eyes, and so it’s important to make sure they aren’t left buried in shadows, or dulled by poor editing choices. There’s no point in having beautiful colours in your background if your subject’s eyes look drab in comparison. It’s actually something that I only really started doing relatively recently, and so I haven’t necessarily nailed the process yet, but I’ve found that it makes a huge difference in the impact of a picture when done well.
Black and White
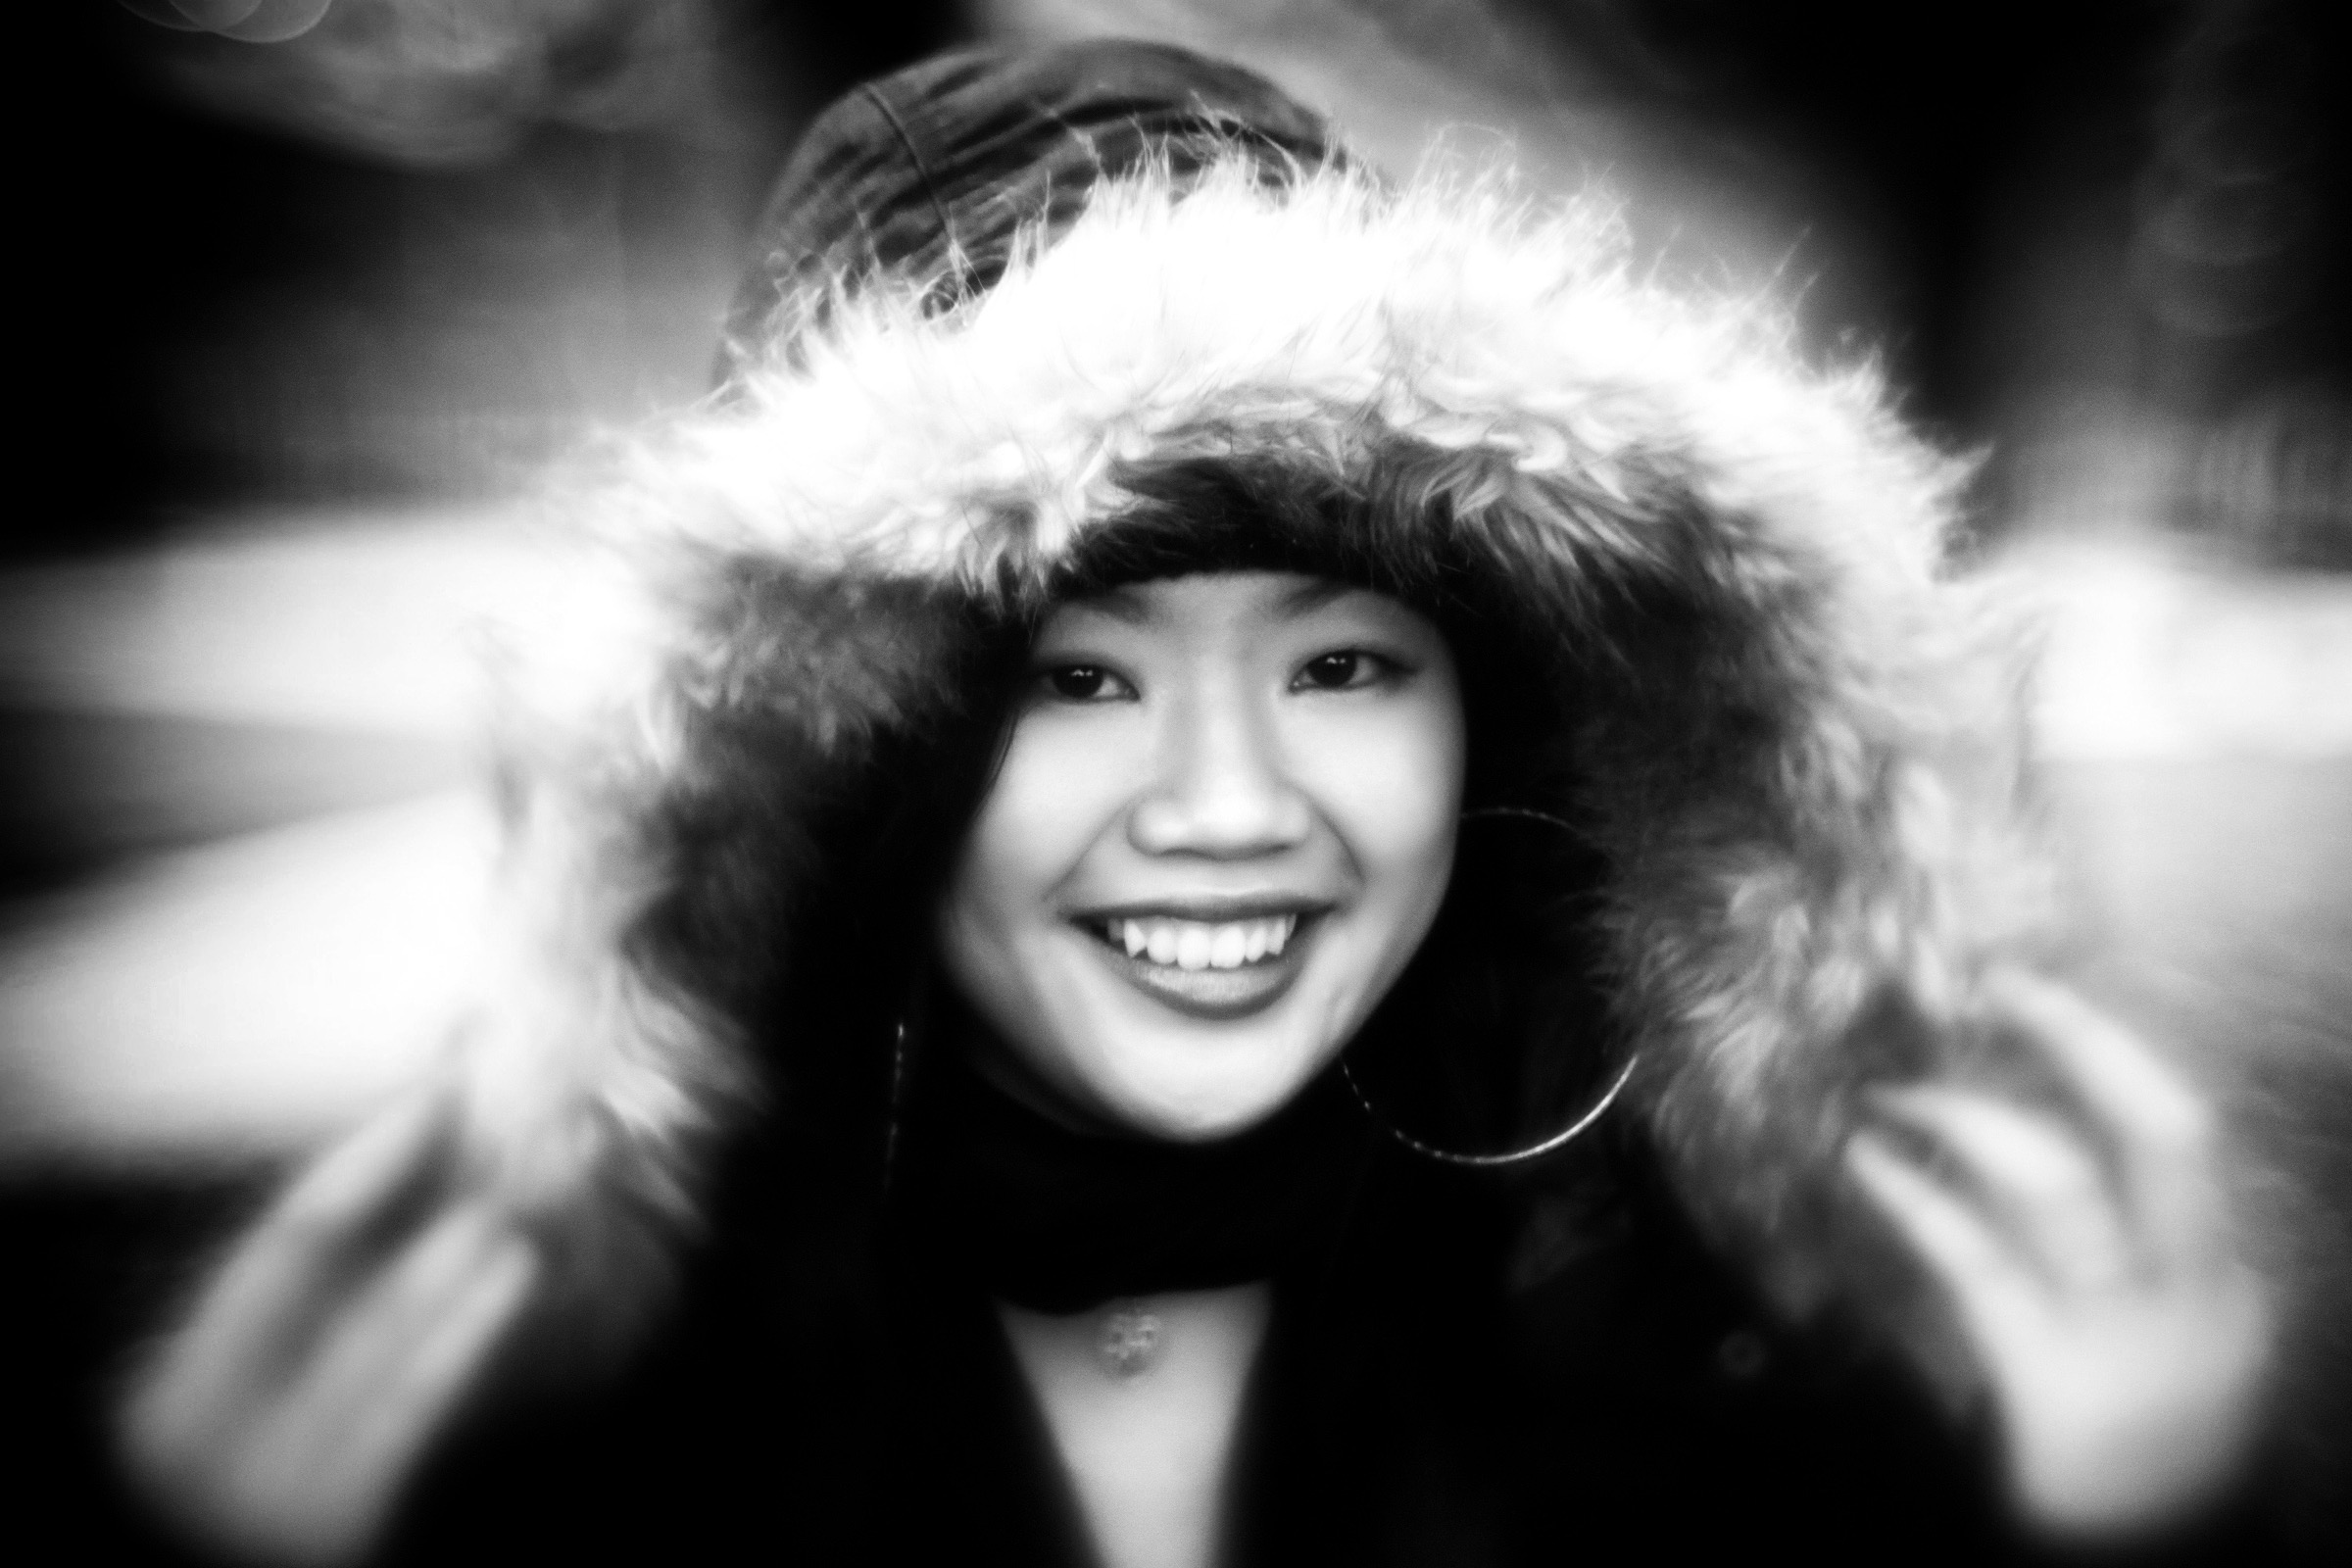
For black and white photos, the process is pretty much the same as for colour, except that I use either a monochrome LUT, or Silver Efex Pro from Nik Software. The conversion usually happens pretty early on in the process, though there are some changes that are easier to make before the image is desaturated, such as smoothing out skin tones a bit, or lightening the eyes to bring out their sparkle.
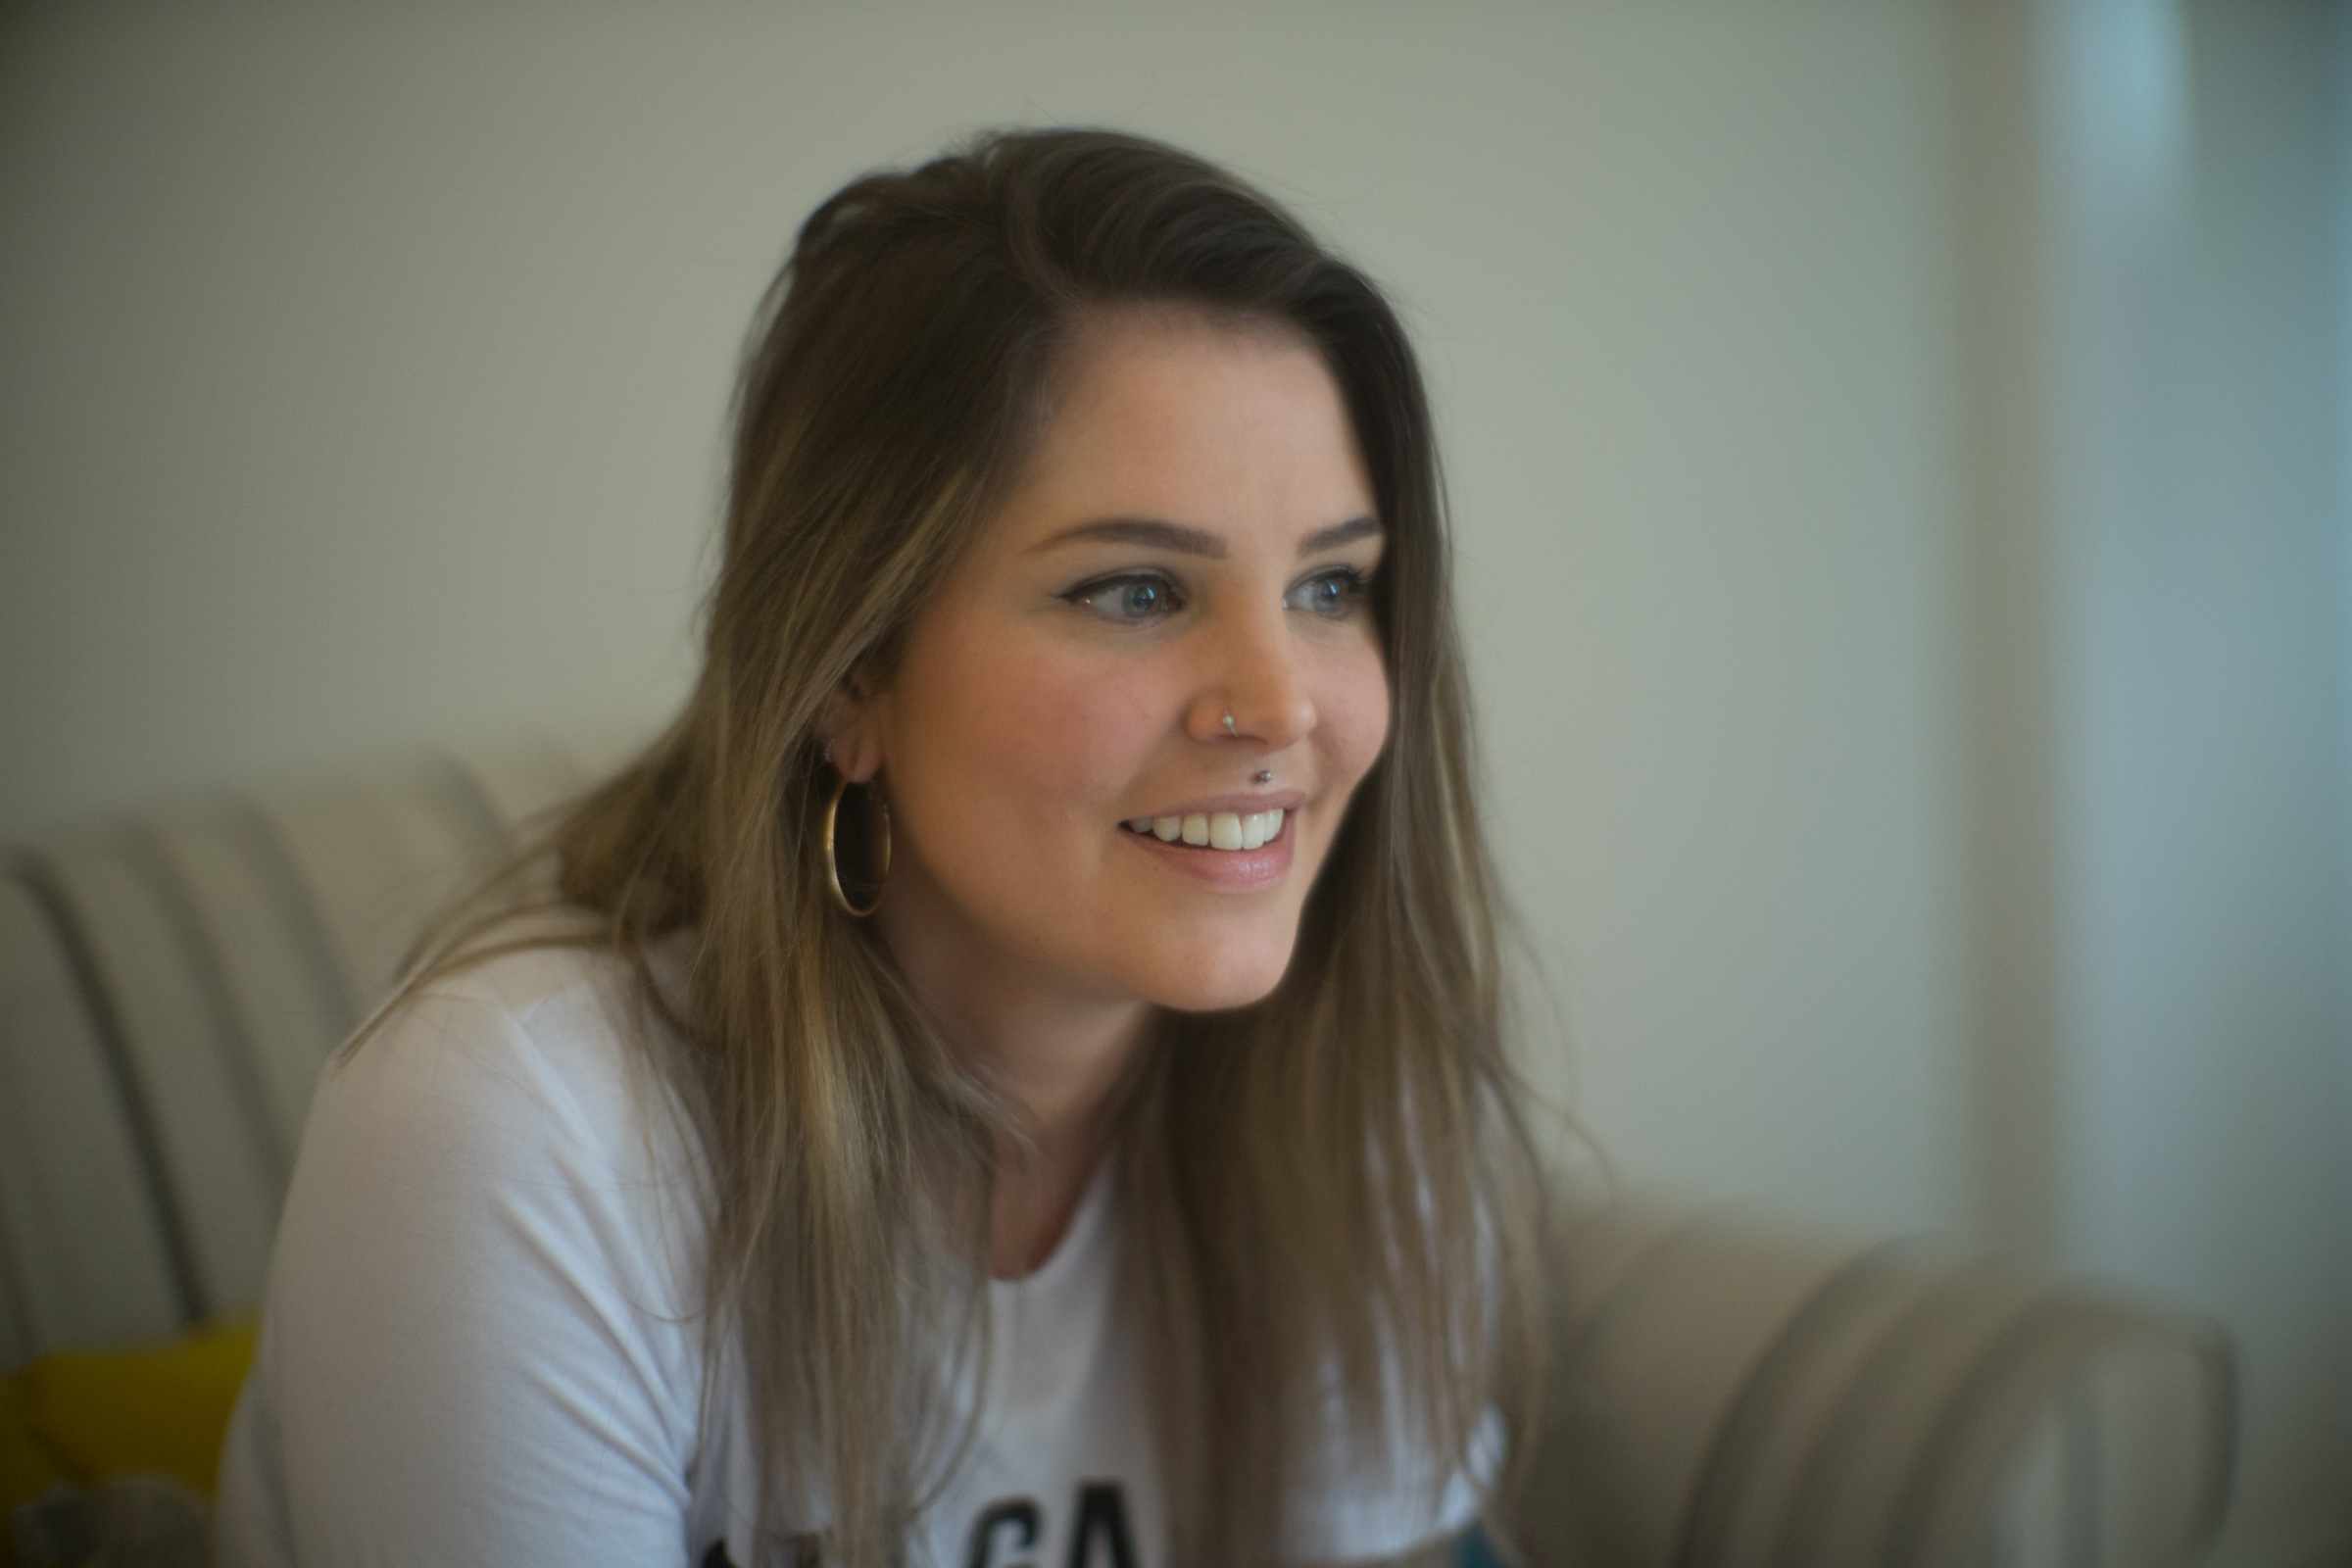
The hardest part of the whole thing is deciding which images would look best in greyscale. By default, I always shoot portraits with colour in mind (at least on digital anyway), and only consider black and white on a case by case basis. To me, colour generally helps bring out people’s personalities much more, and there are select times where the opposite is true.
For example, the person’s yes need to be exposed particularly well for monochrome pictures, or else you risk them looking sunken and shadowy, and there has to be a decent amount of natural contrast in the image as well. The conversion definitely shouldn’t just be done on a whim, or to try and make a bad picture more interesting. That said, when done right, black and white portraits can be particularly striking.


Thanks for sharing your process! Really interesting. I work solely in Lightroom, but have been thinking about finding a better process to add some highlight to people & dog’s eyes.
Thanks Lisa! Definitely check out Photoshop for that stuff. A little bit in the way of adjustment can have a big impact.
Nice post Steve! Curious about why you prefer adjust exposure, saturation, and structure in Viveza Pro vs doing it straight in Photoshop or Lightroom. Are the tools more streamlined, is the final image render better?
Cheers!
Thanks man! Good question. My process is probably overly complicated, but I like different tools for different reasons. I think Lightroom is good for quickly reviewing and rejecting images that don’t make the cut, as well as making broad adjustments to the contrast and saturation. Photoshop is really good for very specific things like sharpening and bringing out certain portions of the image (like the eyes), and then Viveza is better for putting the final touches in terms of contrast etc when everything else has been done. It might partly be psychological, but I find that the contrast/saturation/exposure/structure controls in Viveza have a better range to them, which helps me get the result I want easier. It helps that all of the tools are there in one window (as opposed to lots of different menus in Photoshop), and that I can load up a bunch of images and bash through them more easily than having separate tabs in PS.
Thanks, very insightful and helpful response!
As someone who rarely shoots portraits, this is super helpful. Thanks, Click.
Thanks man!